3-11
Cisco ASR-920-24SZ-IM, ASR-920-24SZ-M, ASR-920-24TZ-M Aggregation Services Router Hardware Installation Guide
Chapter 3 Installing
Installing the Router in a Rack
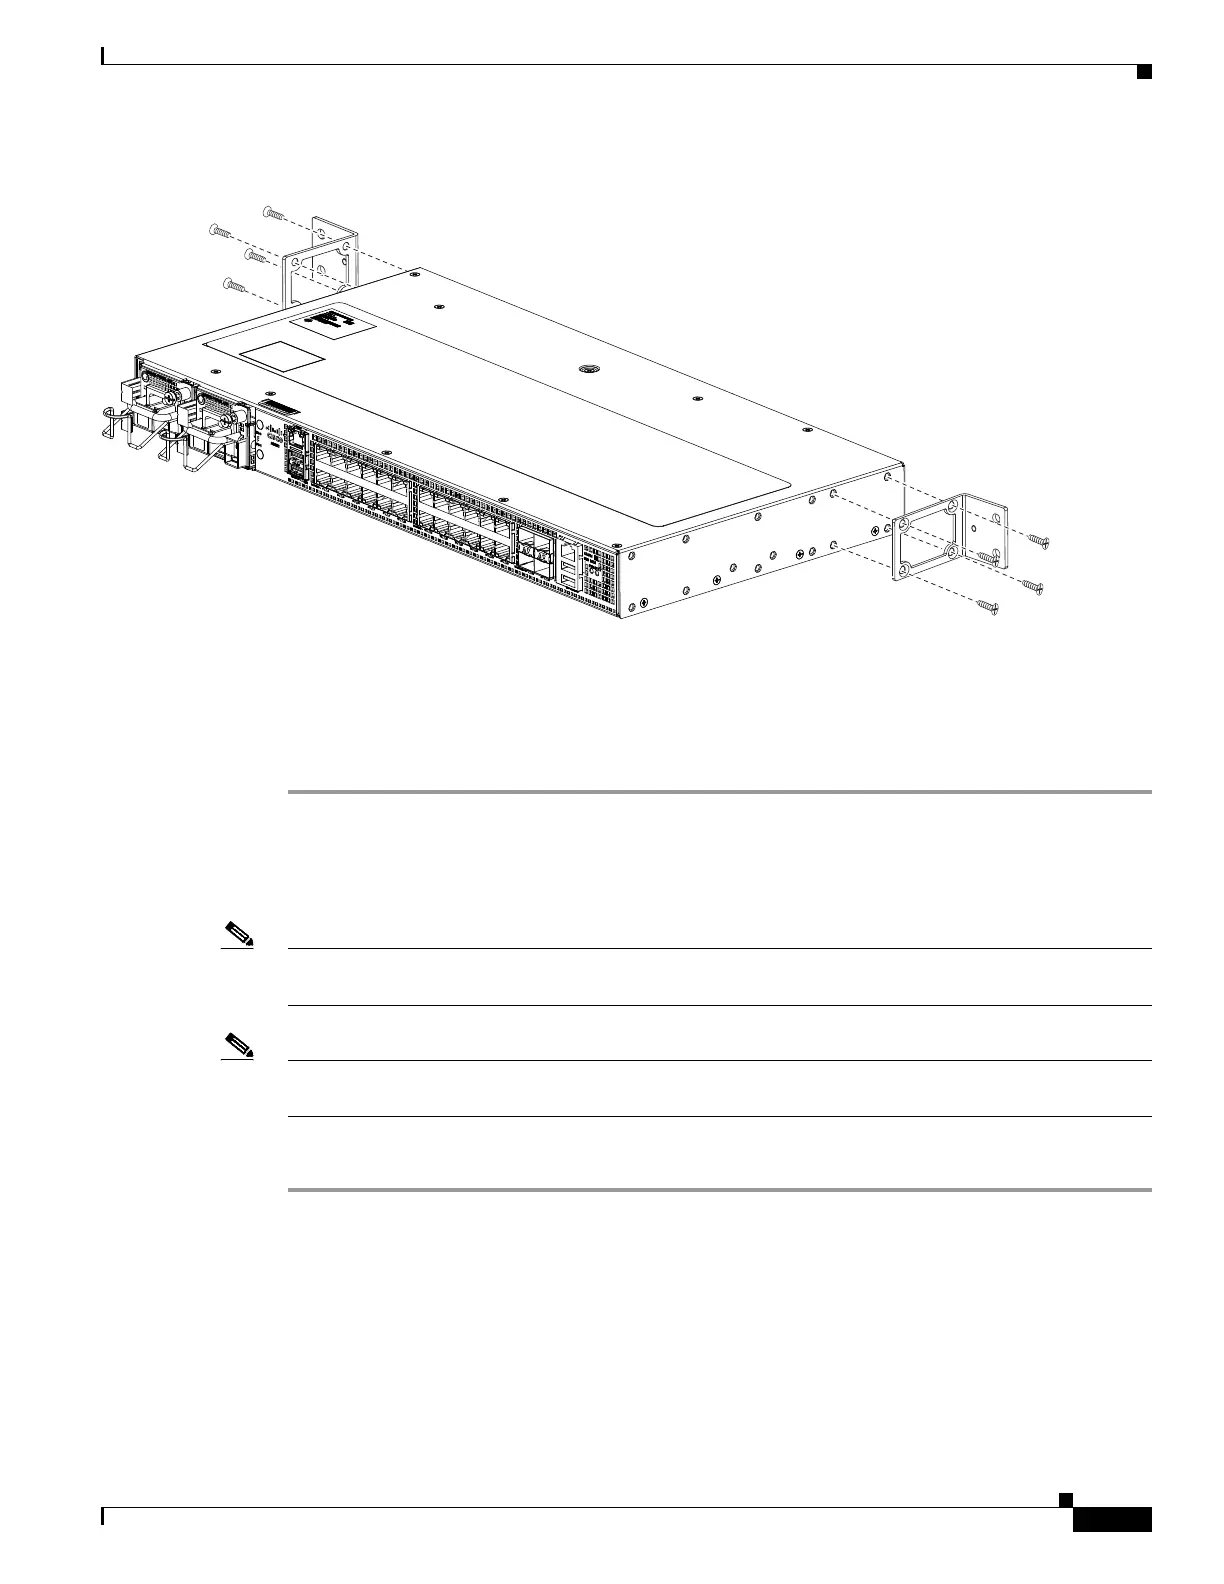
Step 3 Secure the bracket to the chassis with the screws removed when performing Step 1. The recommended
maximum torque is 10 in.-lb.
Step 4 Repeat Step 3 and Step 3 for the other bracket.
Installing the Router Chassis in the Rack
Note Ensure adequate air flow when mounting the router in a rack. For more information, see the “Air Flow
Guidelines” section on page 10.
Note Install the cable guides before installing the router in a 19-inch EIA rack. See Attaching the Cable
Guides, page 3-13.
To install the router chassis in the equipment rack, perform these steps:
Step 1 Position the chassis in the rack as follows:
• If the front of the chassis (front panel) is at the front of the rack, insert the rear of the chassis between
the mounting posts.
• If the rear of the chassis is at the front of the rack, insert the front of the chassis between the
mounting posts.
Step 2 Align the mounting holes in the bracket (and optional cable guide) with the mounting holes in the
equipment rack.
The following figure shows how to install the Cisco ASR-920-24SZ-IM Router in a 19-inch EIA rack.
 Loading...