InteliPro, SW version 1.4, ©ComAp – April 2014
InteliPro 1.4 Comprehensive Guide - rev. 1
range 0/4-20mA; 0-4,5VDC; PWM 5V/500Hz). The setting of IL-NT-AIO can be done via Lite Edit
through some of the supported communication modules.
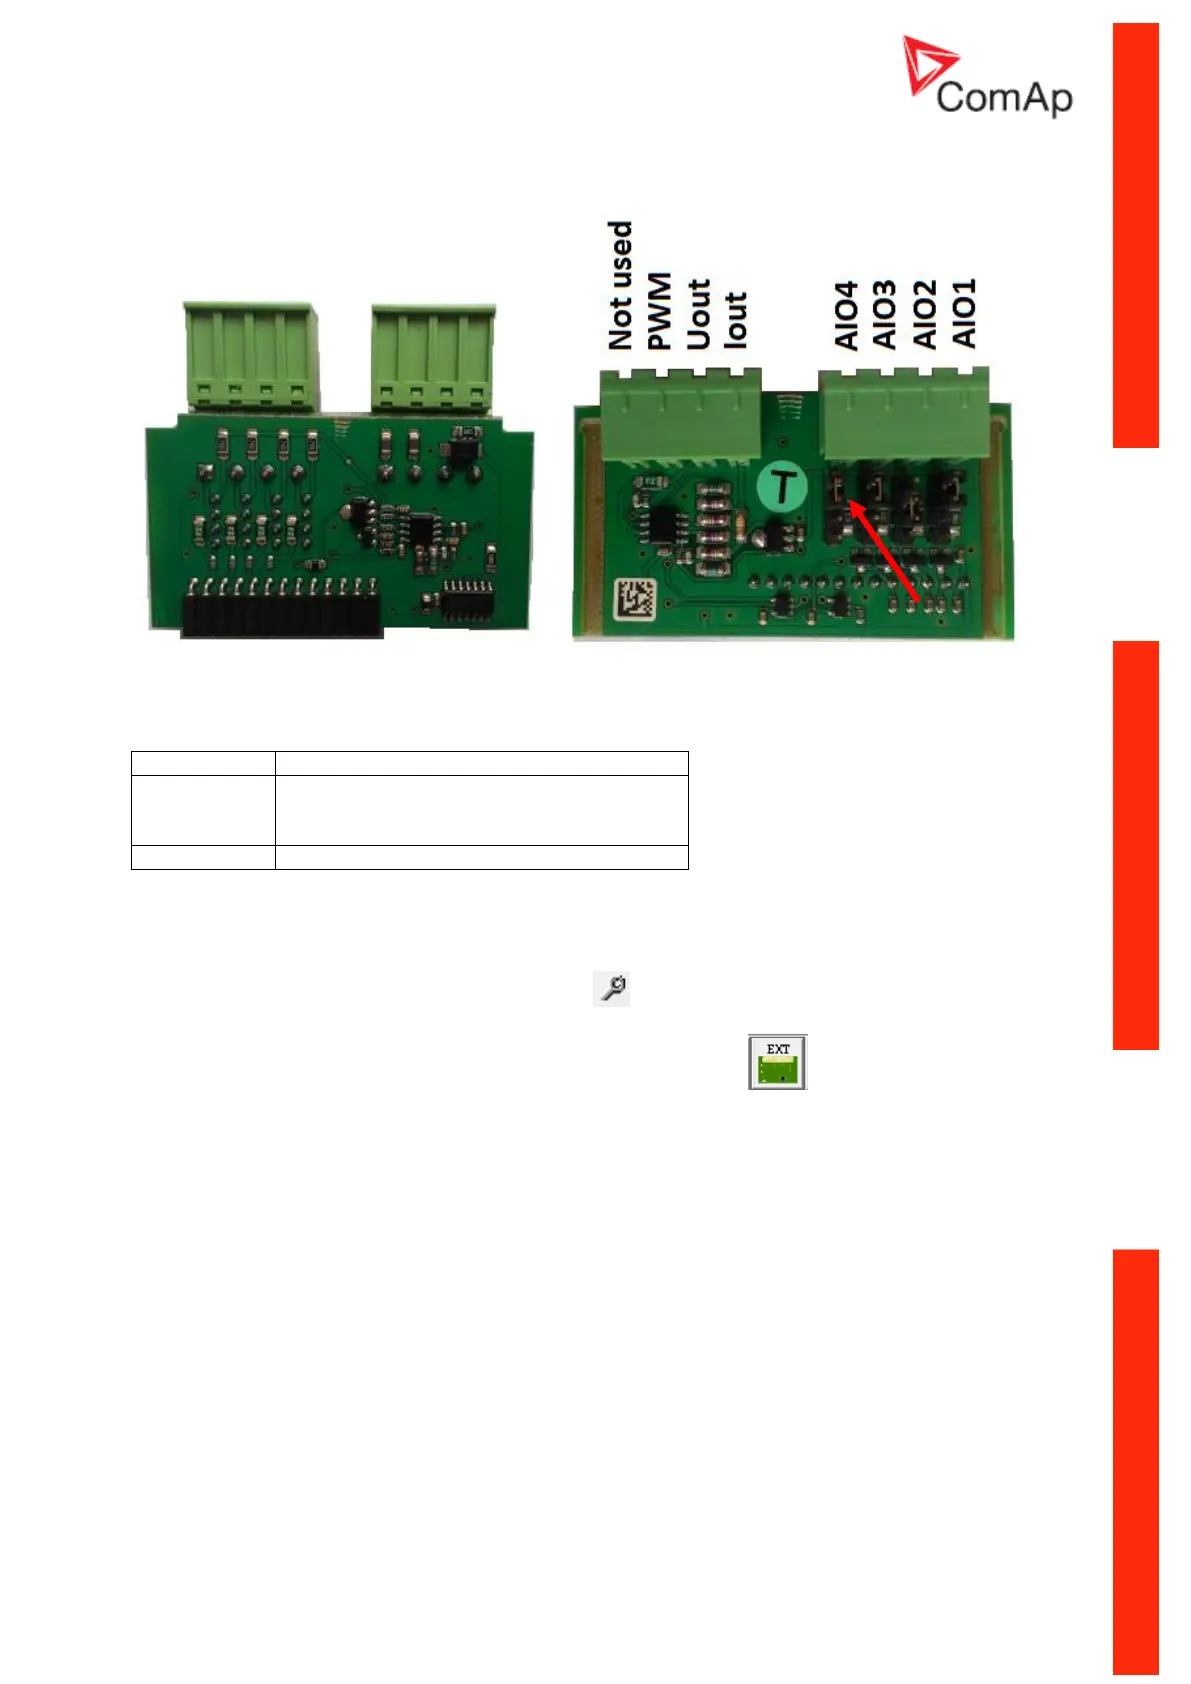
The type of analog input is selectable by jumper. Each analog input has its own line of jumper position.
The top position (closest to green connector on the picture above) is for resistive input, central position
for voltage input and lowest position is for current input.
0 – 20 mA (max 22mA) max 100 Ohm load
0 – 4,5V (max 10mA)
PWM 5V / 15mA / 500 Hz
How to set up the IL-NT-AIO module in LiteEdit
In Lite Edit click on the Modify configuration button in the upper toolbar.
In the window Modify, click on the button Extension Plug-in modules under which you can set
extension modules.
Choose IL-NT-AIO option from the drop-down list.
 Loading...