Steps
NOTE:
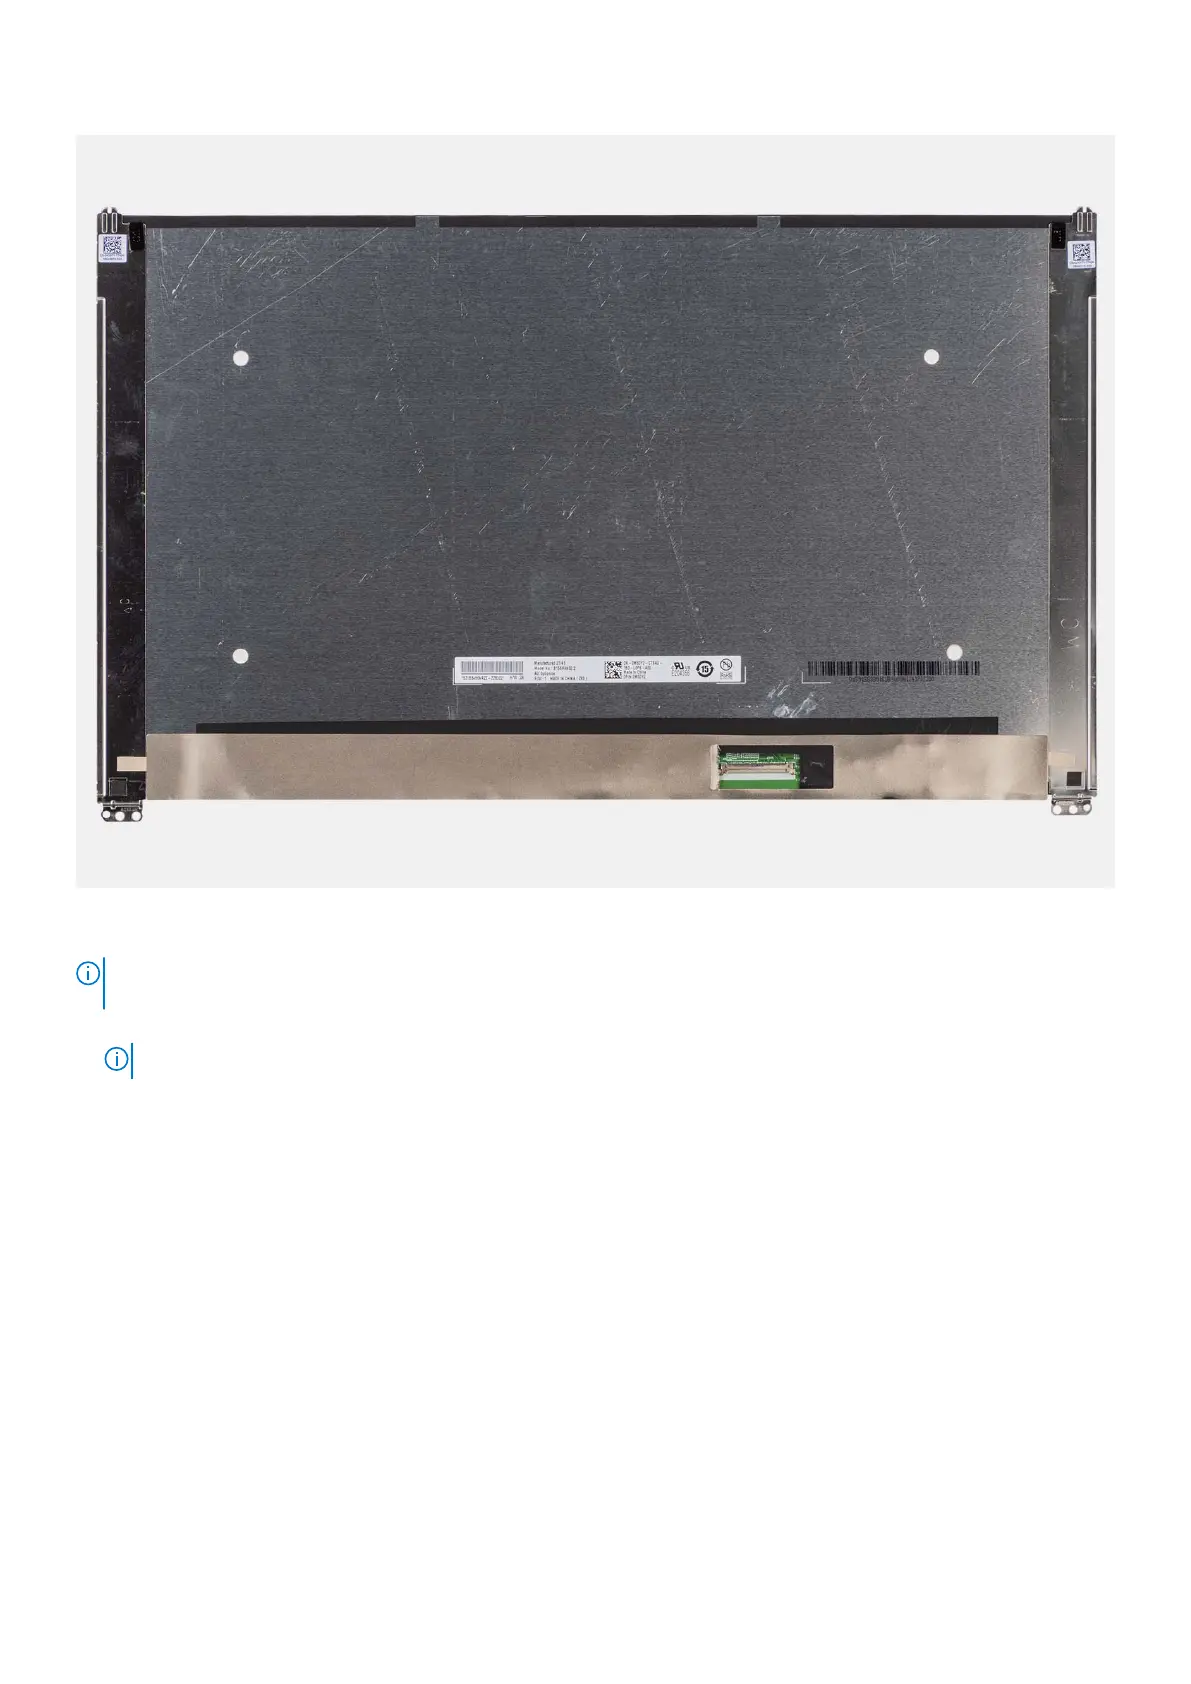
The display panel is preassembled with the display brackets as a single service part. Do not pull the Stretch Release
(SR) tapes and separate the brackets from the display panel.
1. Remove the four screws (M2.5x3.5) that secure the display panel to the display back cover.
NOTE: While removing the display panel, disengage the display panel tabs from the display cover before flipping it over.
2. Lift and open the display panel to access the display cable.
3. Peel the conductive tape on the display cable connector.
4. Open the latch and disconnect the cable from the connector on the display panel.
5. Lift the display panel away from the display back cover.
Installing the display panel
Prerequisites
If you are replacing a component, remove the existing component before performing the installation procedure.
About this task
The following images indicate the location of the display panel and provide a visual representation of the installation procedure.
102
Removing and installing components

 Loading...