Steps
1. Remove the two screws (M2x3) that secure the eDP cable bracket to the system board.
2. Lift the eDP cable bracket away from the computer.
3. Peel the tape that secures the display cable to the system board.
4. Using the pull tab, disconnect the display cable from the connector on the system board.
5. Disconnect the eDP cable from the connector on the system board and unroute it from the routing guide.
6. Disconnect the IR camera cable from its connector on the system board (for models shipped with an IR camera).
7. Disconnect the touchscreen cable from its connector on the system board (for models shipped with a touchscreen).
8. Remove the six screws (M2.5x5) that secure the display hinges to the system board.
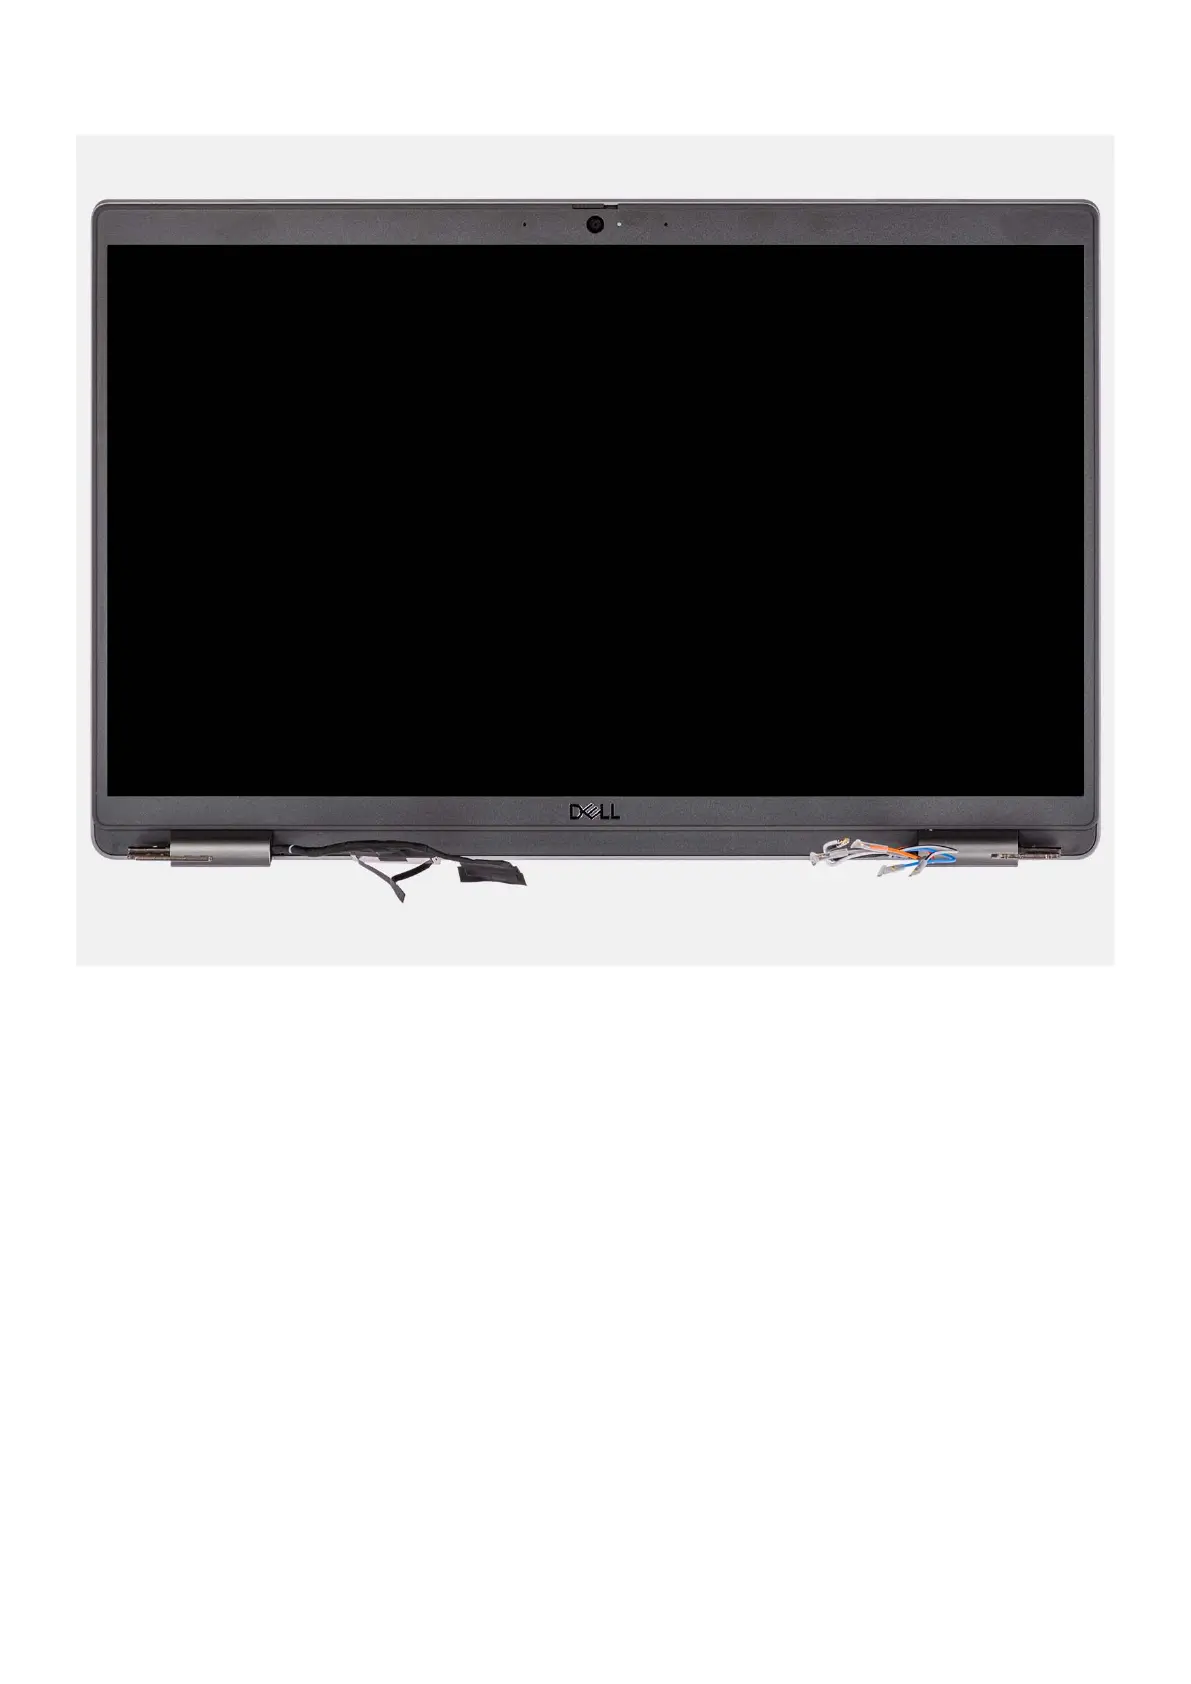
9. Lift the base assembly slightly at an angle.
10. Lift the base assembly away from the display assembly.
Installing the display assembly
Prerequisites
If you are replacing a component, remove the existing component before performing the installation procedure.
Removing and installing components
93

 Loading...