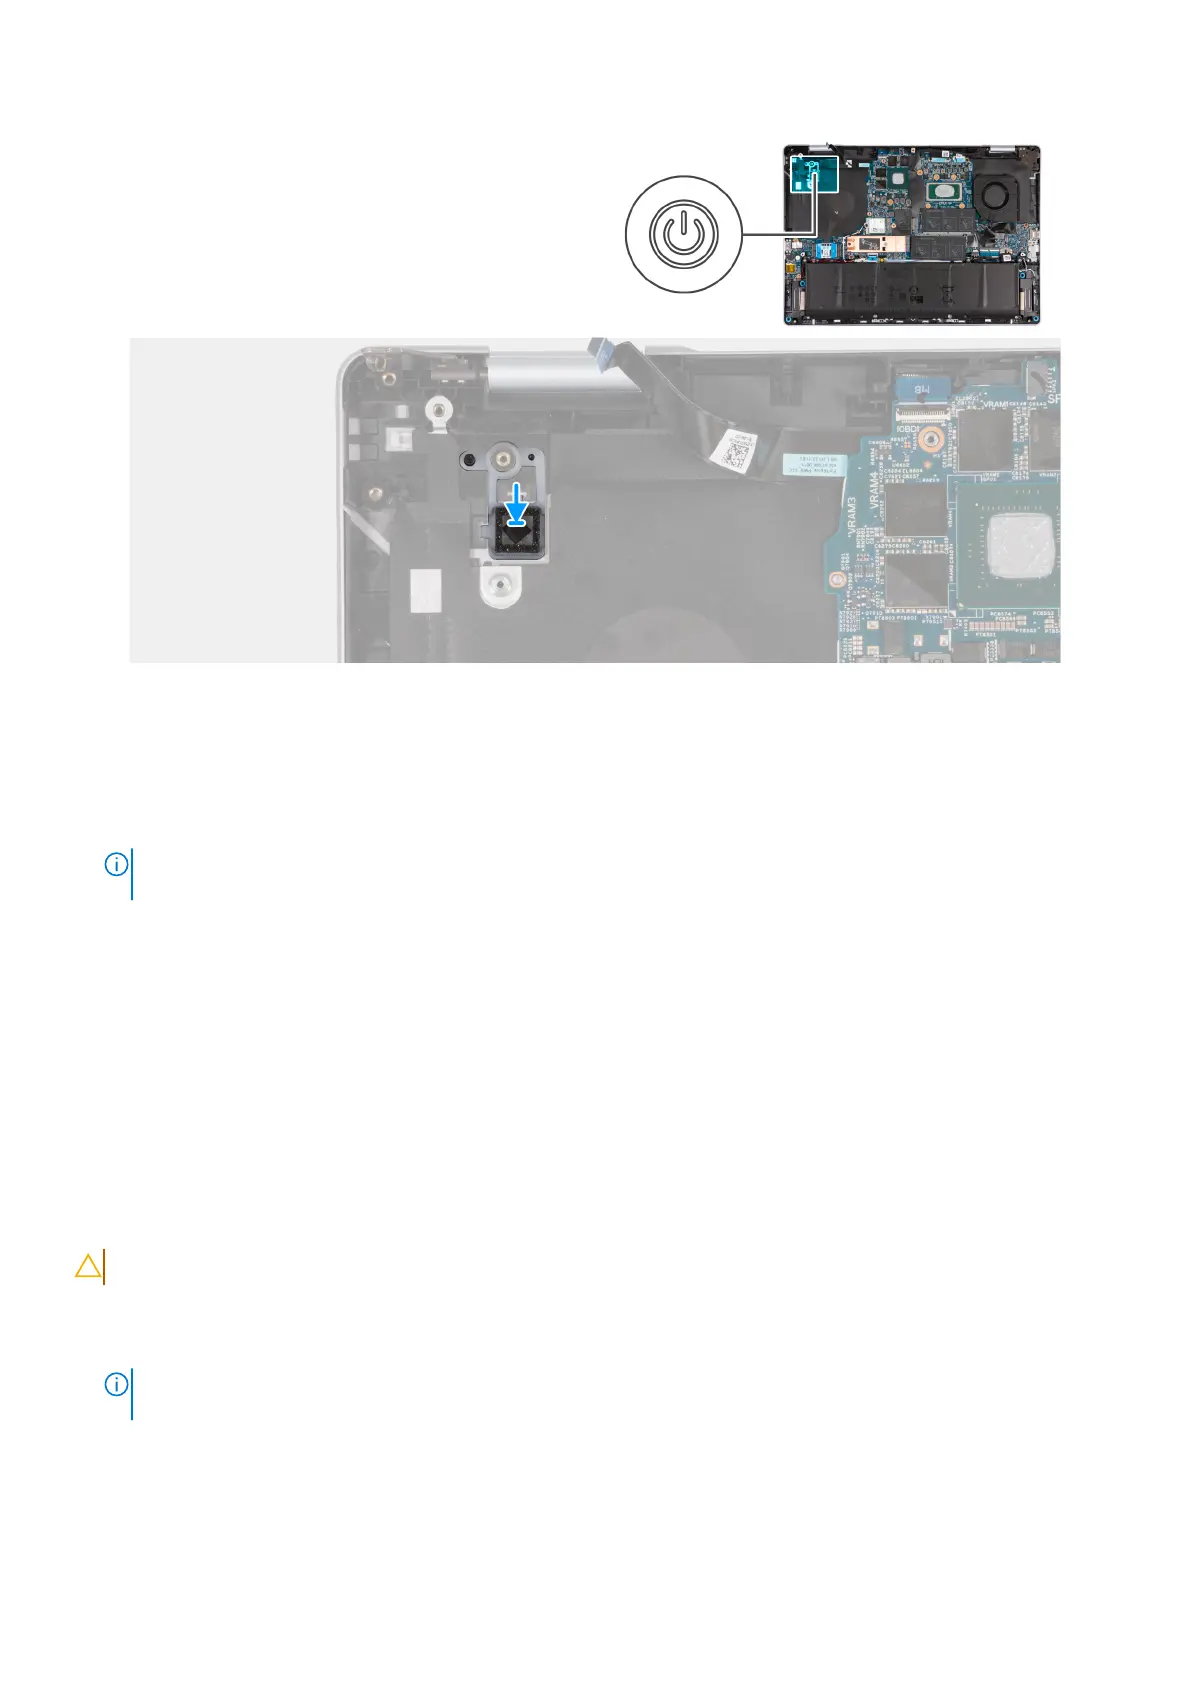
Figure 51. Installing power button
Steps
1. Place the power button into its slot on the palm-rest and keyboard assembly.
2. Align the screw hole on the power button to the screw hole on the palm-rest and keyboard assembly.
3. Replace the tape that secures the fingerprint-reader cable to the palm-rest and keyboard assembly.
NOTE:
This step is only applicable for computers that are shipped with the power button with an optional fingerprint
reader.
Next steps
1. Install the I/O board.
2. Install the heat sink.
3. Install the base cover.
4. Follow the procedure in After working inside your computer.
Power-adapter port
Removing the power-adapter port
CAUTION: The information in this section is intended for authorized service technicians only.
Prerequisites
1. Follow the procedure in Before working inside your computer.
NOTE:
Ensure that your computer is in Service Mode. For more information, see step 6 in Before working inside your
computer.
2. Remove the base cover.
3. Remove the heat sink.
76
Removing and installing Field Replaceable Units (FRUs)
 Loading...