Steps
1. Loosen the nine captive screws that secure the base cover to the chassis.
2. Using a plastic scribe, pry open the base cover starting from the recesses, which are located in the U-shaped indents at the
bottom edge of the base cover, near the hinges.
3. Pry open the top side of the base cover and continue working on the left, right and, bottom sides to open the base cover.
4. Carefully lift and remove the base cover from the chassis.
Installing the base cover
Prerequisites
If you are replacing a component, remove the existing component before performing the installation procedure.
About this task
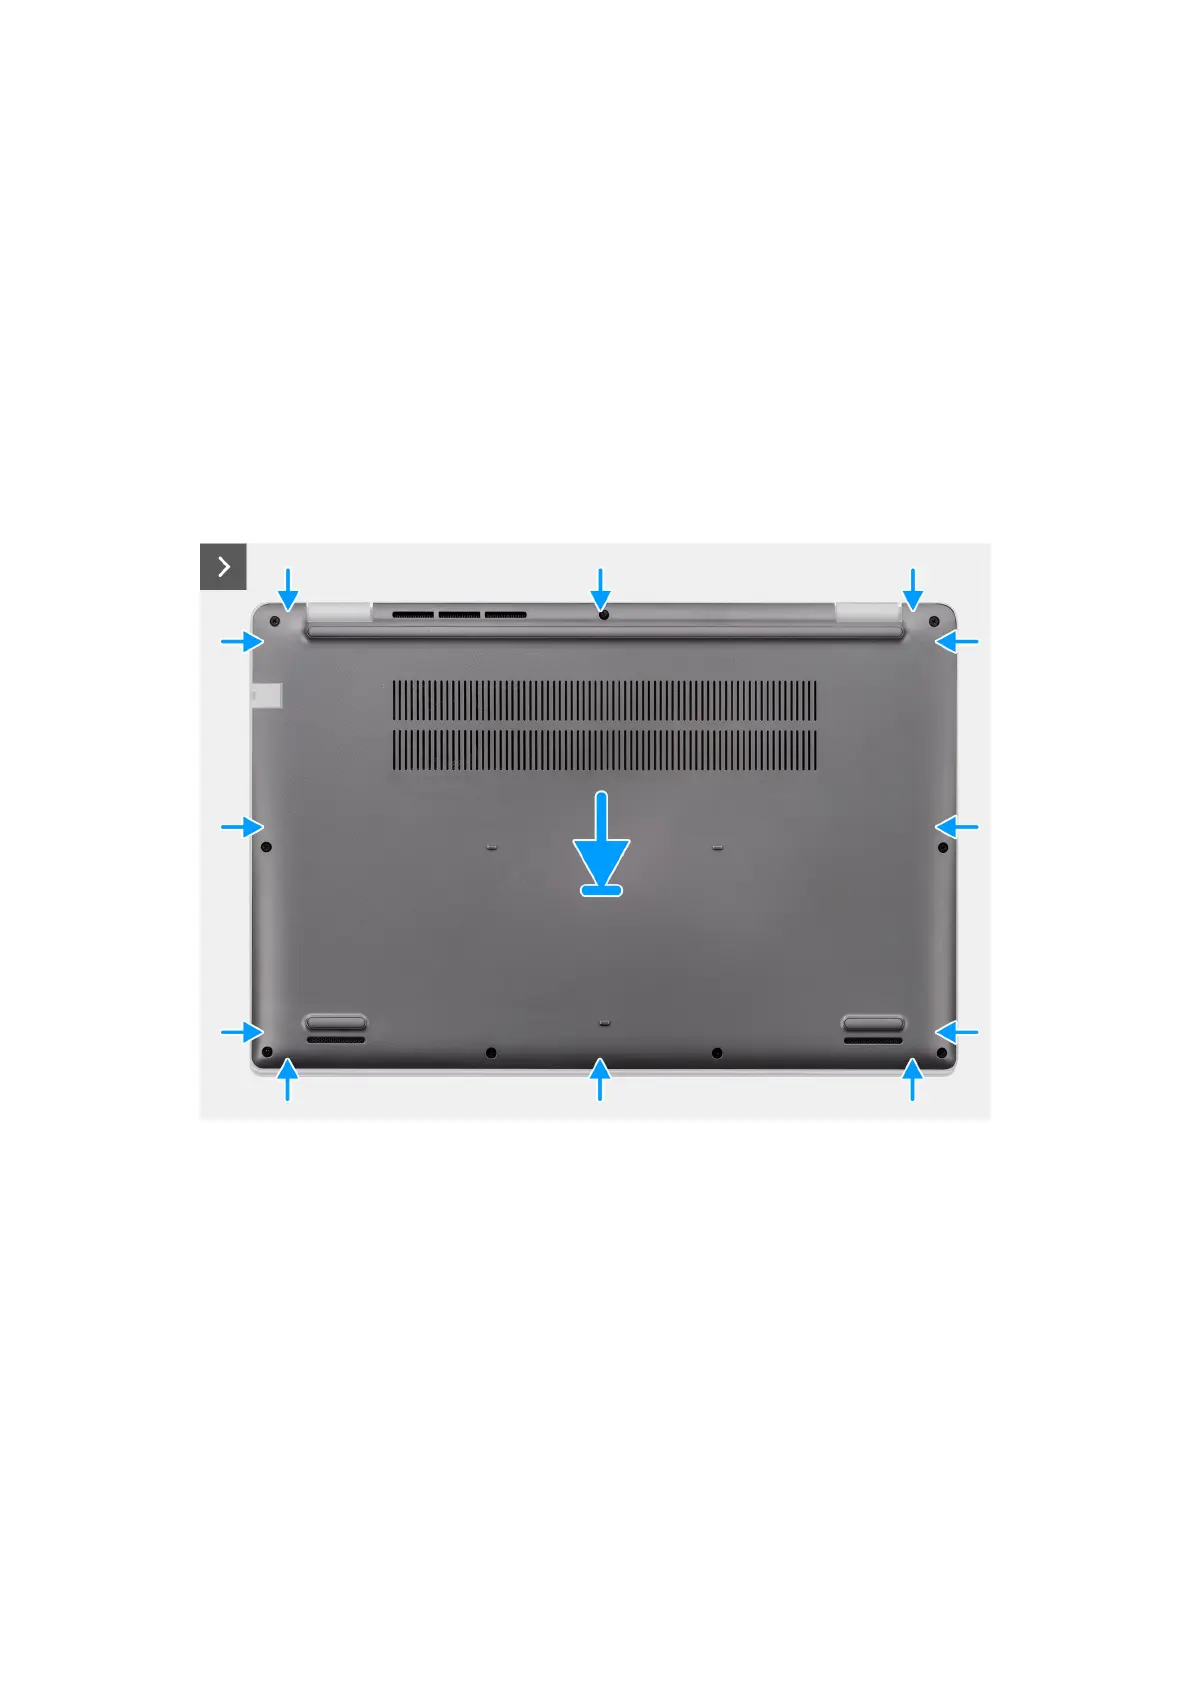
The following images indicate the location of the base cover and provide a visual representation of the installation procedure.
Figure 10. Installing the base cover
Removing and installing Customer Replaceable Units (CRUs)
39
 Loading...


