Steps
1. Place the system on a flat surface such that the palm-rest and keyboard assembly lay flat on the surface.
2. Peel the adhesive tape that secures the display cable and remove antenna cable from routing guides.
3. Open the latch and disconnect the display cable from the connector on the system board.
4. Unroute the WLAN antenna cables from the routing guides on the fan.
5. Remove the six screws (M2.5x5) that secure the display hinges to the palm-rest and keyboard assembly.
6. Lift the left and right hinges in upward direction, away from the system.
7. Lift the palm-rest and keyboard assembly at an angle to free it from the hinges and remove it from the display assembly.
Installing the display assembly
Prerequisites
If you are replacing a component, remove the existing component before performing the installation procedure.
About this task
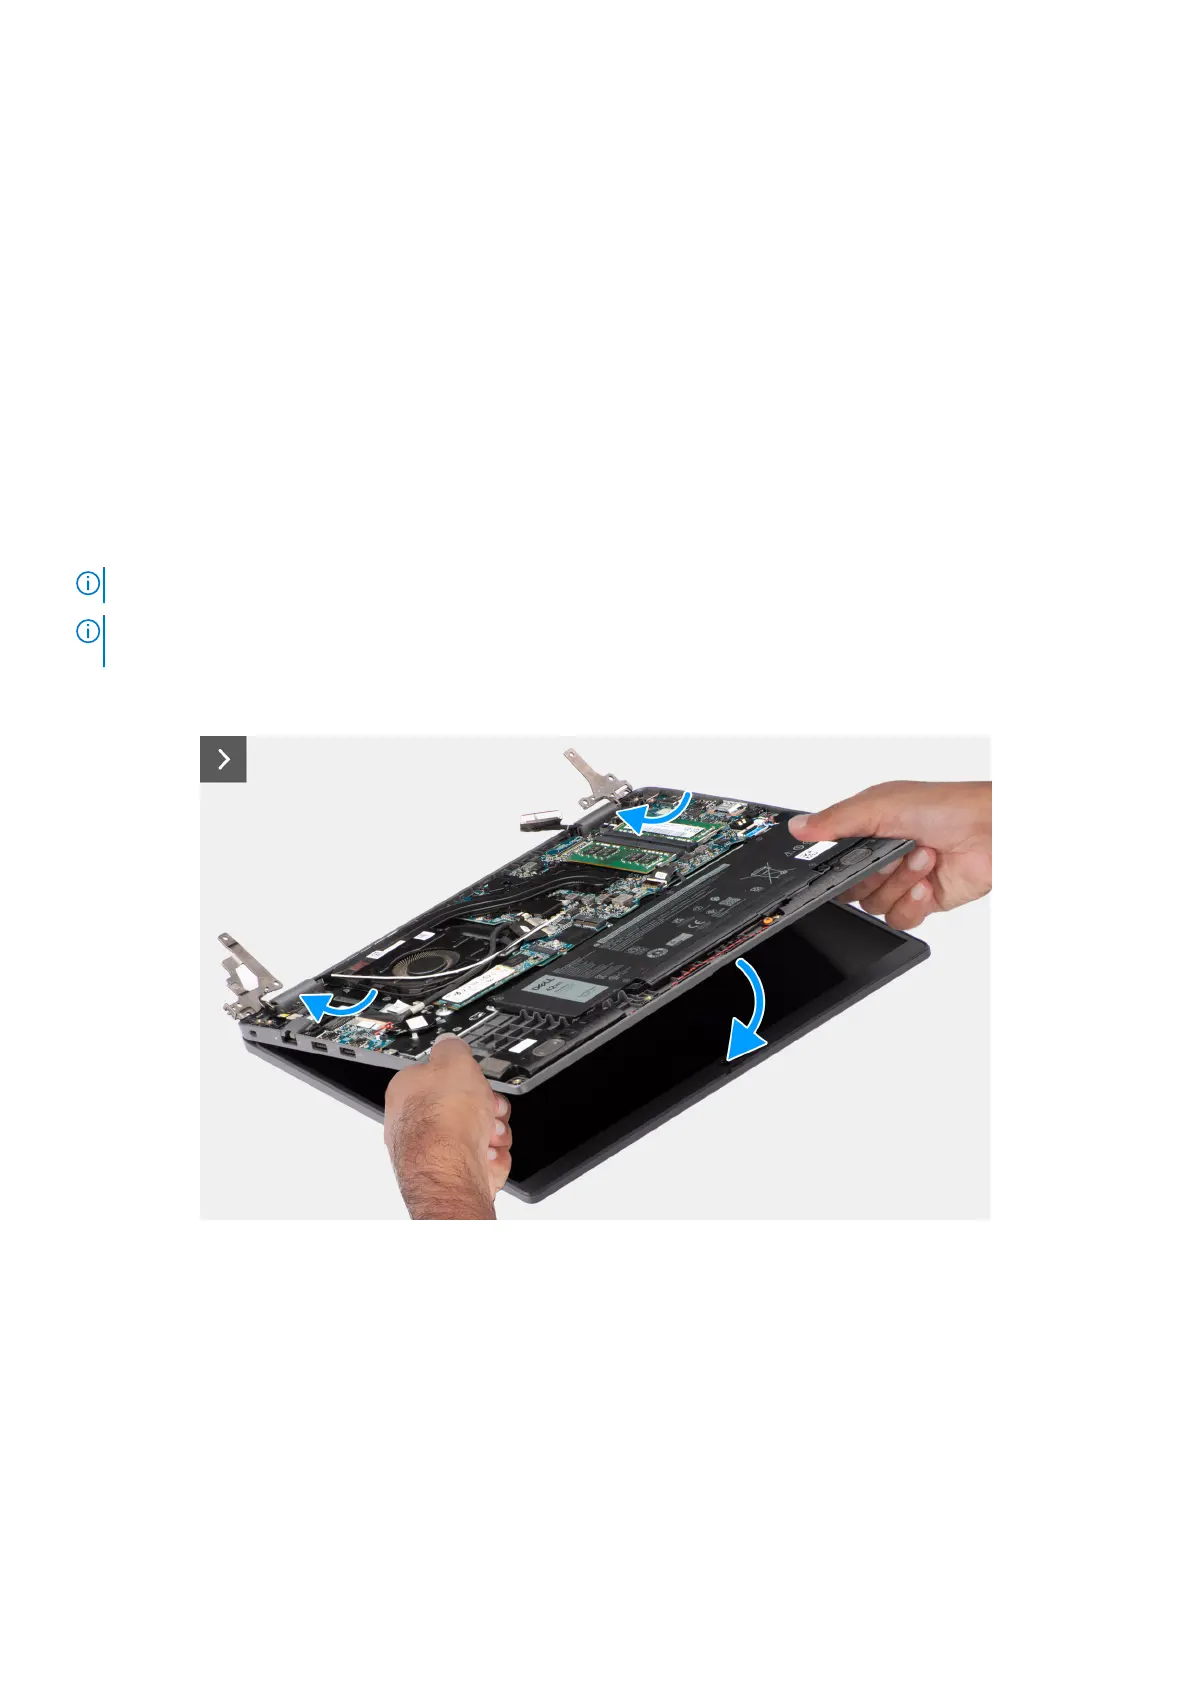
NOTE: The display assembly installation procedure is the same for both clamshell and 2-in-1 convertible chassis.
NOTE: Ensure that the hinges are opened to the maximum before replacing the display assembly on the palm-rest and
keyboard assembly.
The following images indicate the location of the display assembly and provide a visual representation of the installation
procedure.
Figure 51. Installing the display assembly
82
Removing and installing Field Replaceable Units (FRUs)
 Loading...


