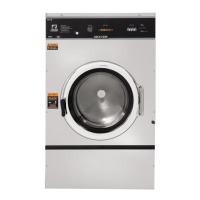
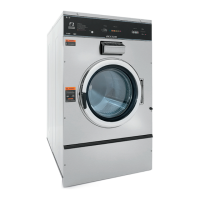
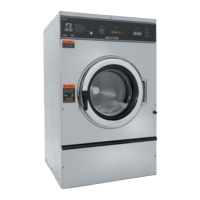
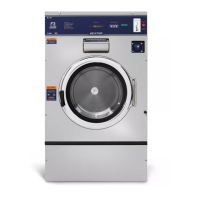
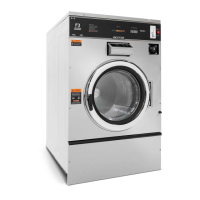
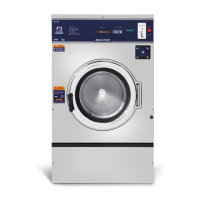
Top Panel Removal
Step 1: Remove 4 screws that hold detergent dispenser to top
panel.
Step 2: Unlock top panel lock with the 6324 key.
Step 3: Raise top panel, slide to the rear to release from back
clips and lift off.
Front Panel Removal
Step 1: Remove the loading door by rst removing the two
lower screws of the lower hinge clamp and lifting the
door off of the hinge assembly.
Step 2: Remove 2 screws between front panel top and front
(located behind control panel).
Step 3: Remove the two screws in the middle of the front
panel.
Step 4: Pull panel out at the bottom to about a 45 degree
angle to detach the top lip and remove.
Back Panel Removal
Step 1: Remove all screws holding back panel in position except the bottom row.
Step 2: The bottom row of screws are slotted and only need to be loosened and to lift off panel.
NOTE: The back panel is not only a safety requirement but also contributes to the rigidity
of the cabinet.
Drain Valve Access
For access to drain valve, remove lower service
panel. The drain valve is a ball type and is powered
closed by the drain valve motor. It is mounted
under the washer tub on the left side. It is spring
loaded open. If power is interrupted to the washer,
the motor releases the sealing ball, allowing the
drive spring to open the valve. With the valve
open, all water in the washer will drain out.
Drain Valve Cleaning
Step 1: Loosen the clamp on the tub hose at
the drain valve end and remove the
hose from the drain valve.
Step 2: Loosen the drain hose clamp on the back of the drain valve. Remove two drain valve mounting
racket screws from the frame of the washer.
Step 3: Disconnect red & black wire connection at clear connector.
Step 4: Remove the drain valve and bracket assembly. Unplug the wiring after the drain valve is removed
from the washer.
Detergent Dispenser
Remove top panel to access dispenser. (see Removing Top Panel)
Detergent is ushed from the front of the compartment and fabric
softener is ushed from the back. There will be a small amount of
water left in the fabric softener compartment after each use.
Vacuum Breaker (also called an air gap)
In the left rear of the cabinet is the vacuum breaker. It guides
the water to the tub and dispenser and prevents a back ow of
wate r.
Water Valves
Remove top panel to access water valves. (see Removing
Top Panel) The two dual outlet water valves are mounted to
the water valve mounting plate that is fastened to the rear
channel. to remove the valves, loosen the 2 locking nuts
on both sides of the mounting plate from the interior of the
machine and then lift the plate and valves off of tyhe back
channel and pull the assembly into the machine. The valves
can then be removed from the mounting plate by removing
the 5/16 mounting screws.
Always check inlet screens to be sure that they are clean.
Disassembly requires the removal of two solenoid screws and
three valve body screws. Below the solenoid coil is a solenoid
guide, armature, armature spring and diaphragm. All valve parts
are available individually or as a complete unit.
72 73
Part # 8533-080-001 12/15 Part # 8533-080-001 12/15
 Loading...


