7. Make settings for each item, and then click OK.
e email client on your computer starts automatically, and the scanned image is attached to an email.
Related Information
& “Scanning Using Document Capture Pro (Windows)” on page 56
& “Scanning Using Document Capture (Mac OS X)” on page 59
& “Specications of Originals and Placing Originals” on page 24
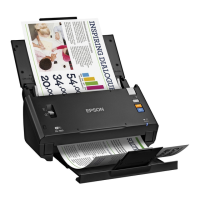
Printing Scanned Images
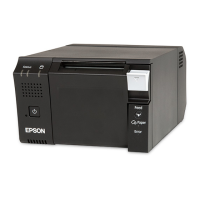
You can print scanned images directly from an Epson printer connected to the computer.
Note:
Before using this feature, check the following.
❏ e Epson printer is connected to the same computer to which the scanner is connected.
❏ e printer driver is correctly installed on the computer.
1. Place the original.
2.
Start Document Capture Pro (Windows) or Document Capture (Mac OS X).
3. Click
.
e Scan window is displayed.
4. Make the scanning settings, and then click Scan.
5.
Check the scanned images, and edit them if necessary.
6. When you have nished checking the image, click the
icon.
e Print Settings window opens.
7. Make settings for each item, and then click OK.
e scanned image is printed from the printer.
Related Information
& “Scanning Using Document Capture Pro (Windows)” on page 56
& “Scanning Using Document Capture (Mac OS X)” on page 59
& “
Specications
of Originals and Placing Originals” on page 24
Scanning Using Specied Scanning Settings (Job)
You can create a "Job" which is a set of
specied
scanning settings such as the sorting method, saving format,
destination, and so on.
You can set the job in Document Capture Pro (Windows) or Document Capture (Mac OS X).
User's Guide
Advanced Scanning
77
 Loading...