44
To correct distortion more easily, you can use the Epson Setting Assistant app on a smartphone or tablet
that has a camera function. You can download it from the Apple App Store or Google Play Store. Install
the application by using the QR code displayed on the projected screen.
Correcting Image Distortion Using the Installation Menu
Parent topic: Using Basic Projector Features
Correcting Image Distortion Using the Installation Menu
You can correct distortion when the projected image shape is curved or not rectangular by following the
on-screen instructions from the projector's Installation menu.
You can also correct image distortion using the Epson Setting Assistant app on an iOS or Android device
with a camera. You can scan the QR code on the Installation menu or download the latest version of the
app from the Apple App Store or Google Play. Follow the instructions in the app.
Note: After correction, your image is slightly smaller.
1. Turn on the projector and display an image.
2. Press the Corner Adjustment button on the remote control.
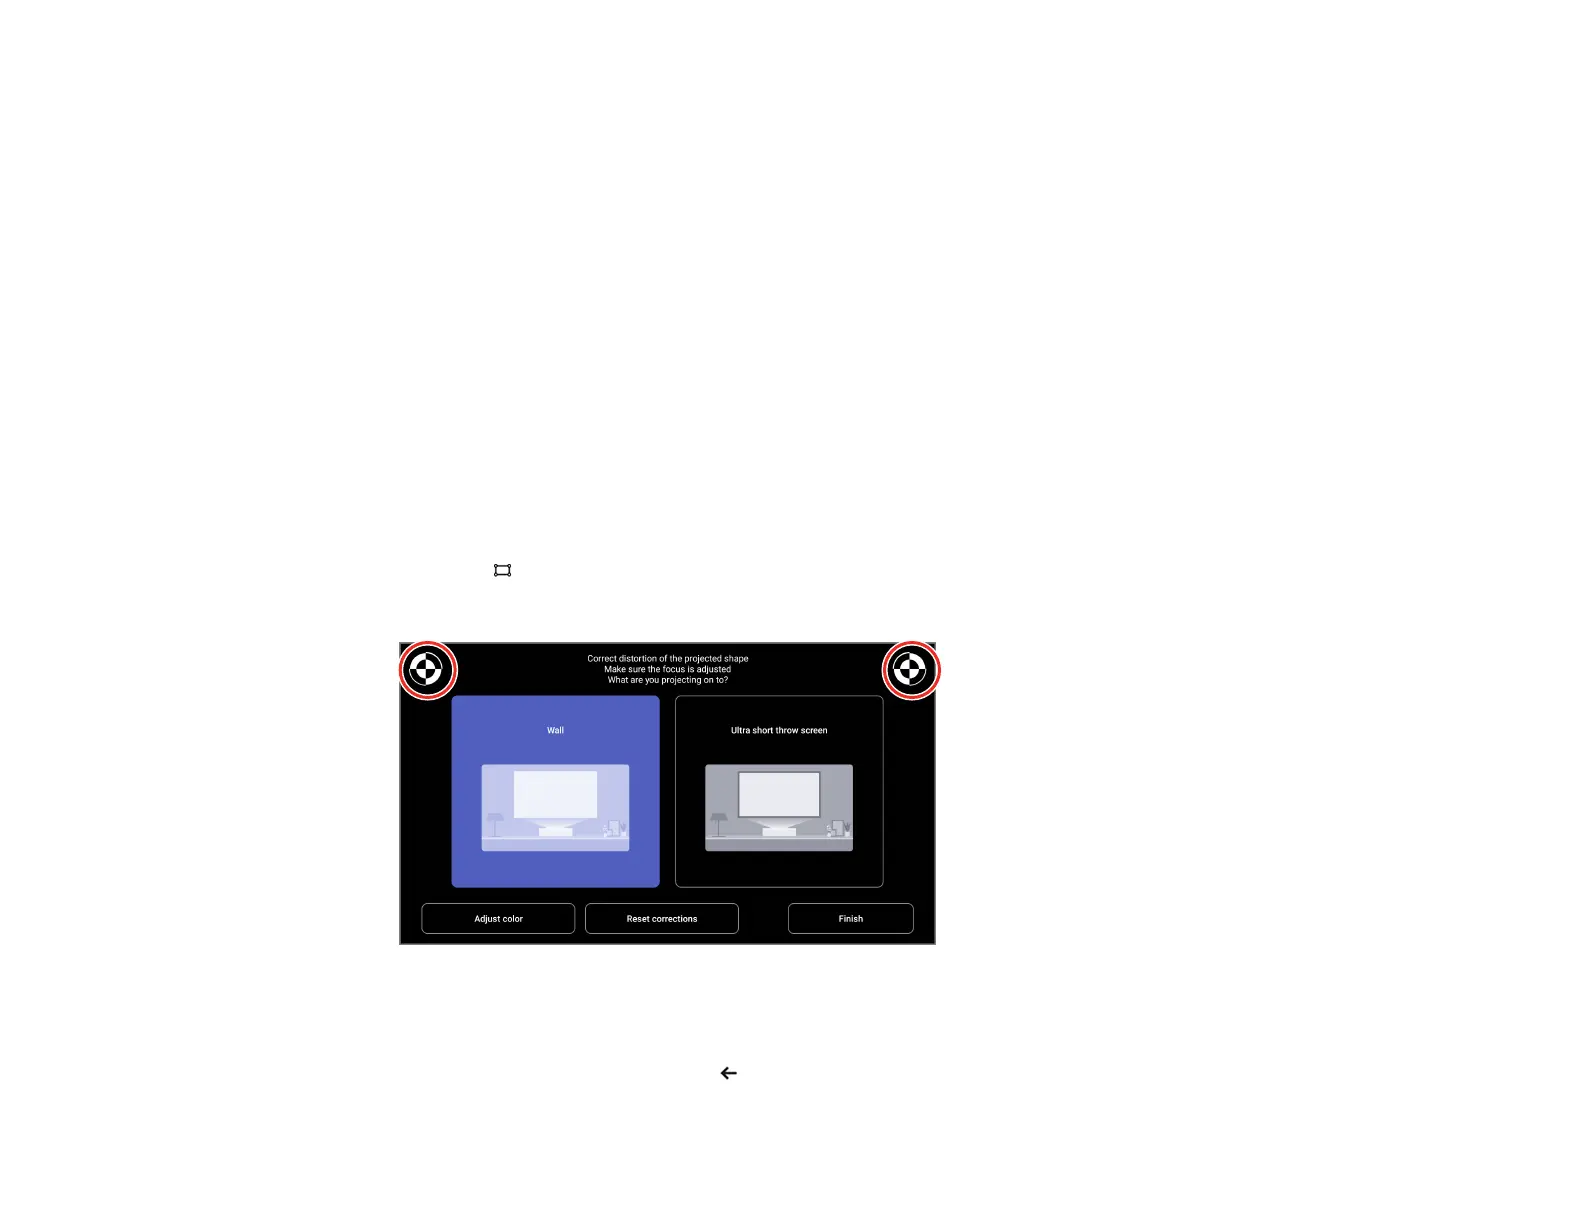
3. Use the focus lever and the reference marks on the upper corners of the image to adjust the focus.
4. Use the remote control to select the option that best suits the surface you are projecting onto and
follow the on-screen instructions to correct distortion in the image.
5. When you are finished, press the esc button on the remote control to exit the menus.
 Loading...