Horizontal tab usage
The FX has the ability to tab horizontally, and it has default tabs set
in the current pitch at columns 8, 16, 24, 32, . . . every eight Pica
spaces on out to the current width of the page. We will show you how
to change the tabs to suit your needs more closely, but first let’s see
how the printer’s tabs work.
You can move the print head from any position on the print line to
the next tab stop with the ASCII horizontal tab code, CHR$(9). You
use CHR$(9)-or CHR$(137) if 9 is a number your system does not
send-to move from stop to stop, whether the stop is a default tab or a
tab that you have set.
Using the exact line numbers shown, enter this sample program:
10 H$=CHR$(137): A$"0123456789"
30
FOR X=1 TO
3:
LPRINT A$;: NEXT X: LPRINT
40
FOR J=l TO
3
50
LPRINT H$;"TOP";
60
NEXT J: LPRINT
120 LPRINT CHR$(27)"@"
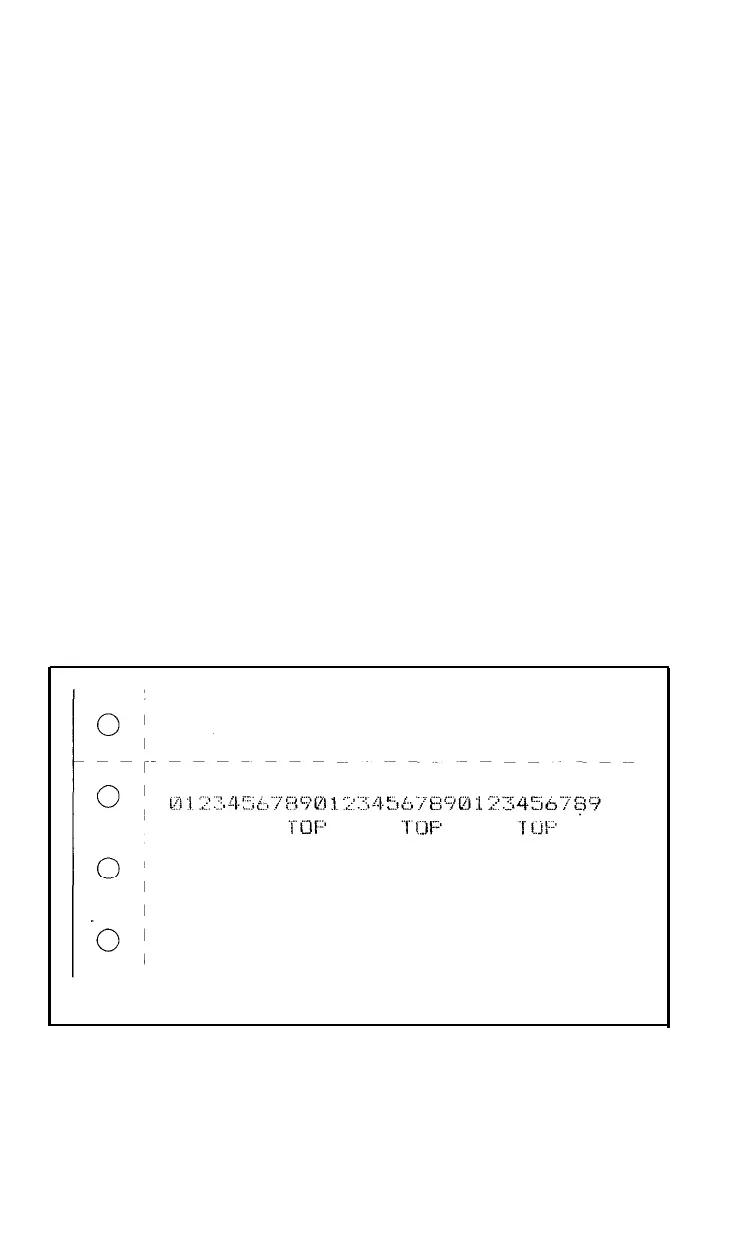
and compare your RUN with Figure 9-6.
Figure 9-6. Default horizontal tabs
This shows that the default tabs (each represented by the T of the
word TOP) are set in columns 8,
16, 24, 32,
etc. Remember that the
column count starts at 0.
119
 Loading...