18
Chapter 1 Product Overview
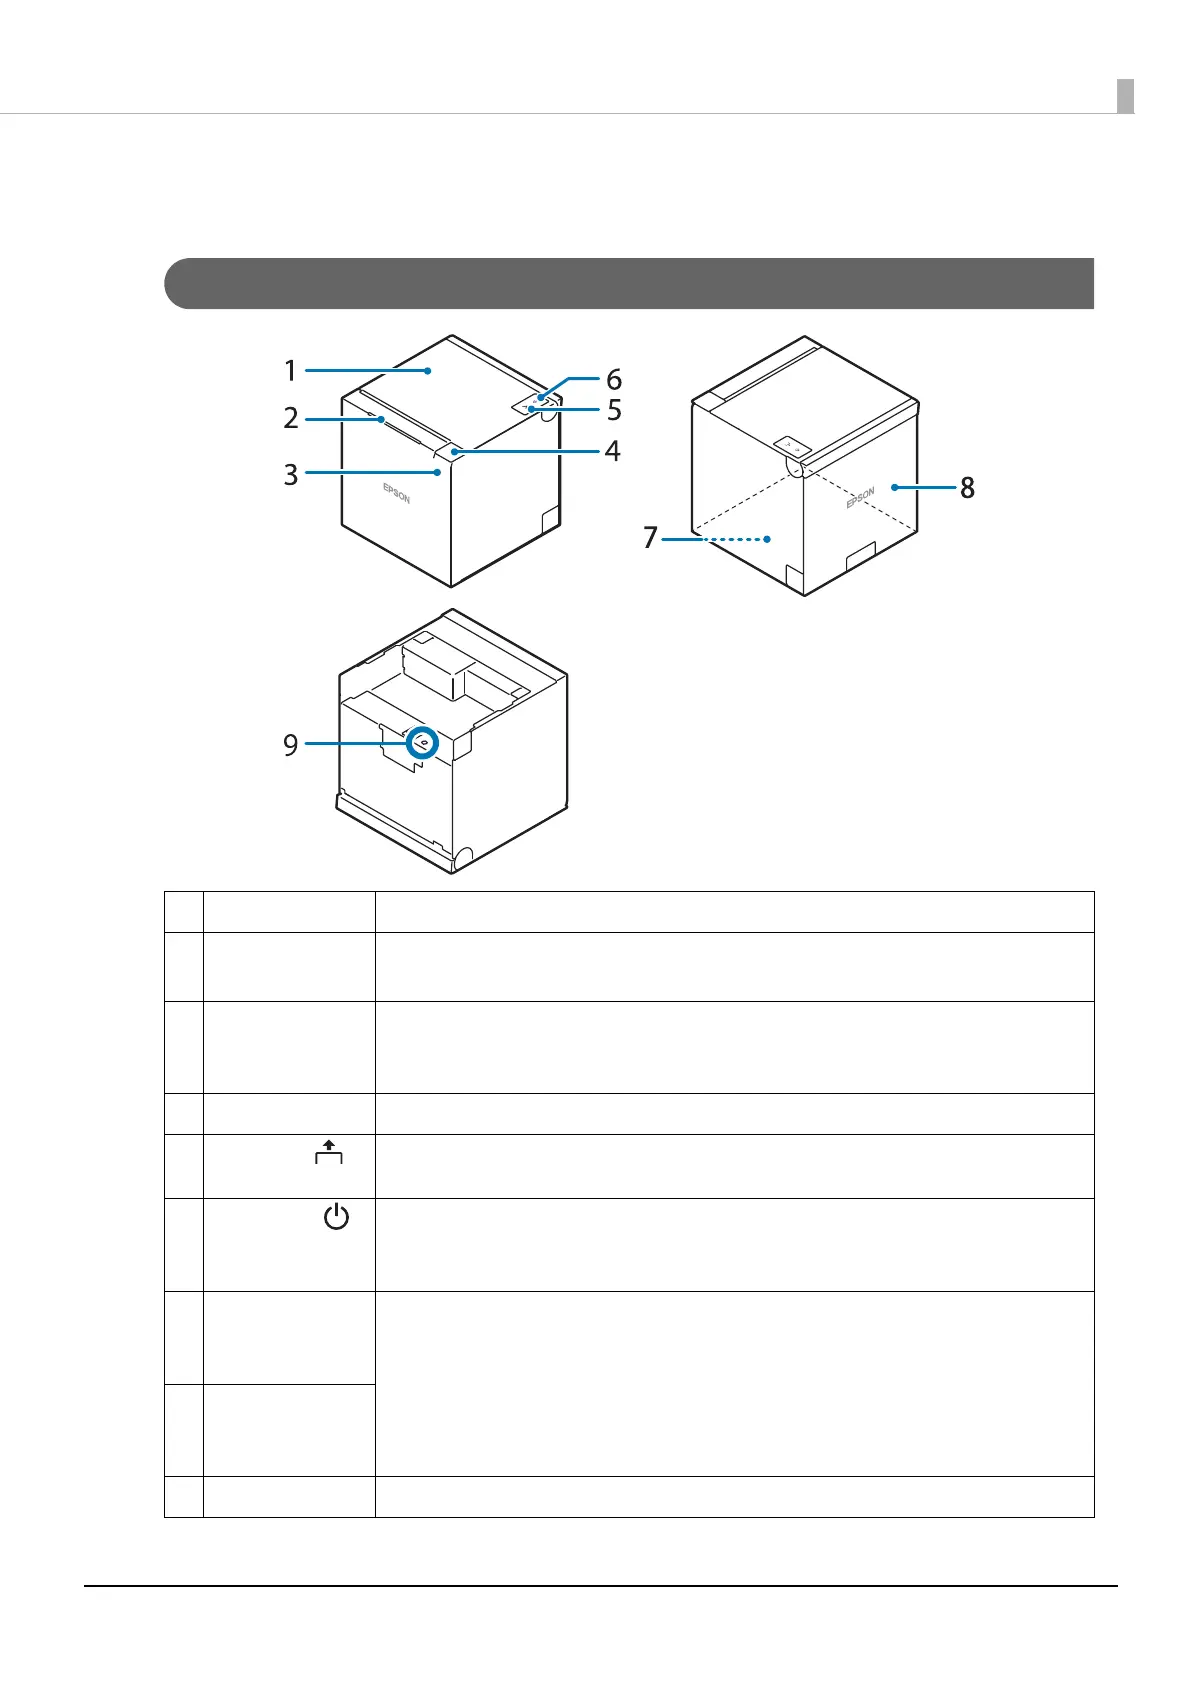
Part Names and Functions
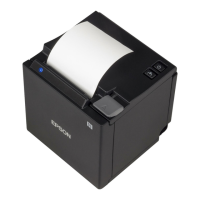
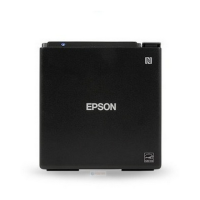
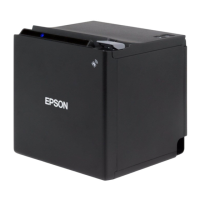
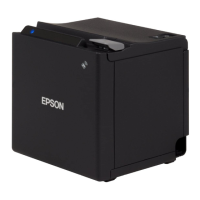
Body
1 Roll paper cover Open this cover when loading or replacing roll paper.
2 Panel LED These LEDs indicate the operating status of the printer.
For details on LED, see"Panel LED" on page 19.
3
NFC Tag A mark is printed here to indicate the position of the NFC tag. Bring an NFC-compatible
device close to the mark to obtain information about the printer.
For the functions using the NFC tag, refer to "Useful Functions for Smart Devices" on page 30.
4
Cover open lever Operate this lever to open the roll paper cover.
5 Feed button Pressing this button once feeds roll paper for one line. Hold down this button to continue
feeding roll paper.
6 Power button Turns the printer on or off.
The power button setting can be changed to disable the power on/off operation with the
power button. See "Power Button Settings" on page 100 for details.
7
Bottom cover
(With four rubber
feet attached)
Remove these covers when connecting the DC cable of the AC adapter, interface cables, or
USB cables of peripheral devices. Also, when you want to change the paper eject direction,
remove the two covers and reattach them switching the attachment position.
The printer is shipped with the covers attached so that paper is ejected upward.
8Rear cover
(There is a logo on
the cover)
9 Status sheet button Use this button to print a status sheet on interfaces or initialize the settings on interfaces.
 Loading...