2.2 Mounting the Device
The products are available for flush panel mounting only
2.2.1 Flush Panel Mounting
The P253 supports flush panel mounting and can be mounted into panels using fitting clamps with M5
X 10 screws.
The fitting clamp and screws are supplied along with the relay.
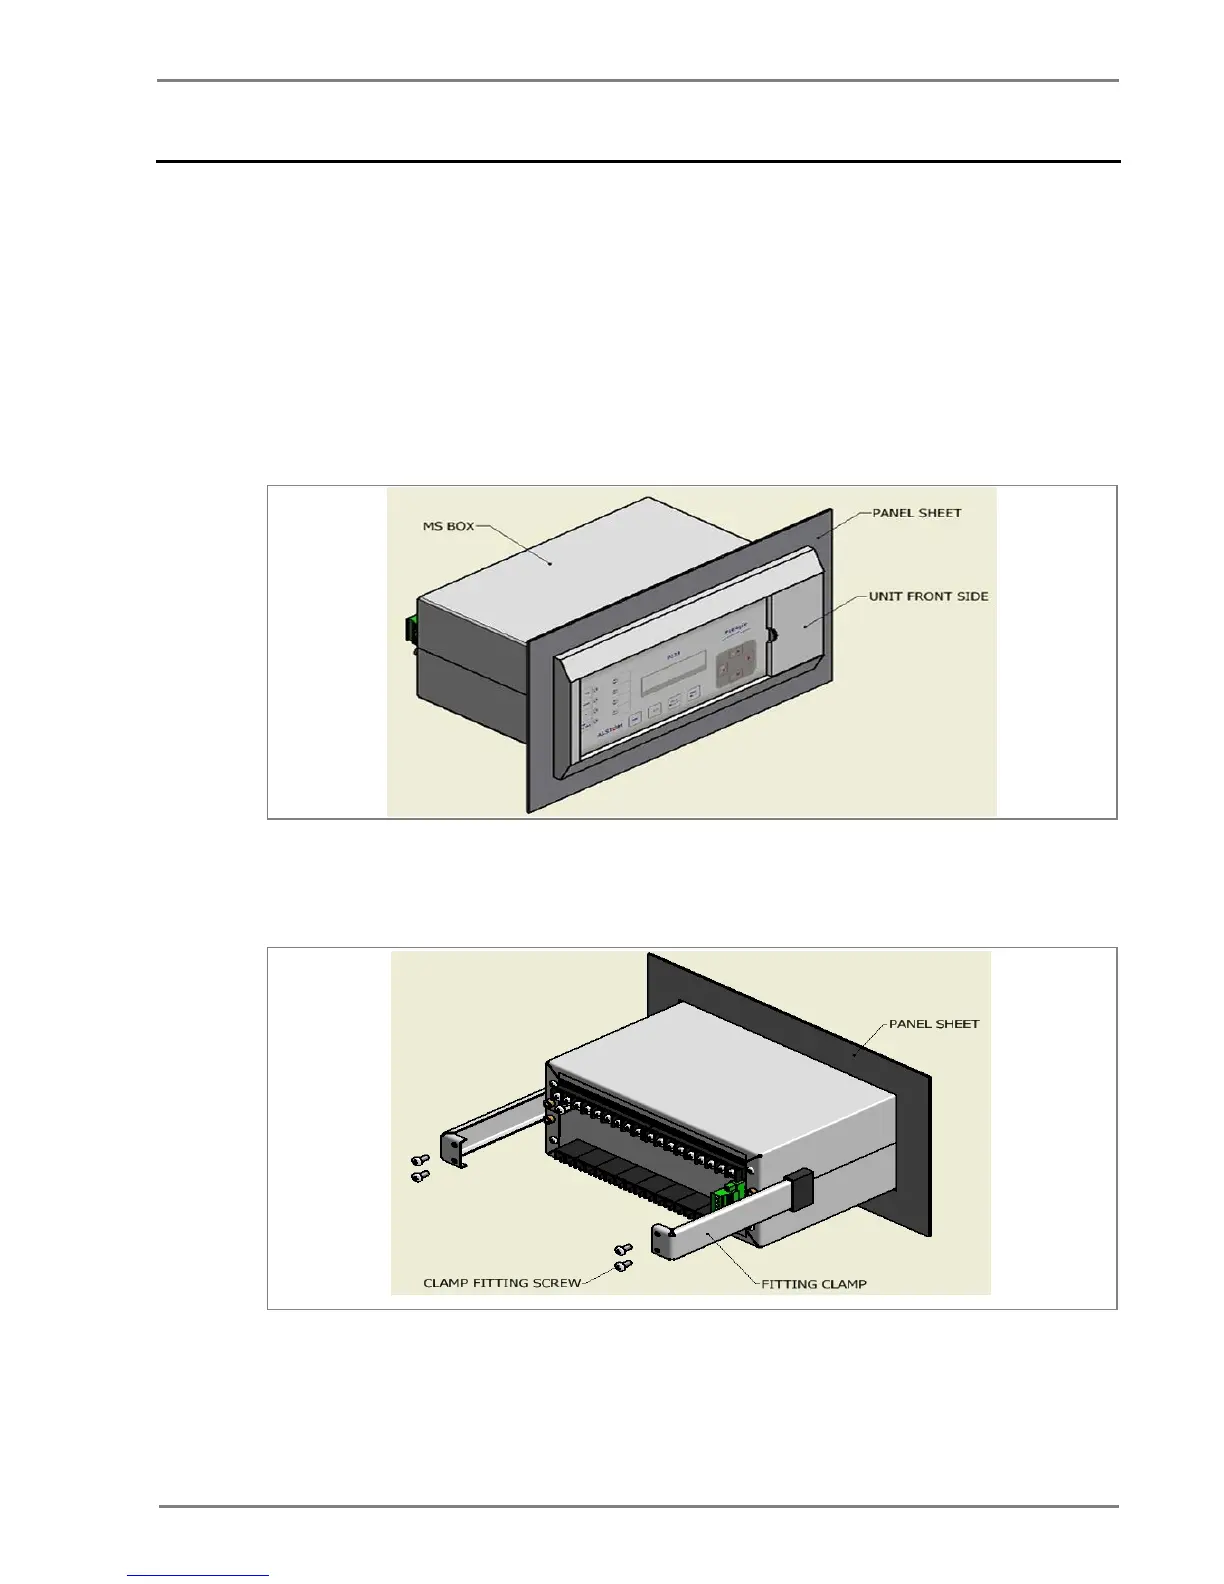
For mounting the relay in to the panel follow this procedure
1. By loosening the M5 x 10 screws, remove the fitting clamps on the relay and then insert the
Relay in to the panel cut-out as show below.
Figure 1: Inserting relay in to the panel cutout
2. After inserting the relay in the panel using the fitting clamps and the M5 x 10 screws, fasten
the relay to the panel as shown below.
 Loading...