– 37 –
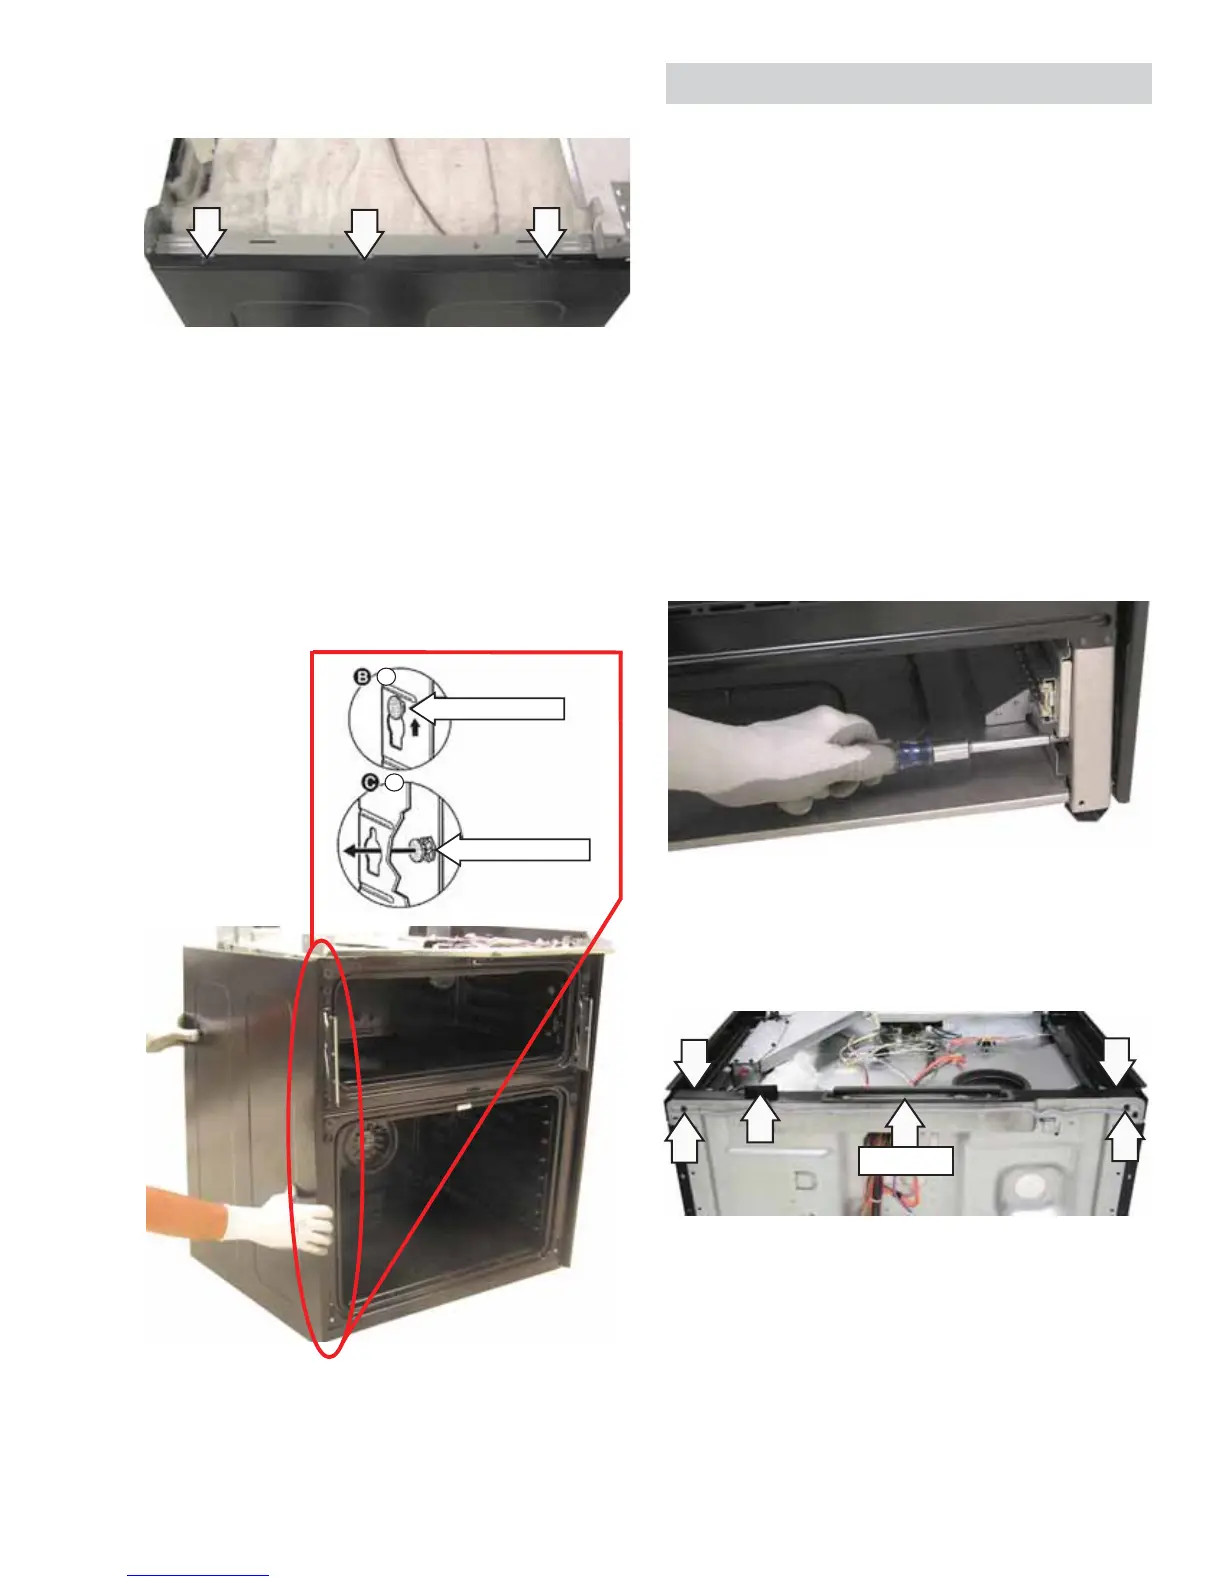
9. Remove the three 1/4-in hex-head screws from
the top of the side panel.
Note: The front of the panel is held to the range
frame by 3 plastic grommets that engage 3 keyhole
slots placed along the inside front fl ange of the
panel.
10. Grasp the front and rear portion of the
side panel. Lift the side panel up and pull it
towards you, and then disengage the 3 plastic
grommets.
Plastic Grommet
Plastic Grommet
Grommet
Engaged (A)
Grommet
Disengaged (B)
A
B
Right Side Panel
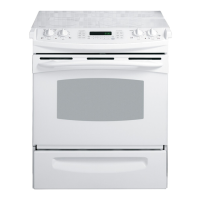
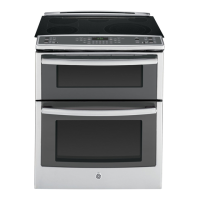
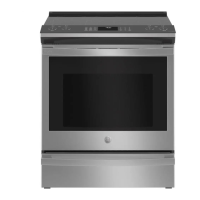
It is necessary to remove the right side panel to
replace the hinge receiver and upper oven liner.
To remove the right side panel on PSH925:
1. Disconnect power to the range.
2. Remove the oven door and warming drawer.
(See Oven Door Assembly, Warming Drawer
Assembly.)
3. Remove the range from its installation.
4. Remove the cooktop. (See Cooktop Assembly.)
5. Remove the rear cover. (See Rear Cover.)
6. Remove the 1/4-in. hex-head hidden screw
located in the recess near the front leveling leg.
7. Remove the fi ve 1/4-in. hex-head screws (3 at the
rear and 2 on top) that attach the rear vent to the
range. Lift and remove the rear vent.
Rear Vent
(Continued next page)
 Loading...