– 60 –
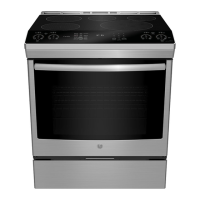
Lower Oven Door Lock Assembly
Note:
1. If only the lock motor and switch assembly and/
or cam has failed, it may not be necessary to
remove the door lock assembly from the range.
It is advisable to transfer these parts from a new
door lock assembly. Verify proper operation of
the lock assembly after transferring these parts.
2. The frame plate of the lower oven door lock
assembly is surrounded by insulation that will
block installation of the replacement door lock
assembly. Before extracting the lower oven door
lock assembly, it is necessary to create a path
for installing the replacement lock assembly by
inserting stiff cardboard or thin slats of wood
above and below the frame plate.
3. If insulation blocks installation of the lower oven
door lock assembly, it may be necessary to
remove the upper oven liner to replace the lower
oven door lock assembly. (See
Upper Oven Liner.)
Door Lock Assembly
8. Remove the door switch wire retainer from the
top of the mounting plate, and then pull the lock
assembly out from the range.
Upper Oven Liner
To remove the upper oven liner on PS978:
1. Disconnect power to the range.
2. Remove the range from its installation.
3. Remove the blower Assembly. (See Blower
Assembly
.)
4. Remove the remaining 1/4-in. hex-head screw
and the vent duct.
5. Remove the eight 1/4-in. hex-head screws and
the wire retainer from the control panel support.
Remove the support.
6. Remove the left and right side panels. (See
Left
Side Panel, Right Side Panel.)
7. Disconnect the wire harness from the upper
oven door switch.
8. Remove the upper oven lock assembly. (See
Door Lock Assembly.)
9. Remove the lower oven vent tube. (See Smoke
Eliminator/Vent Tube.)
10. Disconnect the wiring connected to the upper
oven lights. (See Oven Light Assembly.)
11. Disconnect the sensor wire harness.
12. Remove wires from the upper oven broil
element.
13. Remove the 2 insulation wire retainers.
14. Using rubber gloves to protect your hands,
carefully remove the top insulation.
15. Remove the upper oven vent tube. (See Smoke
Eliminator/Vent Tube.)
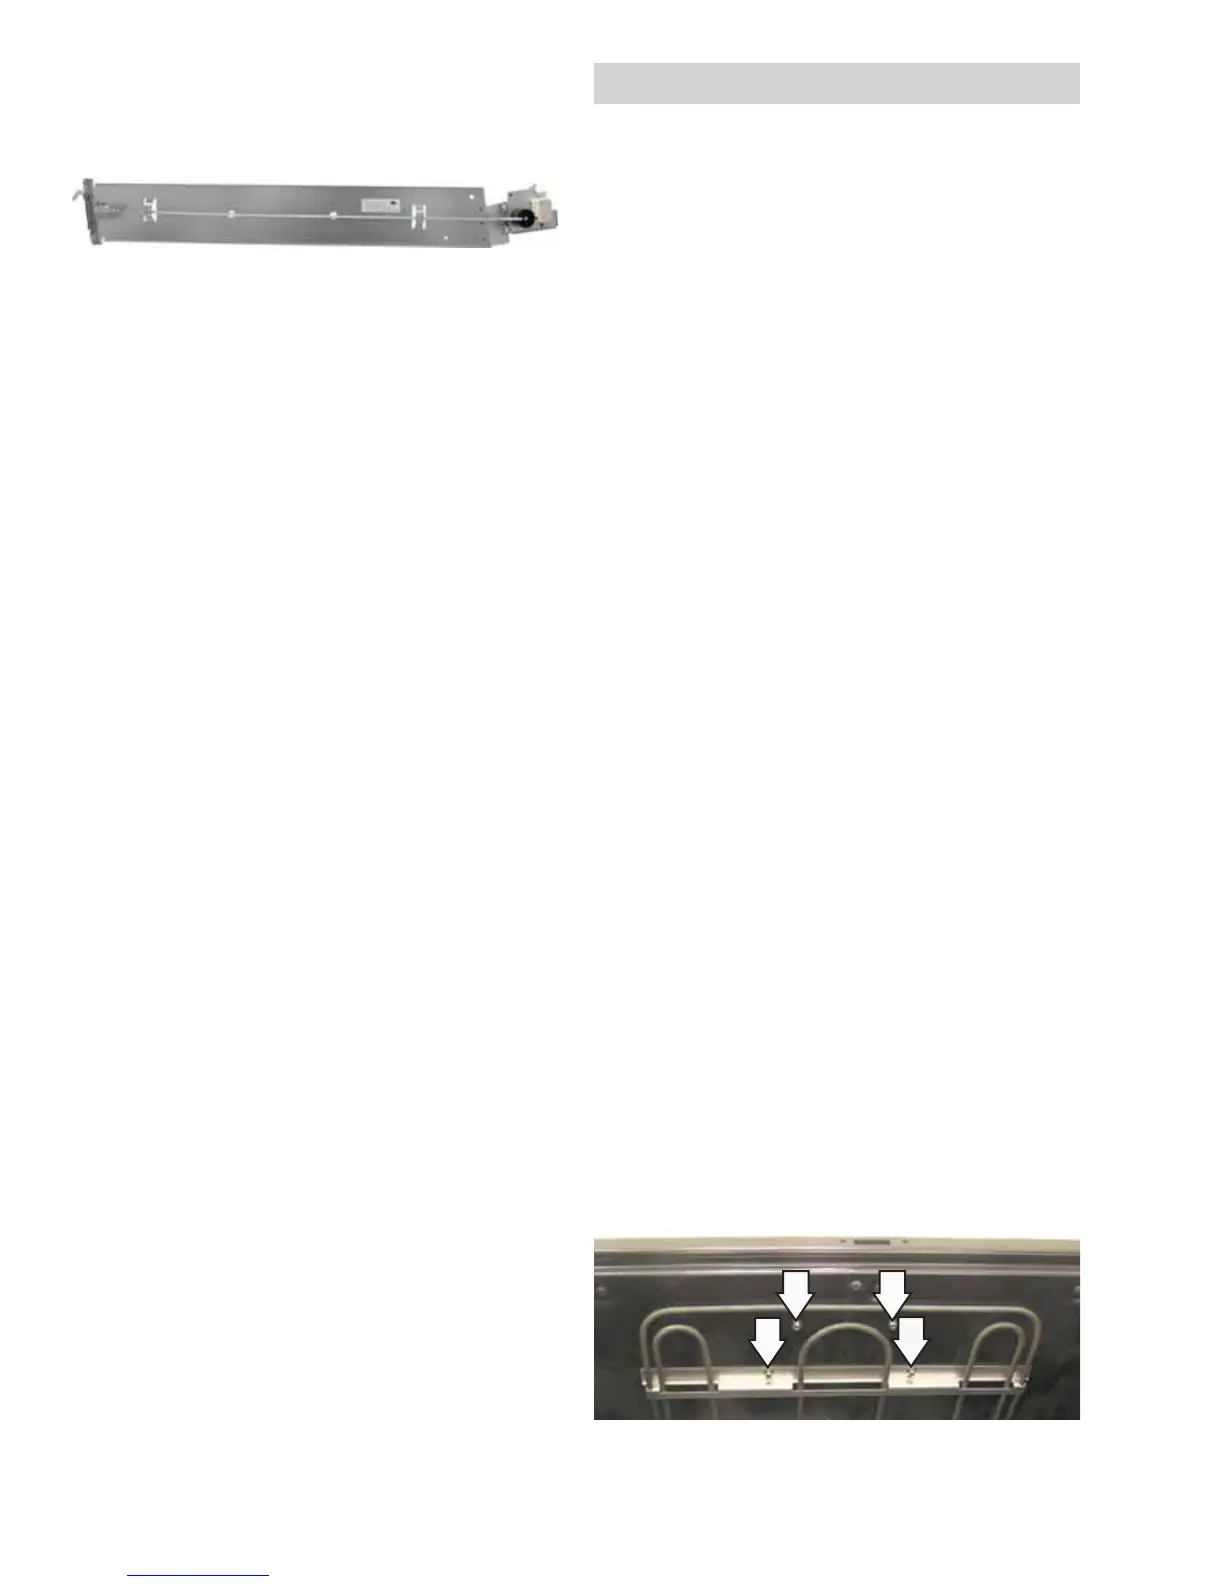
16. Remove the four 1/4-in. hex-head screws from
the top of the oven liner.
(Continued next page)
 Loading...