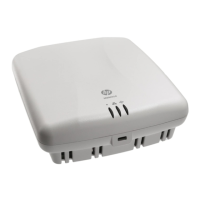
MSM310
Initial configuration (autonomous mode)
4-10
4. Reconnect and power on the MSM310:
If using a PoE switch or injector, use a standard Ethernet cable to reconnect the
MSM310 to the PoE switch or the data and power out port of the injector.
If using a power supply, use a standard Ethernet cable to connect the MSM310 to the
network, and reconnect the MSM310 power supply.
5. Enable the wireless network interface of your computer, and verify that it is set to obtain
an IP address automatically.
For example, to do this in Windows Vista, use Control Panel > Network and Sharing
Center > Manage Network Connections > Wireless Network Connection, right-
click Properties and select Internet Protocol Version 4 (TCP/IPv4) > Properties,
and make sure that Obtain an IP address automatically and Obtain a DNS server
address automatically are both enabled.
6. By default, the MSM310 creates a wireless network named HP. Connect your computer to
this wireless network. For example, in Windows Vista from the Start menu, select
Connect to, and then HP from the list of available wireless networks. You may have to
wait a short time for this wireless network name to appear in the wireless networks list.
7. Confirm that you can browse the Internet using the wireless network.
Step 7: Perform additional configuration
Configure your computer LAN port and connect it to the same network as the MSM310. Re-
launch the MSM310 management tool at https://<IP address> where <IP address> is the
MSM310 IP address from Step 5: Assign an IP address to the MSM310 on page 4-9.
Note See the Caution regarding Wireless security on page 4-7.
To enable access to other resources
By default, the MSM310 only permits traffic that is addressed to the default gateway on the
network (which enables you to connect to the Internet). To enable access to other resources:
1. Select VSC > Profiles and then select the HP profile.
2. On the Add/Edit Virtual Service Community page clear the Wireless security filters
checkbox.
3. Select Save.

 Loading...