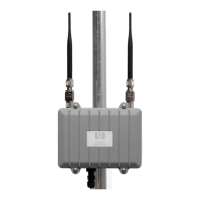
MSM320-R
Installation
7-10
3. Manually screw on antenna surge suppressors to the antenna connectors on top of the
MSM320-R as shown in the photo on the left side of page 7-4. Position the gas tube covers
so that they can be removed for future tube replacement. Attach the two supplied
antennas.
Note If installing an optional HP antenna, first attach the lightning arrester to the MSM320-R,
attach the antenna adapter to the arrester, then attach the antenna connector to the adapter.
See also the antenna documentation.
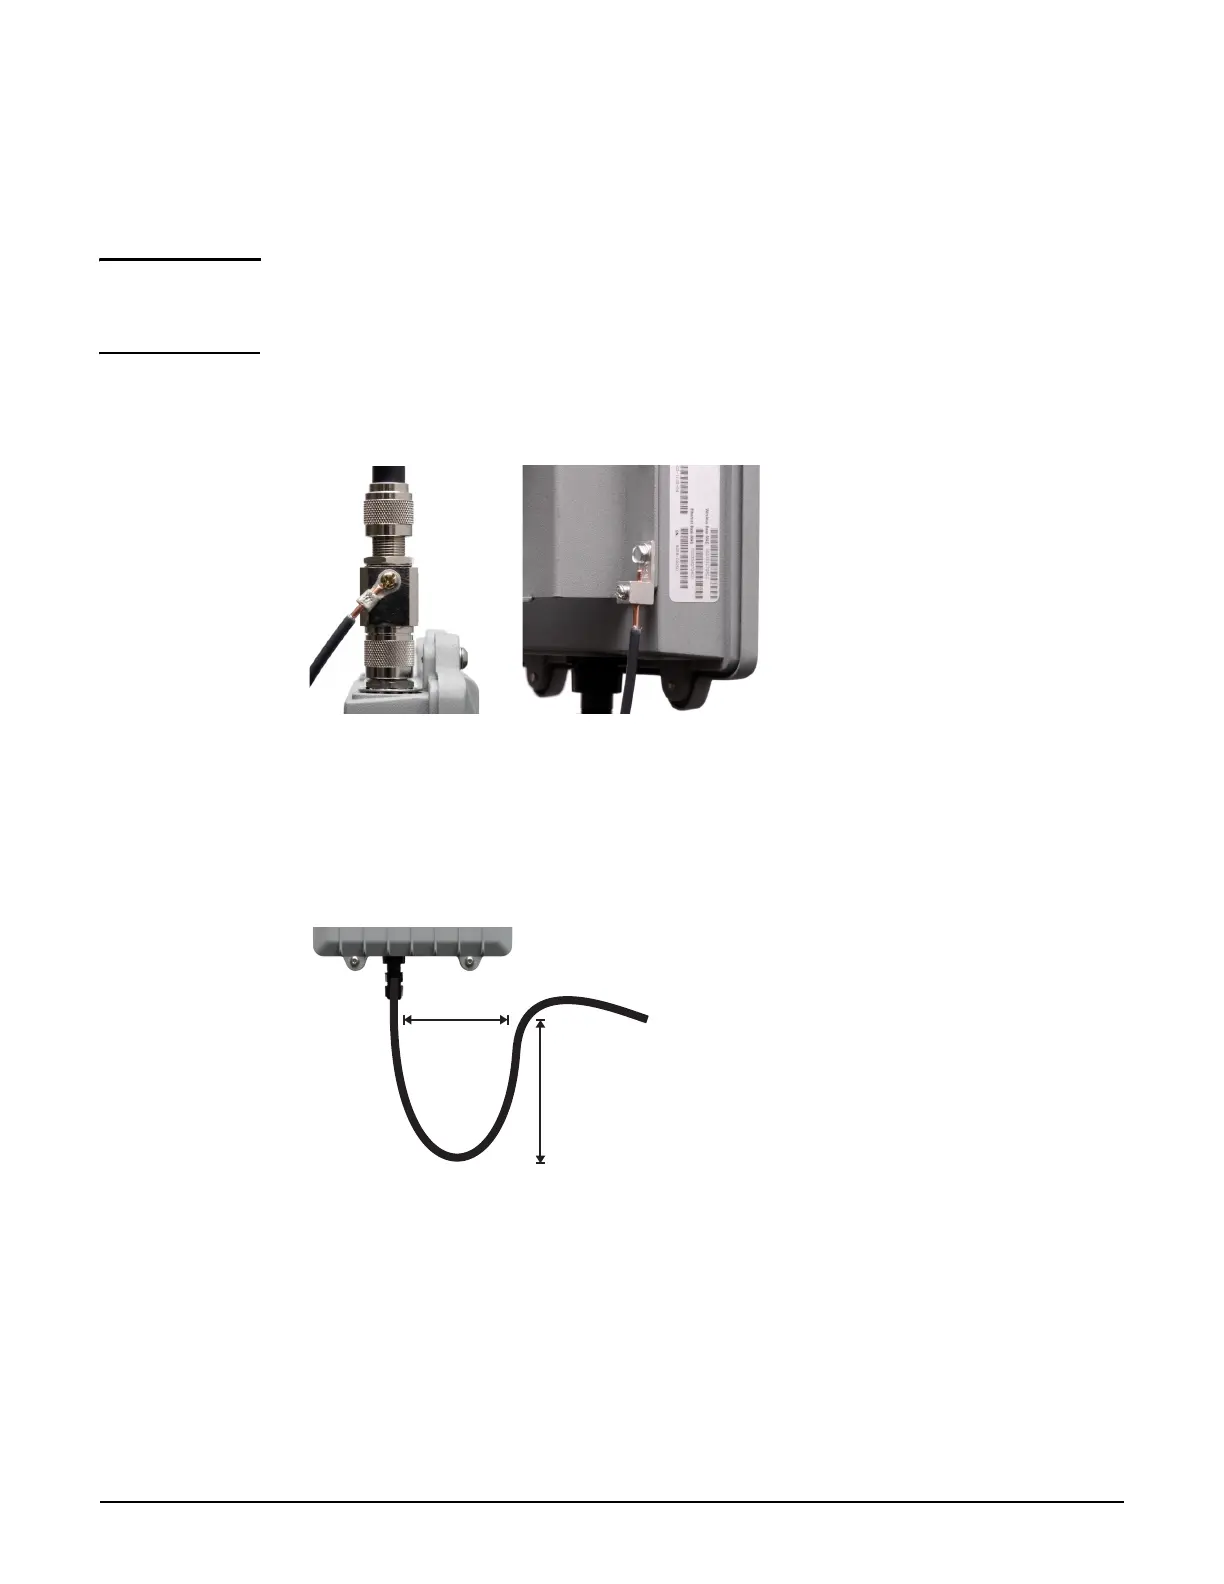
4. Attach a grounding wire to at least one of the antenna surge suppressors. For the model
shown, remove the crimp connector, crimp it to the wire, and then screw the crimp
connector back onto the surge suppressor.
5. Create a drip loop in the Ethernet cable below the MSM320-R. A drip loop provides
additional protection against water running down the Ethernet cable and into the
connector. Form the loop as shown here. Make sure that the distance between the loop
start and end points is at least 15 cm (6 inches), and that the cable hangs down at least 25
cm (10 inches).
6. (See illustration Weatherproof connector parts on page 7-8.) Mate the RJ-45 Plug (G)
with the socket on the MSM320-R, hold it firmly in place, and tighten the Screw Nut (E)
by hand. Do not over tighten. Do not tighten with tools.
7. Install an Ethernet surge suppressor as close as possible to the MSM320-R, ideally within
.6 meters (two feet). This helps reduce the effects of any charge carried by the cable to
the MSM320-R. Install this Ethernet surge suppressor between the MSM320-R and the
PoE power source.
Grounded surge suppressor Grounded body (via grounding lug)
10 inches
(25 cm)
6 inches
(15 cm)
Drip loop

 Loading...