− 51 −
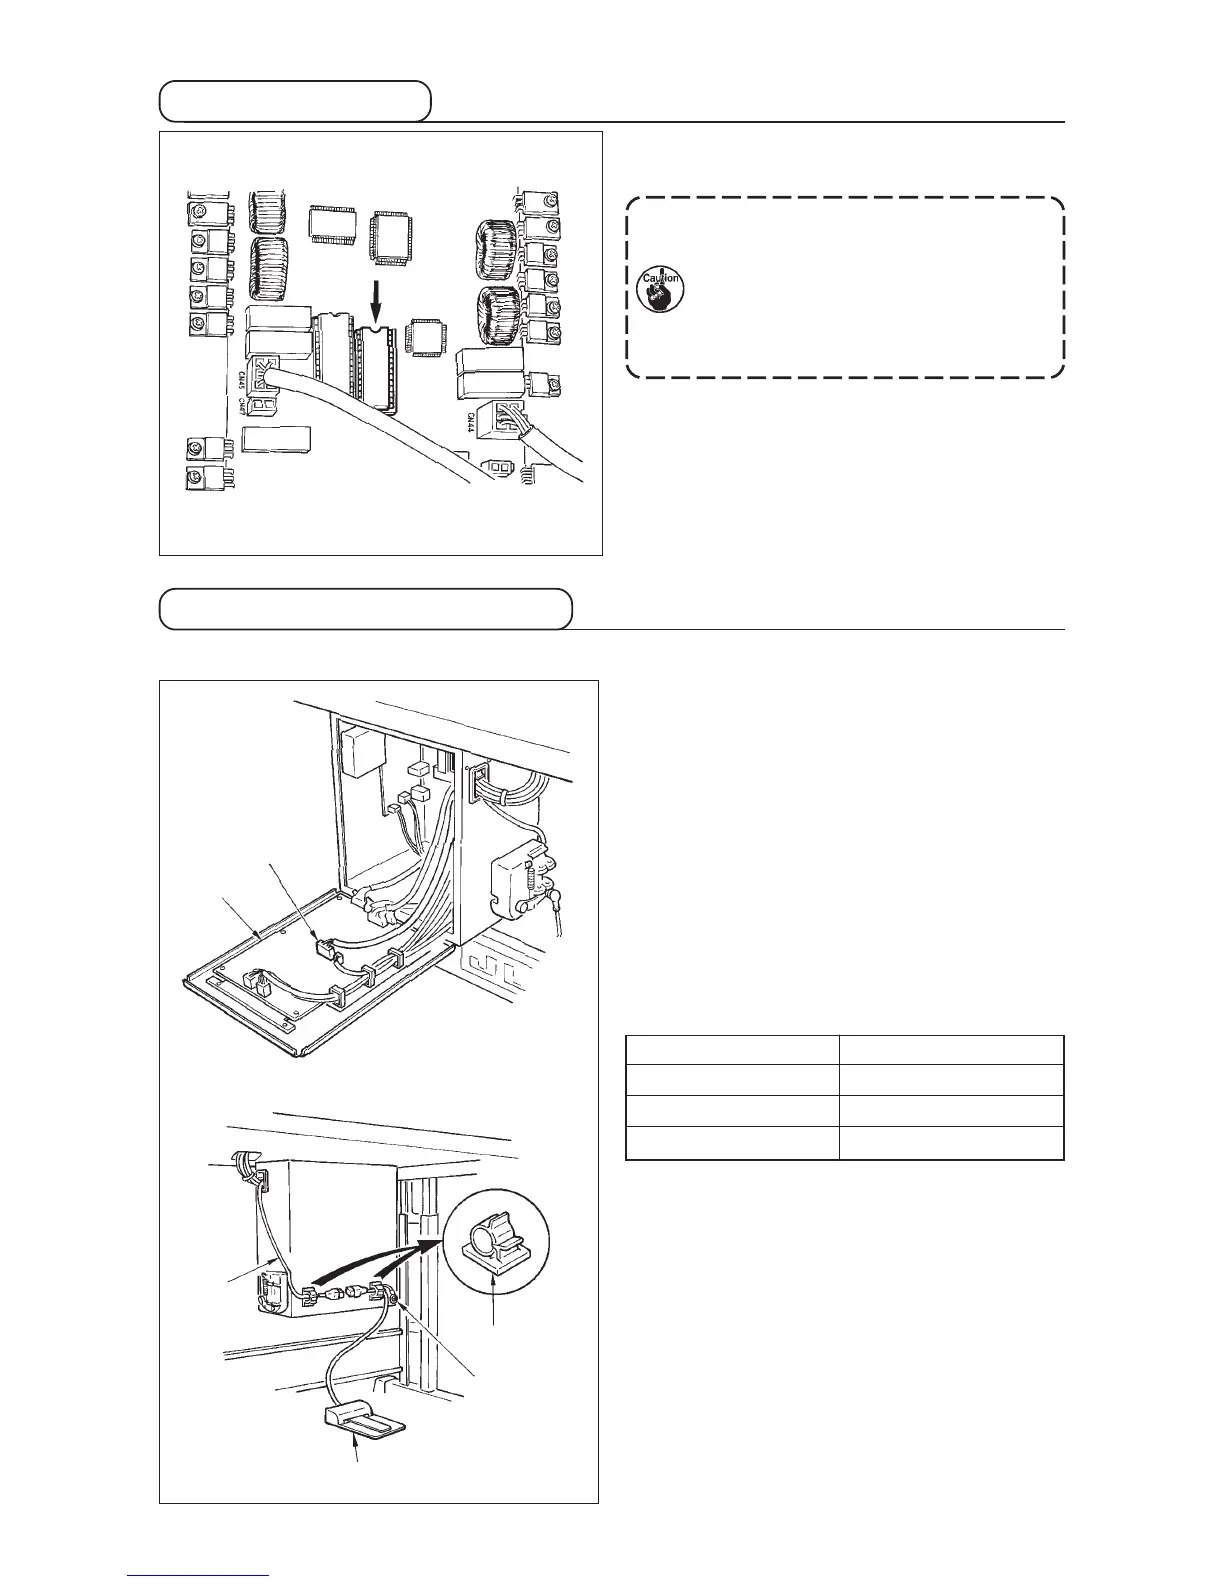
6. Connection of the optional pedal
(1) Connection of PK-57
1) Connect PK-57 change cable w with CN41 of
MAIN circuit board q.
2) Connect the cord of PK-57 e with the PK-57
change cable at the rear face of the control box.
Then clamp two places with adhesive clamp r.
In addition, tighten with a screw the PK-57 ground
cable as illustrated in the figure.
PK-57 : Part No. GPK570010B0
PK-57 change cable : Part No. M90135900A0
Adhesive clamp : Part No. E9607603000
3) Set the memory switches as follows.
Memory switch No. Set value
19 2
20 1
24 1
q
w
r
e
Ground
cable
w
5. LK-1900 data ROM
Insert LK-1900 data ROM to the IC socket on MAIN
p.c.b for use.
1. Be careful of the inserting direction.
2. EEPROM cannot be used.
3. When the pattern No. is the same as
that of the standard pattern, the pattern
in the data ROM is prior to other
pattern.
ROM which can be used :
27C256 EPROM
JUKI Part No. : HL008423000
 Loading...


