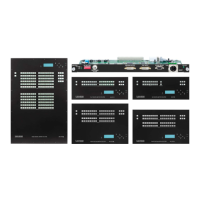
6. Software Control – Lightware Device Controller Software MX-FR Series Modular Matrix Frames – User's Manual 76
Port Properties and Settings
Press the desired port button on the port bar on the right.
INFO: Port settings of the selected port are also available by pressing the Parameters button.
Click on the number of the desired port in the case of grid view or on the headline of the port in the case of
tile view to open the port properties window. Signal status information and the most important parameters
are displayed. Audio mode, HDCP settings, properties of the test pattern are available from this menu. If
analog audio is present, the user can set the volume, balance and gain values here. Special functions (e.g.
frame detector, switching this input to all outputs, etc) are also available on the panel.
ATTENTION! As the available settings and features are different from port to port, the content of the Port
properties window is also different.
Common Features
Scope of Changes
There are two options to apply changes. To set the scope of the changed settings, select the desired option.
▪ Apply changes to current input:
▪ Apply changes to all inputs:
INFO:
selection at the time of closing to avoid making changes to all inputs by mistake.
Reload Factory Defaults
▪ Current input: Reloads the default values to the currently selected input.
▪ All inputs: Loads the factory default values to all inputs.
Port Name
The port name can be changed by typing the new name and clicking on the Rename button.
Switch this Input to all Outputs
This input will be routed to all of the outputs. Before switching, the actual crosspoint state can be saved as
a Preset.
The HDCP capability can be enabled or disabled on the input port. This can prevent unnecessary HDCP
encryption with certain source devices. Note that only unprotected contents can be played on the source if
this setting is disabled (unchecked). See the HDCP Management section for more information. #hdcp
Input Cable Equalization
The amplitude of high-frequency signals decreases after they pass-through long distances in copper cables.
To counter-act this phenomenon, certain input boards can amplify the signal while maximizing the amplitude
There are two equalization modes: automatic and manual. Automatic mode usually provides perfect
transmission, but at longer distances and higher resolutions manual equalization may be necessary. By
default, automatic equalization is enabled.
Keep in mind that a previously set manual equalization level may not be suitable for a different system. It is
always advised to use the automatic mode and adjust the equalization manually if the auto mode does not
give a good result.
Supported Boards:
▪ MX-HDMI-OPT-IB, -OB, -OB-R
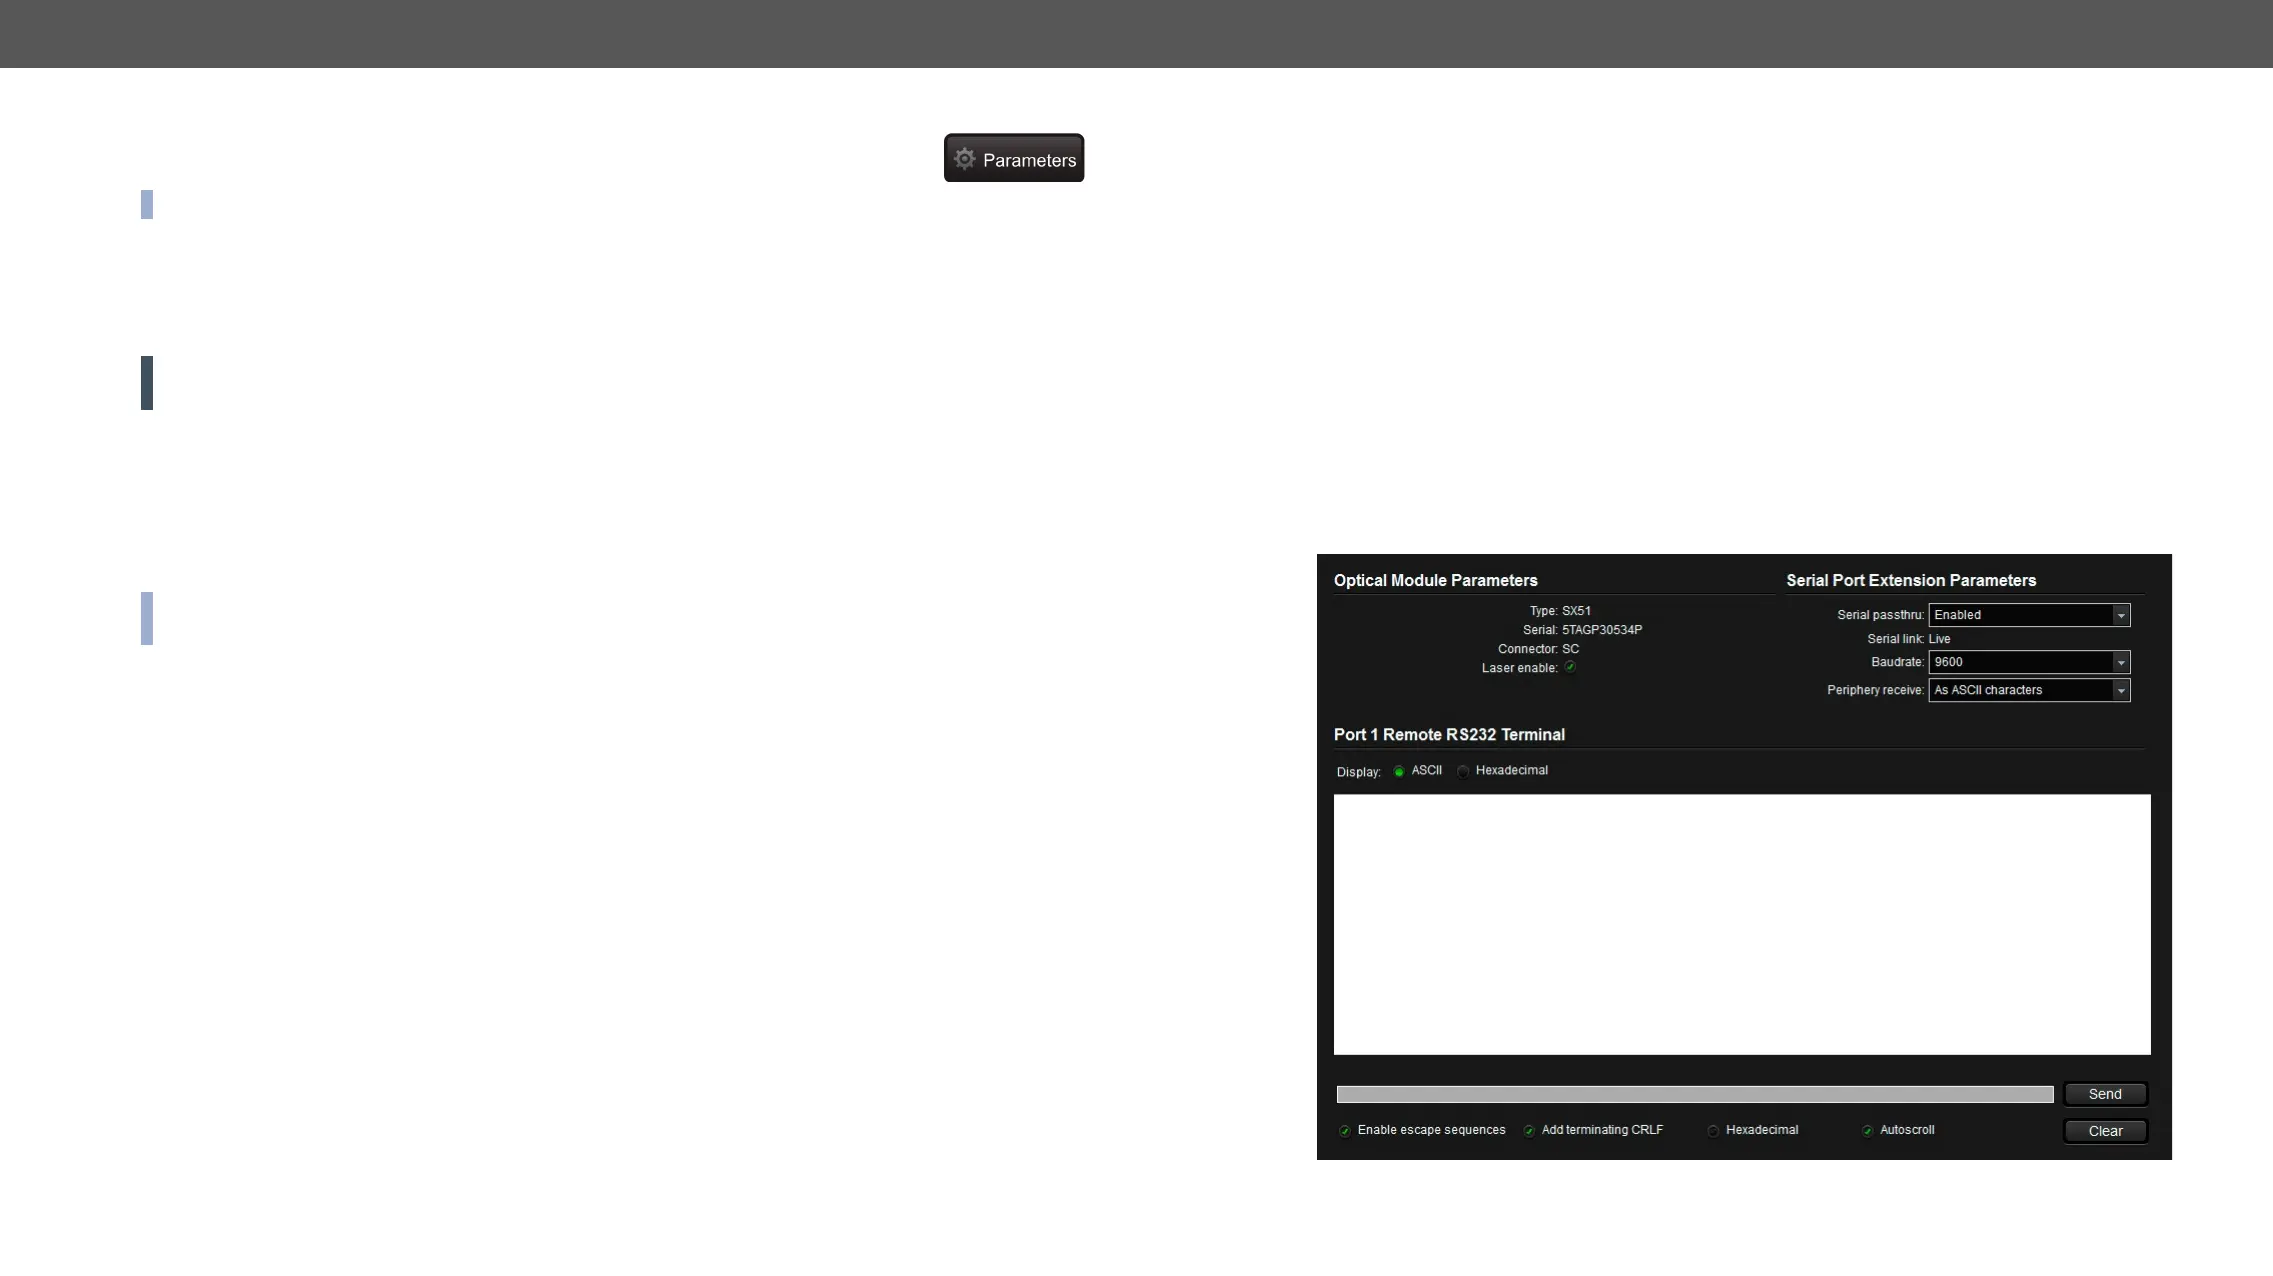
RS-232 Command Transmission
feature if not used. If the far optical device supports this protocol, the Serial passthrough can be enabled.
Click on the drop-down menu, then select the Enable option.
The Serial link shows the actual status of the function. If the function is supported by the transmitter and it
RS-232 Terminal (MX-HDMI-OPT-OB-R-SC board)
 Loading...