MAINTENANCE SERVICE MANUAL NUMBER 23
Page 1B-42 90-861326--1 MARCH 1999
Inspecting
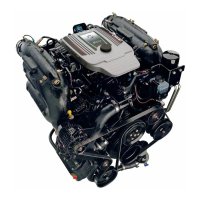
1. Inspect drive belt for the following:
• Excessive wear
• Cracks
NOTE:
Minor, transverse cracks (across
the belt width) may be acceptable. Longitudinal
cracks (in direction of belt length) that join transverse cracks are NOT acceptable.
• Fraying
• Glazed surfaces
75130
b
a
a-Fraying
b-Cracks
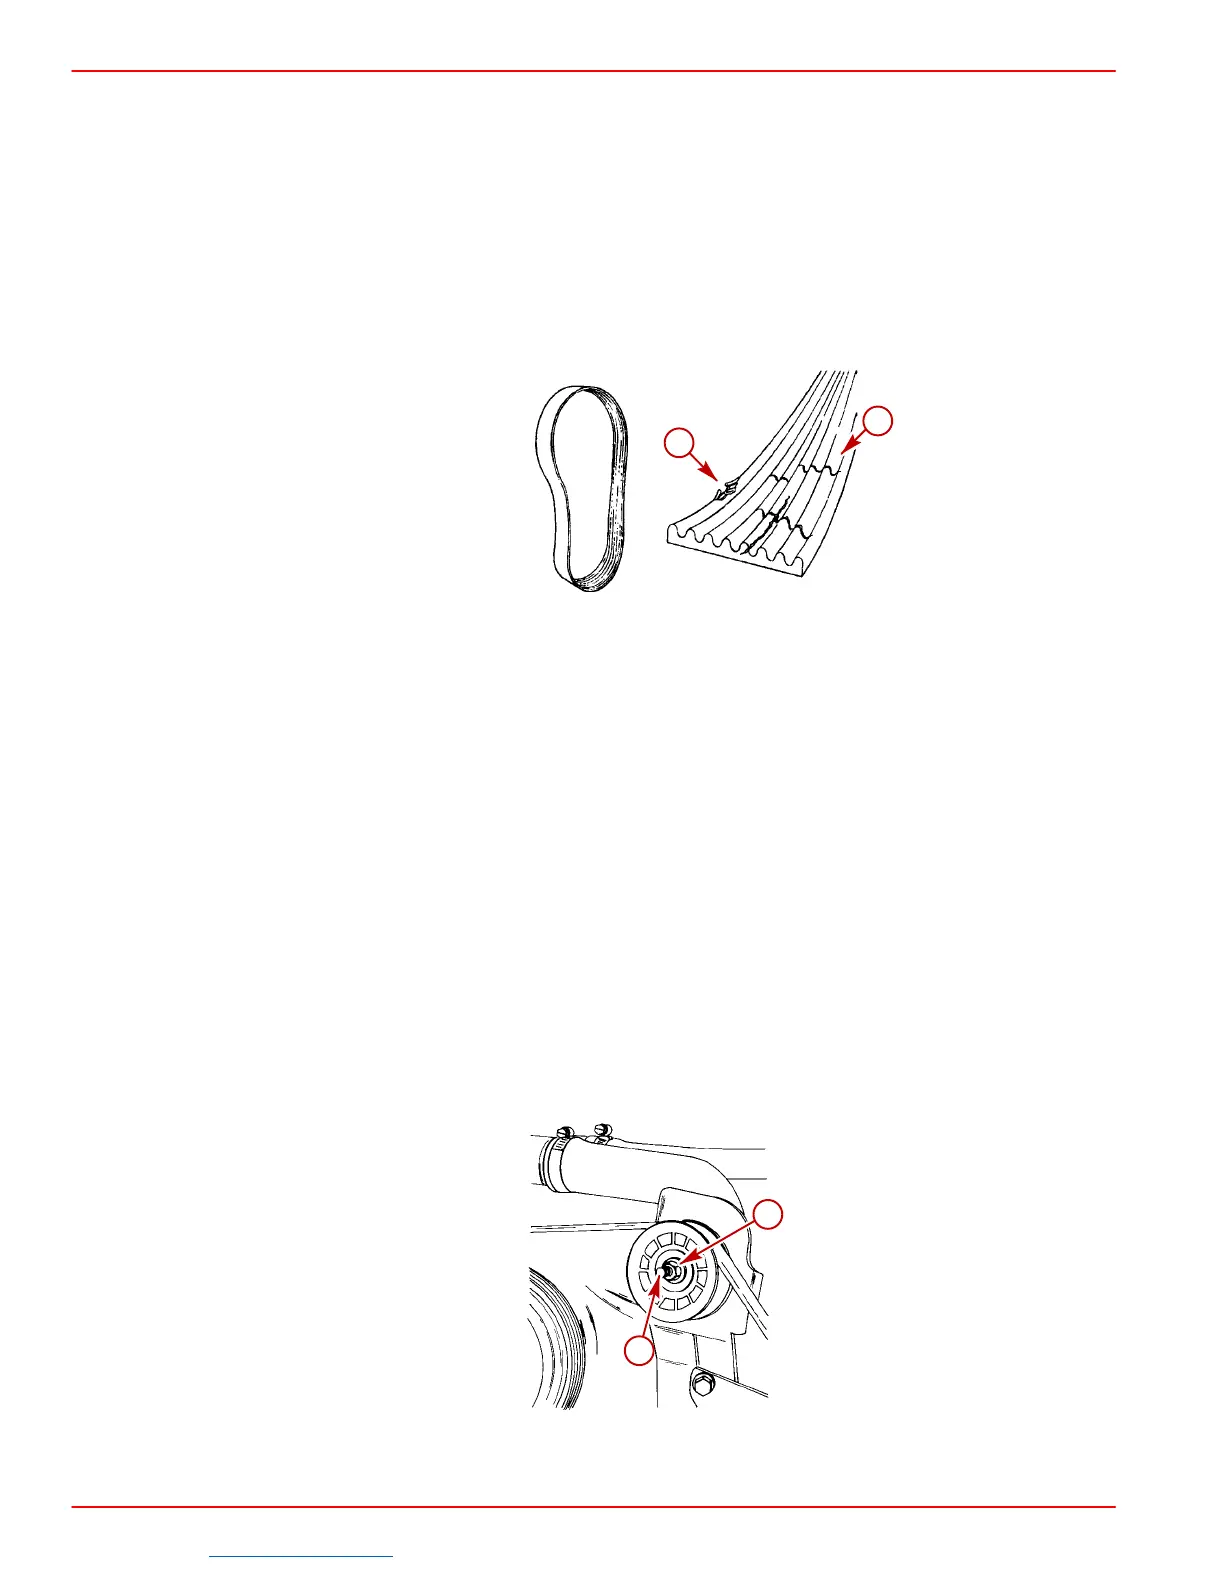
Replacing and/or Adjusting Tension
1. Remove drive belt as follows:
a. Loosen 5/8 in. locking nut on adjustment stud.
b. Turn adjustment stud and loosen belt. Remove belt.
2. Install drive belt on pulleys and adjust tension as follows:
a. Loosen 5/8 in. locking nut on adjustment stud. Leave wrench on adjustment stud.
NOTE: Belt deflection is to be measured on the belt at the location that has the longest dis-
tance between two (2) pulleys. Proper tension is 1/4 in. (6 mm) deflection with moderate
thumb pressure.
b. Use 5/16 in. socket and tighten adjusting stud until the correct deflection of the belt
is obtained at location specified above.
c. While holding adjustment stud at the correct belt tension, tighten 5/8 in. locking nut.
d. Run engine for a short period of time and recheck belt adjustment.
74908
a
b
a-5/8 in. Locking Nut
b-5/16 in Adjusting Stud
Downloaded from https://needmanual.com/!
 Loading...