Doc# 0296-0018 • REV R (July 2017) Page 46 of 61
Monitor Mode
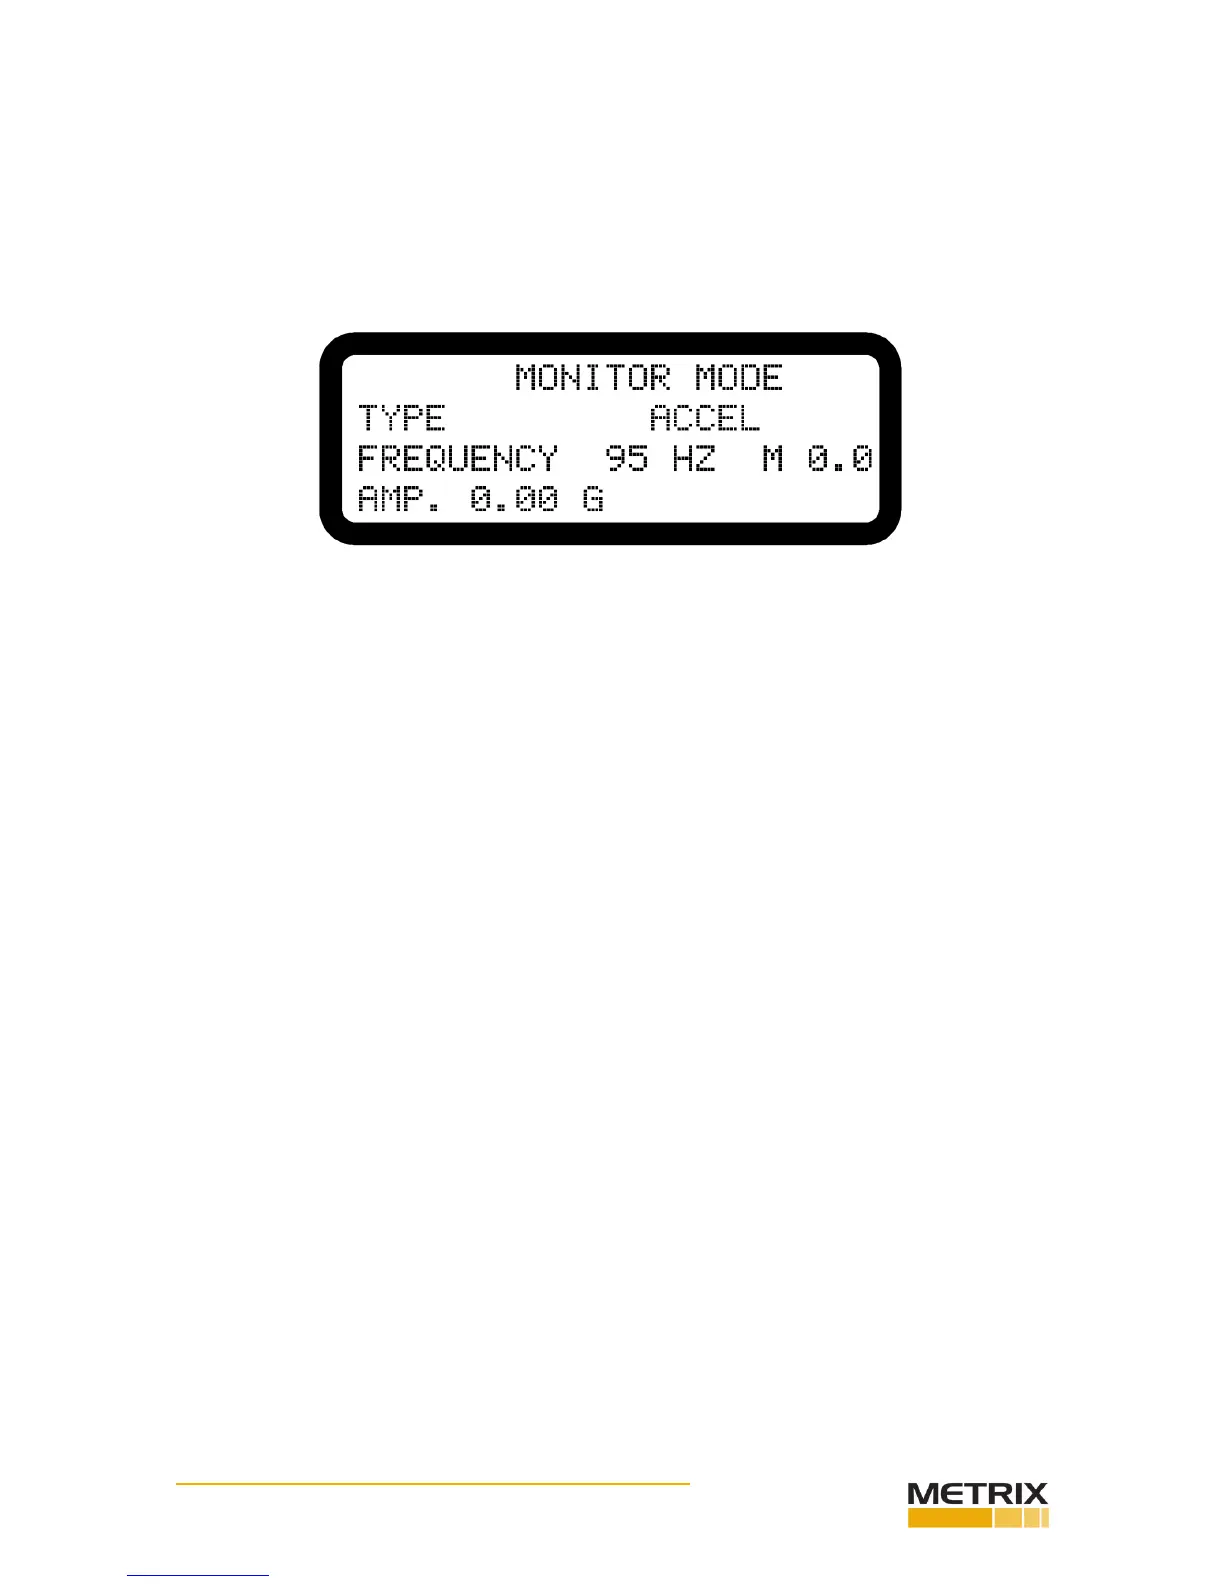
Step 1. Press the Mode buon to get to the Monitor Mode screen. (See Fig. 5-6)
Step 2. Press the CURSOR buon unl the Transducer type is ashing.
Step 3. Press the Select buon to select the Transducer Type Under Test. The
choices are:
• ACCEL (Accelerometer)
• VELOCITY
• DISPLACEMENT
FIG. 5-6 MONITOR MODE SCREEN
Step 4. Press the CURSOR buon unl the M 0.0 (Mass) is ashing.
Step 5. Use the key pad and enter the weight of the transducer in grams if known. (See Appendix B for
Transducer Weight Guide) If you do not enter a weight, 20 grams will automacally be used to correct
for the eects of transducer mass loading.
NOTE: When a velocity or accelerometer adapter plate is used, add 103 grams to the transducer mass.
NOTE: When entering values from the keypad, remember to enter the value and wait a few seconds
unl the cursor advances to the next posion before trying to enter another alphanumeric character.
You will also have to press the selected key pad buon once for numbers and twice or more for let-
ters.
Monitor Mode Tesng
Step 1. Press one of the FREQUENCY RANGE buons (See Fig. 5-1) to select the range you want to use
for the test:
• 3-100 Hz
• 100-1000 Hz
• 1000-10000 Hz
Step 2. Unlock the Frequency Knob and adjust to the desired frequency for test.
Step 3. Press the RUN/STORE buon to turn on the shaker. Make sure the red LED light is on to indicate
that the shaker is operang.
Step 4. Unlock the Amplitude Knob and adjust to the desired Amplitude.
NOTE: It is important to note that the HI-803 has microprocessor controlled monitoring and supervi-
sory limits built into the instrument as follows:
• Vibraon frequency or amplitude is out of recommended operat ing range - the display
ashes the frequency or amplitude elds. Adjust the shaker to within operang limits. (See
Table 5-2)
• Vibraon amplitude at lower frequencies have exceeded 0.1 inch (2.54mm) PK-PK displace-
 Loading...