Doc# 0296-0018 • REV R (July 2017) Page 47 of 61
ment. The shaker shuts down to prevent damage to the instrument and a message appears:
SHAKER DISPLACEMENT OUT OF RANGE!
PLEASE TURN AMPLITUDE DOWN
• Turn down the amplitude. When the amplitude is within limits, press the RUN/STORE but-
ton once.
Step 5. Press the PRINT buon to print the test results.
Sensivity Mode
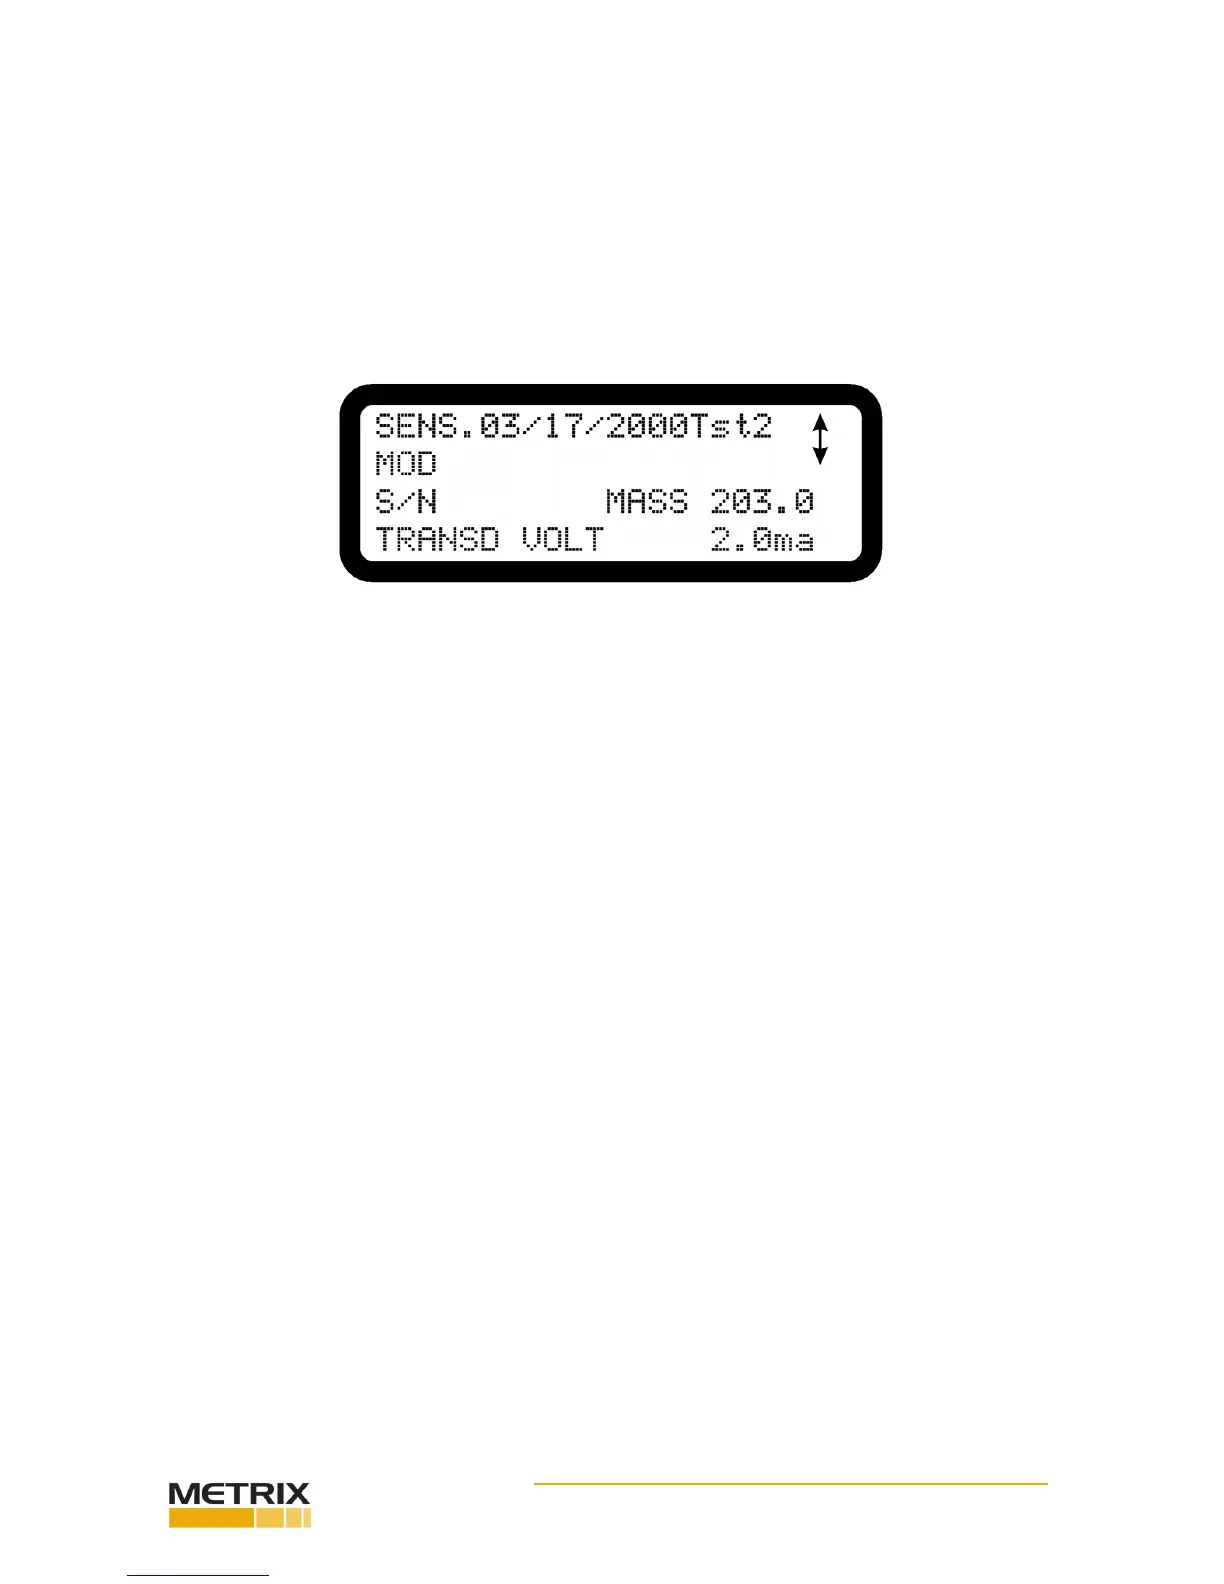
Step 1. Press the Mode buon to get to the Sensivity Mode screen. (See Fig. 5-7)
FIG. 5-7 SENSITIVITY MODE SCREEN
NOTE: If you see NO DATA on the screen it refers to a date entry. If test data are in memory, this eld
shows the test date. The date entered in the SETUP MODE is entered when tesng is started. The date
can be changed only in the SETUP MODE.
Sensivity Test Setup
Step 2. Press the CURSOR buon unl the Tst# is ashing.
Step 3. Press the Select buon to select a test number from 1 to 70. This test number may coincide
with each transducer to be tested. Up to 25 individual readings may be taken for each test. Press the
Backspace or le arrow buon to descend the test number list.
Step 4. Press the CURSOR buon unl the MOD eld is ashing. An up arrow appears.
Step 5. If you want to clear the form press the up arrow. A message appears as follows:
PRESS RUN TWICE
TO CLEAR ALL FORMS
Press the RUN/STORE buon two mes to clear the informa- on in all the forms. You now have a clean
form to use for this test.
Step 6. Use the keypad to enter the Transducer Model number. (See Appendix B for Model Number
Informaon) Remember press once for numbers and twice or more for leers and punctuaon. To enter
the same number twice wait for the cursor to advance forward one posion. The instrument will do this
automacally.
Step 7. Press the CURSOR buon unl the S/N eld is ashing.
Step 8.Press the Backspace or le arrow buon to clear the exisng numbers.
Step 9. Use the keypad to enter the Serial Number of the Transducer Under Test. Up to six characters
can be entered.
 Loading...