138
GS748T Smart Switch
6. In the Advertise Lifetime field, enter the value (in seconds) to be used as the lifetime field
in router advertisements sent from the interface. This is the maximum length of time that the
advertised addresses are to be considered as valid router addresses by hosts. The allowed
range for this field is 4 to 9000, i.e., the configured “Maximum Advertise Interval” to 9000.
7. In
the Preference Level field, specify the preference level of the router as a default router
relative to other routers on the same subnet. Higher numbered addresses are preferred. You
must enter an integer.
8. Click Cancel
to cancel the configuration on the screen and reset the data on the screen to
the latest value of the switch.
9. If
you change any of the settings on the page, click Apply to send the updated configuration
to the switch. Configuration changes take effect immediately.
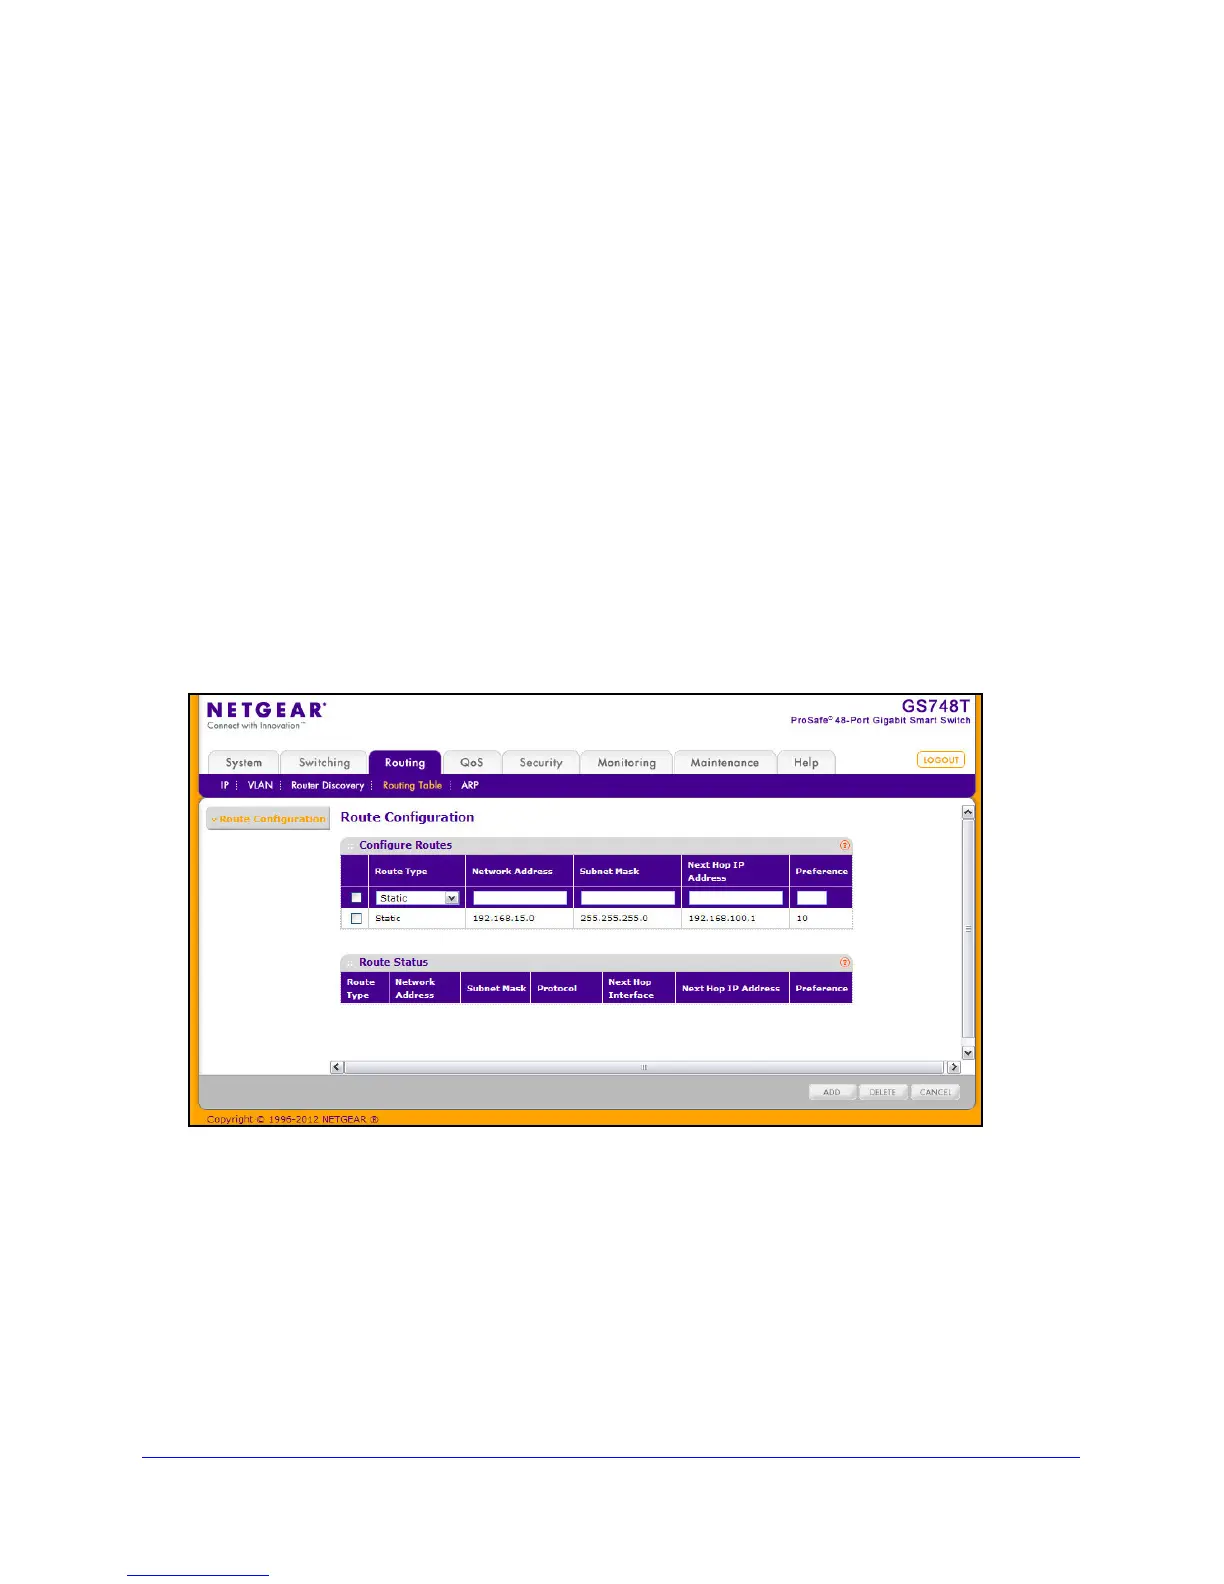
Configuring and Viewing Routes
From the Routing Table page, you can configure static and default routes and view the
routes that the GS748T has already learned.
To display the page click the Rou
ting Routing Table link.
To configure a route:
1. In the Route
Type field, specify whether the route is to be a Default route or a Static
route. If creating a default route, you need to specify only the next hop IP address;
otherwise, you need to specify each field.
2. In
the Network Address field, specify the IP route prefix for the destination. To create a
route, a valid routing interface must exist and the next hop IP Address must be on the same
network as the routing interface.
3. In
the Subnet Mask field, specify the network mask to indicate the portion of the IP address
that identifies the attached network.
 Loading...