45
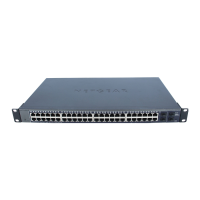
GS748T Smart Switch
To configure the Auto-DoS feature:
1. Select
a radio button to enable or disable Auto-DoS:
• Dis
able. Auto-DoS is disabled (default).
• Enable. Auto
-DoS is enabled. When an attack is detected, a warning message is
logged to the buffered log and is sent to the Syslog server. At the same time, the port
is shut down and can be enabled only manually by the admin user.
2. Click App
ly to send the updated configuration to the switch. Configuration changes occur
immediately.
3. Click Canc
el to cancel the configuration on the screen and reset the data on the screen to
the latest value of the switch.
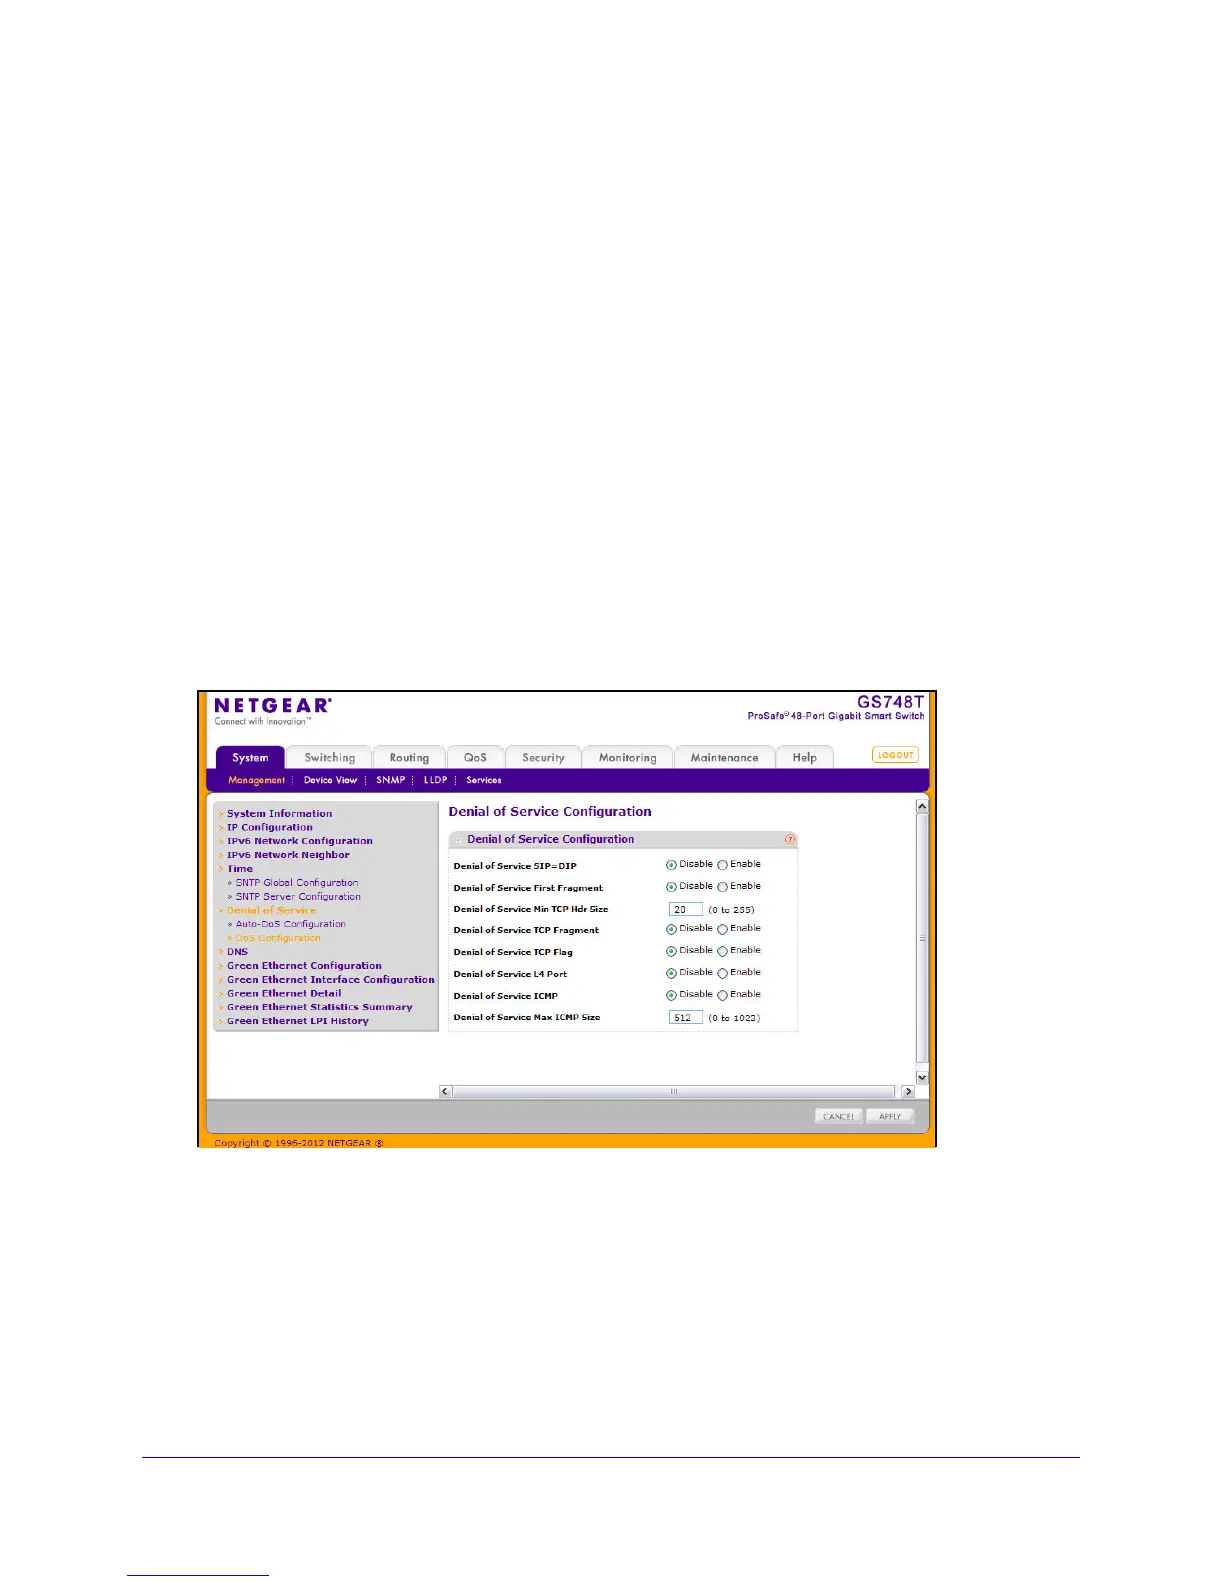
DoS Configuration
The DoS Configuration page lets you to select which types of DoS attacks for the switch to
monitor and block.
To access the DoS Configurati
on page, click System Management Denial of Service
DoS Configuration.
To configure individual DoS settings:
1. Select
the types of DoS attacks for the switch to monitor and block and configure any
associated values, as the following list describes.
• Den
ial of Service SIP=DIP: Enable or disable this option by selecting the
corresponding line on the radio button. Enabling SIP=DIP DoS prevention causes the
switch to drop packets that have a source IP address equal to the destination IP
address. The factory default is disabled.
• Den
ial of Service First Fragment: IP Fragment Offset = 1. Enable or disable this
option by selecting the corresponding line on the radio button. Enabling First
 Loading...