To set the correct time zone, time, and date, select the
country you are presently in, then enter the local time
and date.
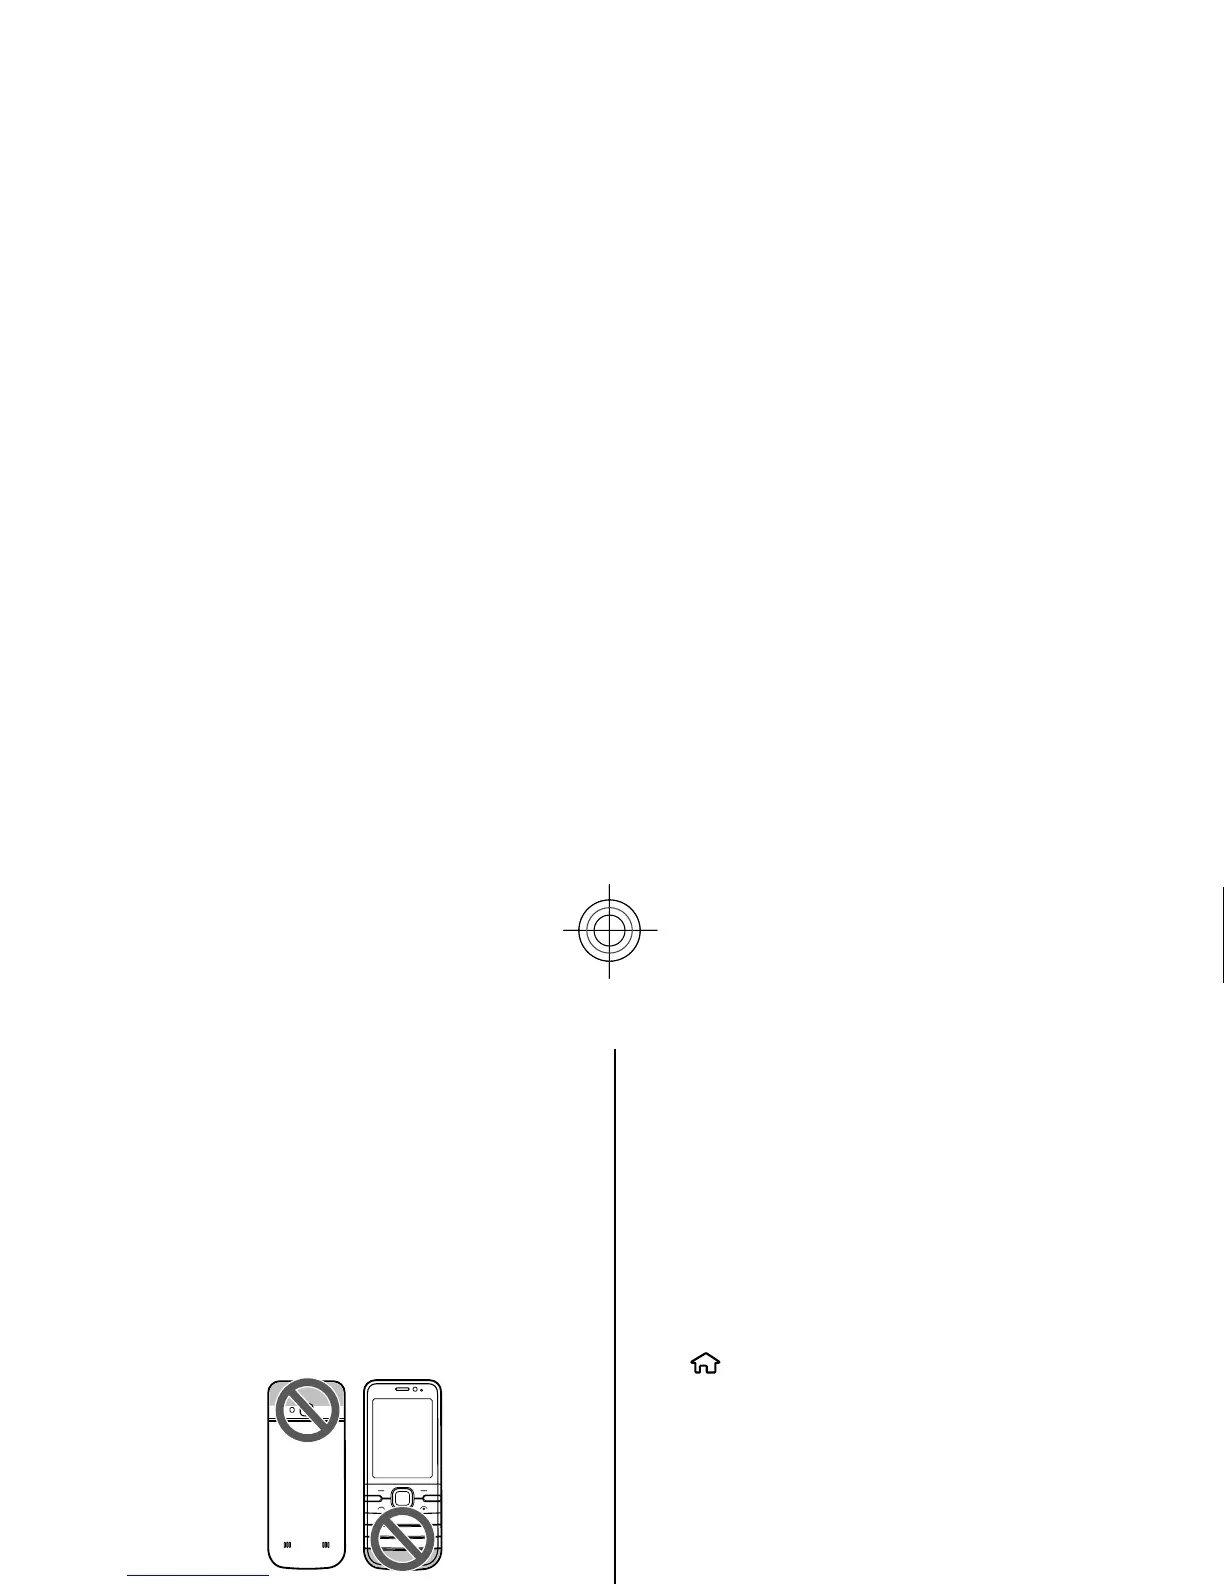
Antenna locations
Your device may have internal and external antennas.
As with any radio transmi
tting device, avoid touching
the antenna area unnecessa
rily while the antenna is
transmitting or receiving. Contact with such an
antenna affects the communication quality and ma
y
cause the device to operate at a higher power level
than otherwise needed and may reduce the battery
life.
Configuration settings
Before you can use multim
edia messaging, e-mail,
synchronisation, streaming, and the browser, you
must have the proper configuration settings in your
device. Your device may automatically configure
browser, multimedia messa
ging, access point, and
streaming settings based on the SIM card used. If
not,
you can use the Settings wizard application to
configure the settings. You may receive the settings as
a configuration message that you can save to your
device. For more information on availability, contact
your service provider or nearest authorised Nokia
dealer.
When you receive a configuration message, and the
settings are not automatically saved and activated,
1
new message
is displayed. To save the settings, select
Show > Options
> Save
. You may need to enter a
PIN code provided by the service provider.
Settings wizard
Select
> Settings
> Sett. wizard
.
Use Settings wizard to define e-mail and connection
settings. The availability of
the items in Settings wizard
depends on the features of the device, SIM card,
network operator, and the da
ta in the Settings wizard
database.
To start Settings wizard, select
Start.
To get the best results when using the settings wizard,
keep your SIM card inserted
in the device. If the SIM card
is not inserted, follow the instructions on the display.
Select from the following:
● Operator
— Define the operator-specific settings,
such as MMS, internet, WAP, and streaming settings.
●
E-mail setup
— Create a new mailbox.
● Video sharing
— Configure video sharing settings.
The settings available for editing may vary.
9
Get started
Cyan
 Loading...