EasyManua.ls Logo

Oki C711 User Manual

Oki C711
219 pages
To Next Page IconTo Next Page
To Previous Page IconTo Previous Page
Page #125 background image
44205401TH Rev.1
125 /
Oki Data CONFIDENTIAL
6. Periodic Maintenance
6.4 How to clean inside of printer
Clean inside of the printer.
Toner can adhere to the metal shaft located in between the fuser and the cyan image
drum cartridge depending on the print patter. Perform cleaning of inside of the printer if
toner has adhered to the metal shaft.
(1)
Tur
n off the power of the printer.
(2) Press down the OPEN to open the top cover.
Personal injuries may occur.
The fuser unit gets very hot. Do not touch the fuser unit.
(3) Remove the image drum cartridge.
1. Remove the four image drum cartridges and place them on a flat workbench.
2. Cover the removed image drum cartridge with a black paper.
Note! • The image drum (green tubular portion) is highly inherently-brittle. Be
v
ery careful when handling it.
• Be very careful not to expose the image drum to direct sun light or
intense light (light of approx. 1500 lux or more). Do not leave it under
the normal illumination even indoor for 5 minutes or longer.)
O I
OPEN button

Table of Contents

Other manuals for Oki C711

Question and Answer IconNeed help?

Do you have a question about the Oki C711 and is the answer not in the manual?

Oki C711 Specifications

General IconGeneral
Print TechnologyLED
ConnectivityUSB, Ethernet
Memory256 MB (max 768 MB)
Printer TypeWorkgroup Printer
Media SizesA4, A5, B5, Legal, Letter, Executive
Operating System CompatibilityWindows, Linux, Mac OS
Resolution1200 x 600 dpi

Summary

Preface

1. Configuration

1.1 System configuration

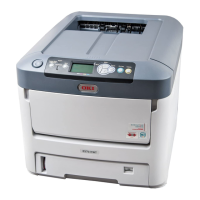
Overview of printer components and their connections.

1.2 The Configuration of printer

Details the physical parts and layout of the printer assembly.

1.3 Optional parts

Lists and illustrates optional components that can be added to the printer.

1.4 Specifications

Provides detailed technical specifications including dimensions, speed, and power.

1.5 Specification of interface

Details the specifications for various interface types like USB, network, and parallel.

2. Operating instructions

2.1 Electrophotographic processing mechanism

Describes the fundamental electrophotographic printing process steps.

2.2 Printing process

Outlines the paper path and workflow for printing operations.

3. Set up

3.1 Notes and precautions

Crucial safety guidelines and precautions for installation and handling.

3.2 Unpack method

Instructions for safely unpacking the printer unit.

3.3 Setting method

Guidelines for printer placement, environment, and ventilation.

3.4 List of equipments and accessories

Lists all included equipment and accessories provided with the printer.

3.5 Assembling method

Step-by-step instructions for assembling the printer and its parts.

4. Component replacement

4.1 Precautions on component replacement

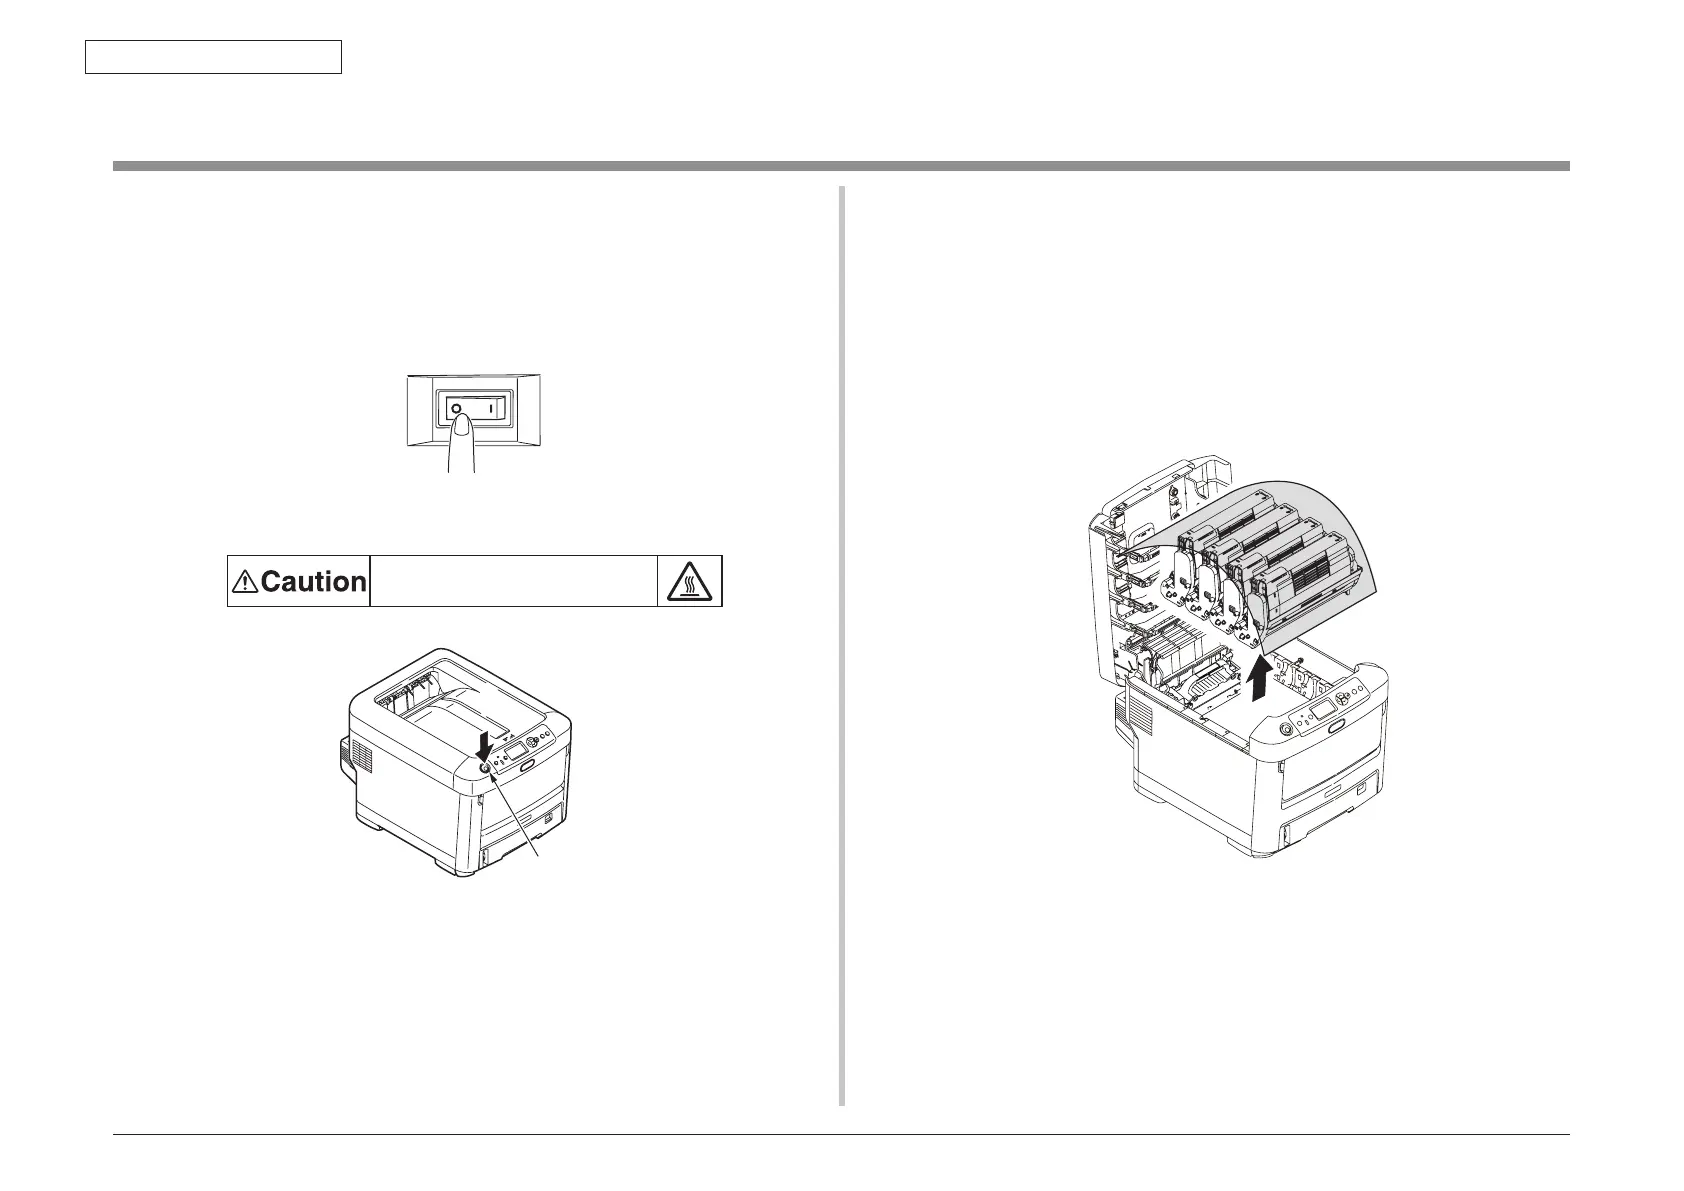
Essential safety and preparation steps before performing component replacement.

4.2 Method of component replacement

Detailed procedures for removing and replacing various printer components.

4.2.1 Belt unit

Procedure for replacing the belt unit.

4.2.2 Fuser unit

Procedure for replacing the fuser unit.

4.2.8 Control PCB

Procedure for replacing the main control board.

4.2.14 Low voltage power supply/Low voltage FAN/ Hopping motor/ Fuse motor

Replacement steps for power supply and fan components.

4.2.20 Feed roller

Procedure for replacing the feed roller.

4.3 Oiling spots

Details lubrication points and types for maintenance.

5. Maintenance Menu

5.1 System maintenance menu (for maintenance engineer)

Access and functions for advanced system maintenance.

5.2 Maintenance Utilities

Utilities for printer adjustments and settings.

5.3 Maintenance menu functions

Overview of various diagnostic and maintenance functions.

5.3.1 Self-diagnostic mode

Procedures for running self-diagnostic tests.

6. Periodic Maintenance

6.1 Cleaning

General cleaning instructions for the printer's interior and exterior.

6.2 How to clean the LED lens array

Specific instructions for cleaning the LED print head array.

6.3 How to clean the pickup roller

Procedure for cleaning paper feed and separation rollers.

7. Troubleshooting and repair procedure

7.1 Before starting the repair work

Preparatory steps before attempting repairs.

7.3 Precautions when taking corrective action against abnormality

Safety and handling precautions during troubleshooting.

7.4 Preparation for troubleshooting

Steps to prepare for troubleshooting.

7.5 Troubleshooting method

Detailed troubleshooting steps based on error messages.

7.5.1 LCD message list

List of panel messages and their troubleshooting steps.

7.5.3 Troubleshooting the abnormal images

Diagnosing and fixing print quality issues.

7.5.4 Network troubleshooting

Steps to resolve network connectivity and printing problems.

8. Connection diagrams

8.1 Resistance value check

Electrical resistance values for component testing.

8.2 Parts location

Diagrams showing the location of components on PCBs.

Related product manuals