9 Setting Up Slave Terminals
9 - 40
NX-series EtherNet/IP Coupler Unit User’s Manual (W536)
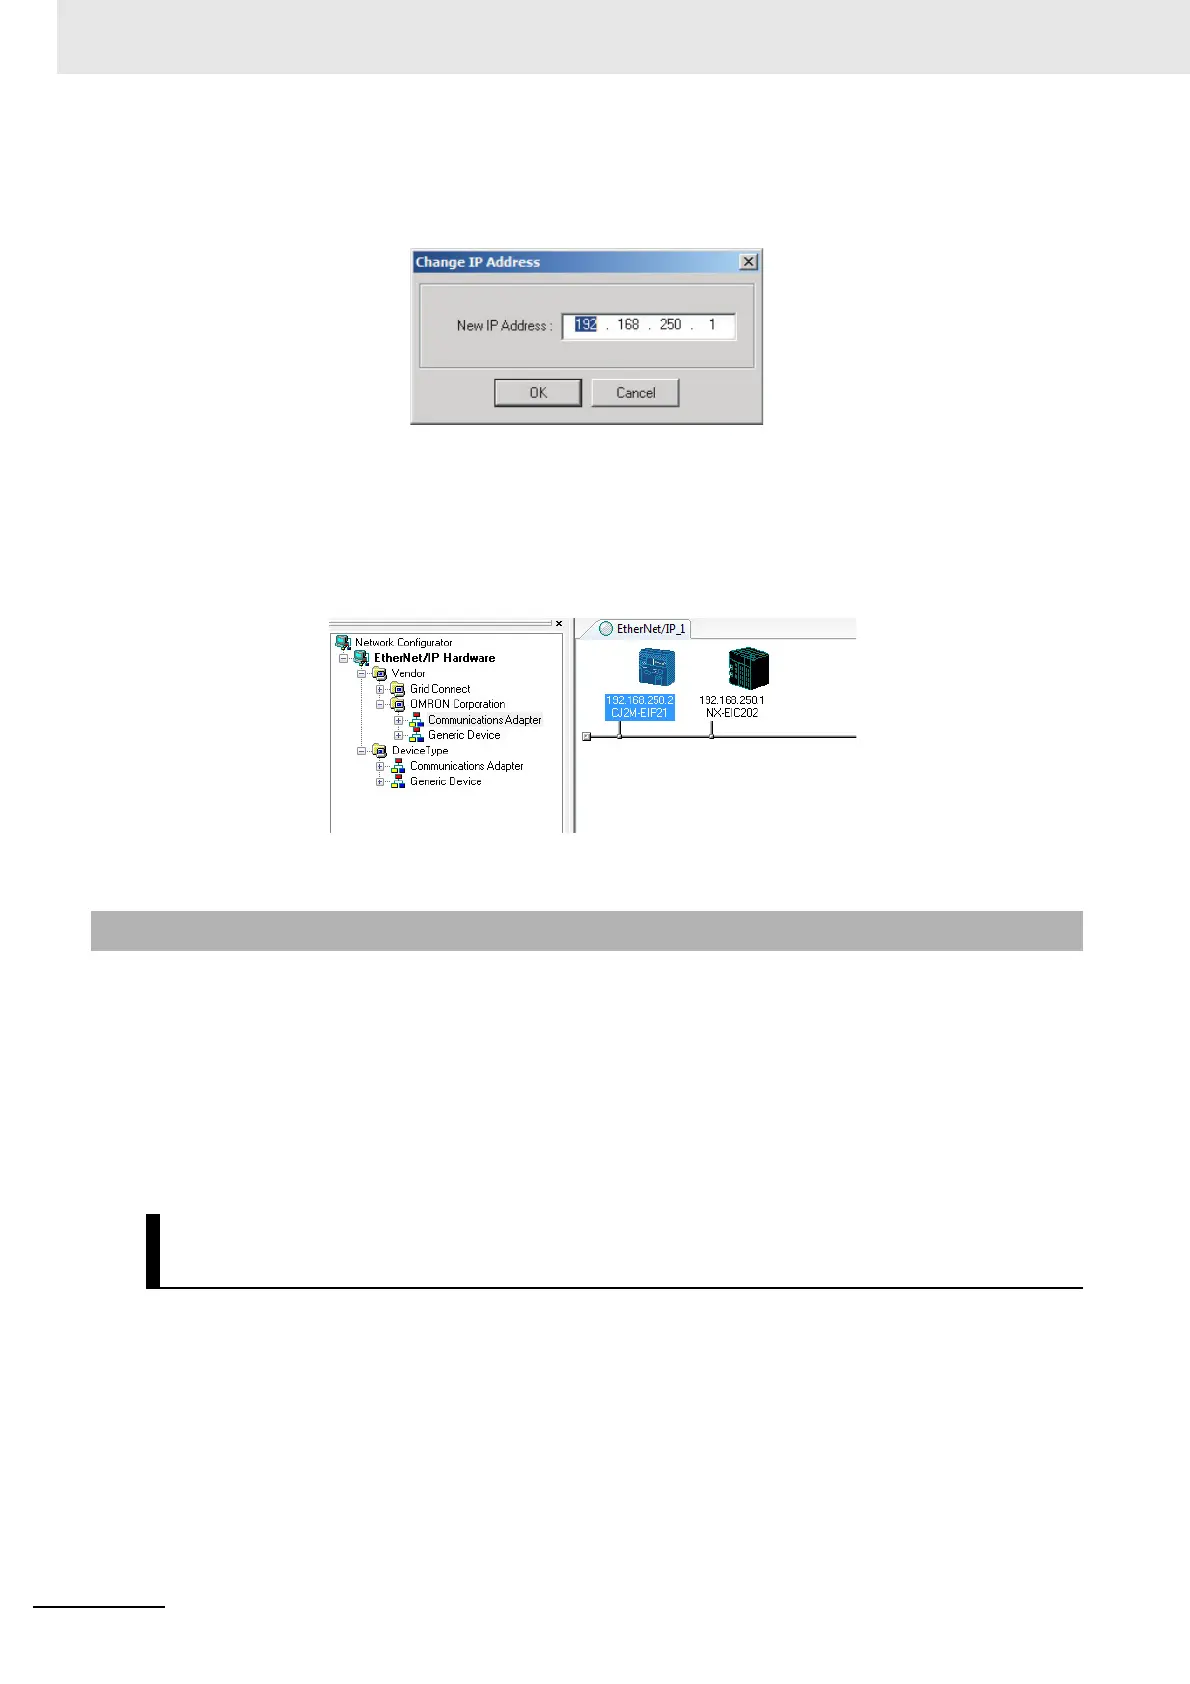
2 Right-click the registered device’s icon to display the pop-up menu, and select Change Node
Address.
3 Set the IP address to match the node address (IP address) actually used in the device and click
the OK button.
4 Repeat steps 1 to 3, and register all of the devices that participate in the tag data links. If the
device is not listed in the hardware list, an EDS file may need to be installed.
Before tags can be created, the size of data to exchange must be determined. This tag size is directly
related to the Slave Terminal hardware configuration.
The EtherNet/IP Coupler Unit will automatically generate I/O allocations based on the connected NX
Units when power is turned ON. This I/O allocation is translated to appropriate input and output tag
sizes that can be viewed with the following methods.
(1) Use the Network Configurator to upload the Slave Terminal parameter.
(2) Use the Support Software to examine the I/O allocation.
Use the following steps to view the input and output tag sizes that are configured in the EtherNet/IP
Coupler Unit.
1 Connect the Network Configurator to the network.
2 Right-click the EtherNet/IP network and click Upload.
9-5-4 Determine Tag Sizes
Use the Network Configurator to Upload the Slave Terminal Parame-
ter
 Loading...