5-12
CHAPTER 5 Periodic Inspection
5-2-1 R6YXH250, R6YXH350, R6YXH400
The following steps describe procedures and precautions when replacing the
harmonic drives of the R6YXH250, R6YXH350 and R6YXH400. (The illustra-
tions show the R6YXH250). For the bolt tightening torques in this work, refer
to Table 5-2.
1. X-axis
1) Prepare the following tools and items.
• Harmonic grease 4B No.2
• Waste cloth (rag)
• Phillips-head screwdriver
• Hex wrench set
• Screw Lock (thread sealant)
• Ratchet handle
• Hexagonal socket set
• Extension bar
• Torque-limiting wrench
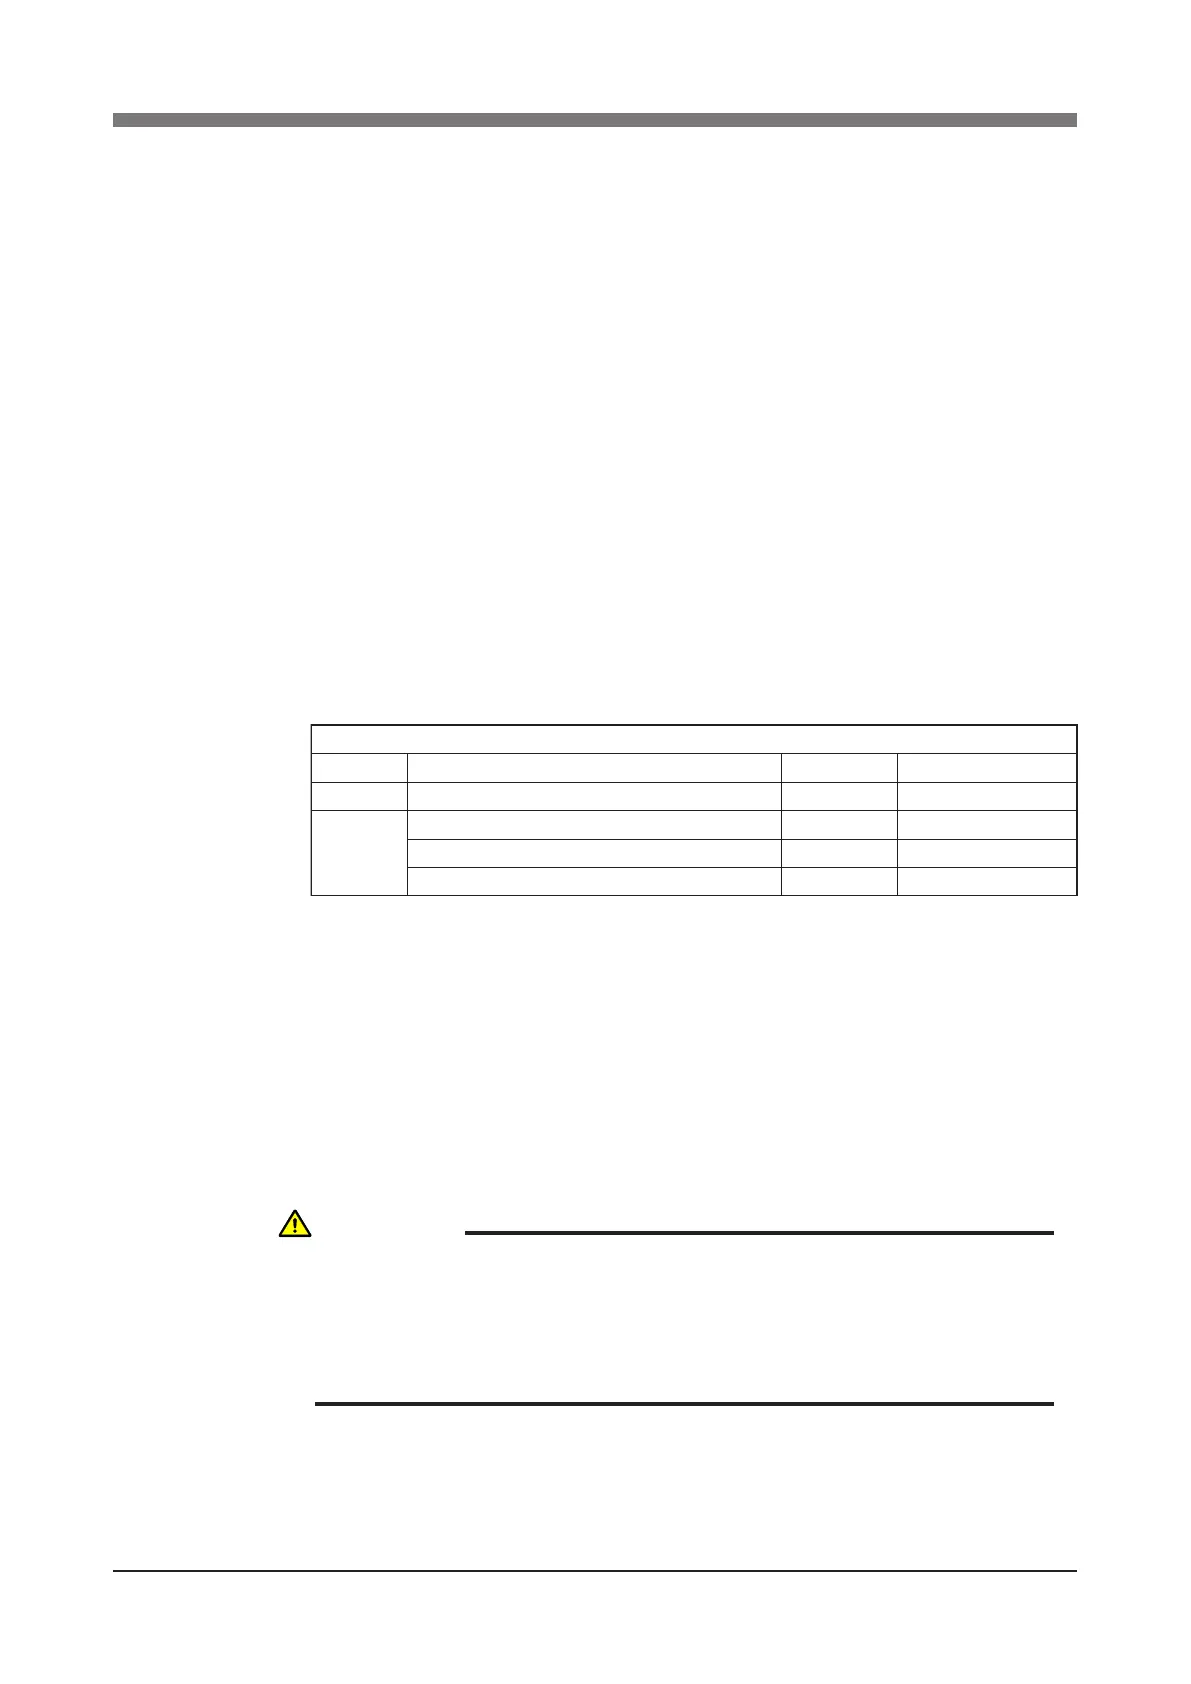
• Replacement parts (See table below.)
Replacement parts
Parts name
Type No .
OMRON Parts No.
Note
Harmonic drive
SHF-20-50
KN3-M2110-001
S71(JIS)
KN3-M2159-000
Top of harmonic drive
O-ring
Cross section diameter: 1.50mm x Inner diameter: 49.00mm
KN3-M2143-000
For motor
Cross section diameter: 0.99mm x Inner diameter:53.28mm
KN3-M2144-000
Supplied with harmonic drive
2) Turn off the controller.
3) Place a sign indicating that the robot is being inspected, to keep others from
operating the controller switch.
4) Enter the safeguard enclosure.
5) Remove the base (robot pedestal) front and rear covers.
Refer to "7 Removing the Robot Covers" in Chapter 4 for removing the
covers.
WARNING
WHEN YOU REMOVE THE X-AXIS ARM INSTALLATION BOLTS
(M3×40L, 8 PIECES) IN THE NEXT STEP, THE X-AXIS ARM MAY COME
OFF CAUSING A HAZARDOUS SITUATION. BE ESPECIALLY CAREFUL
TO KEEP THE ARM FROM FALLING WHEN A HEAVY TOOL IS
ATTACHED TO THE ARM TIP.
 Loading...