3-7
CHAPTER 3 Installation
2-3 Moving the robot
To check the mass of each robot, refer to "1-1 Basic specications" in Chapter 7.
2-3-1 Moving the R6YXH250, R6YXH350, R6YXH400
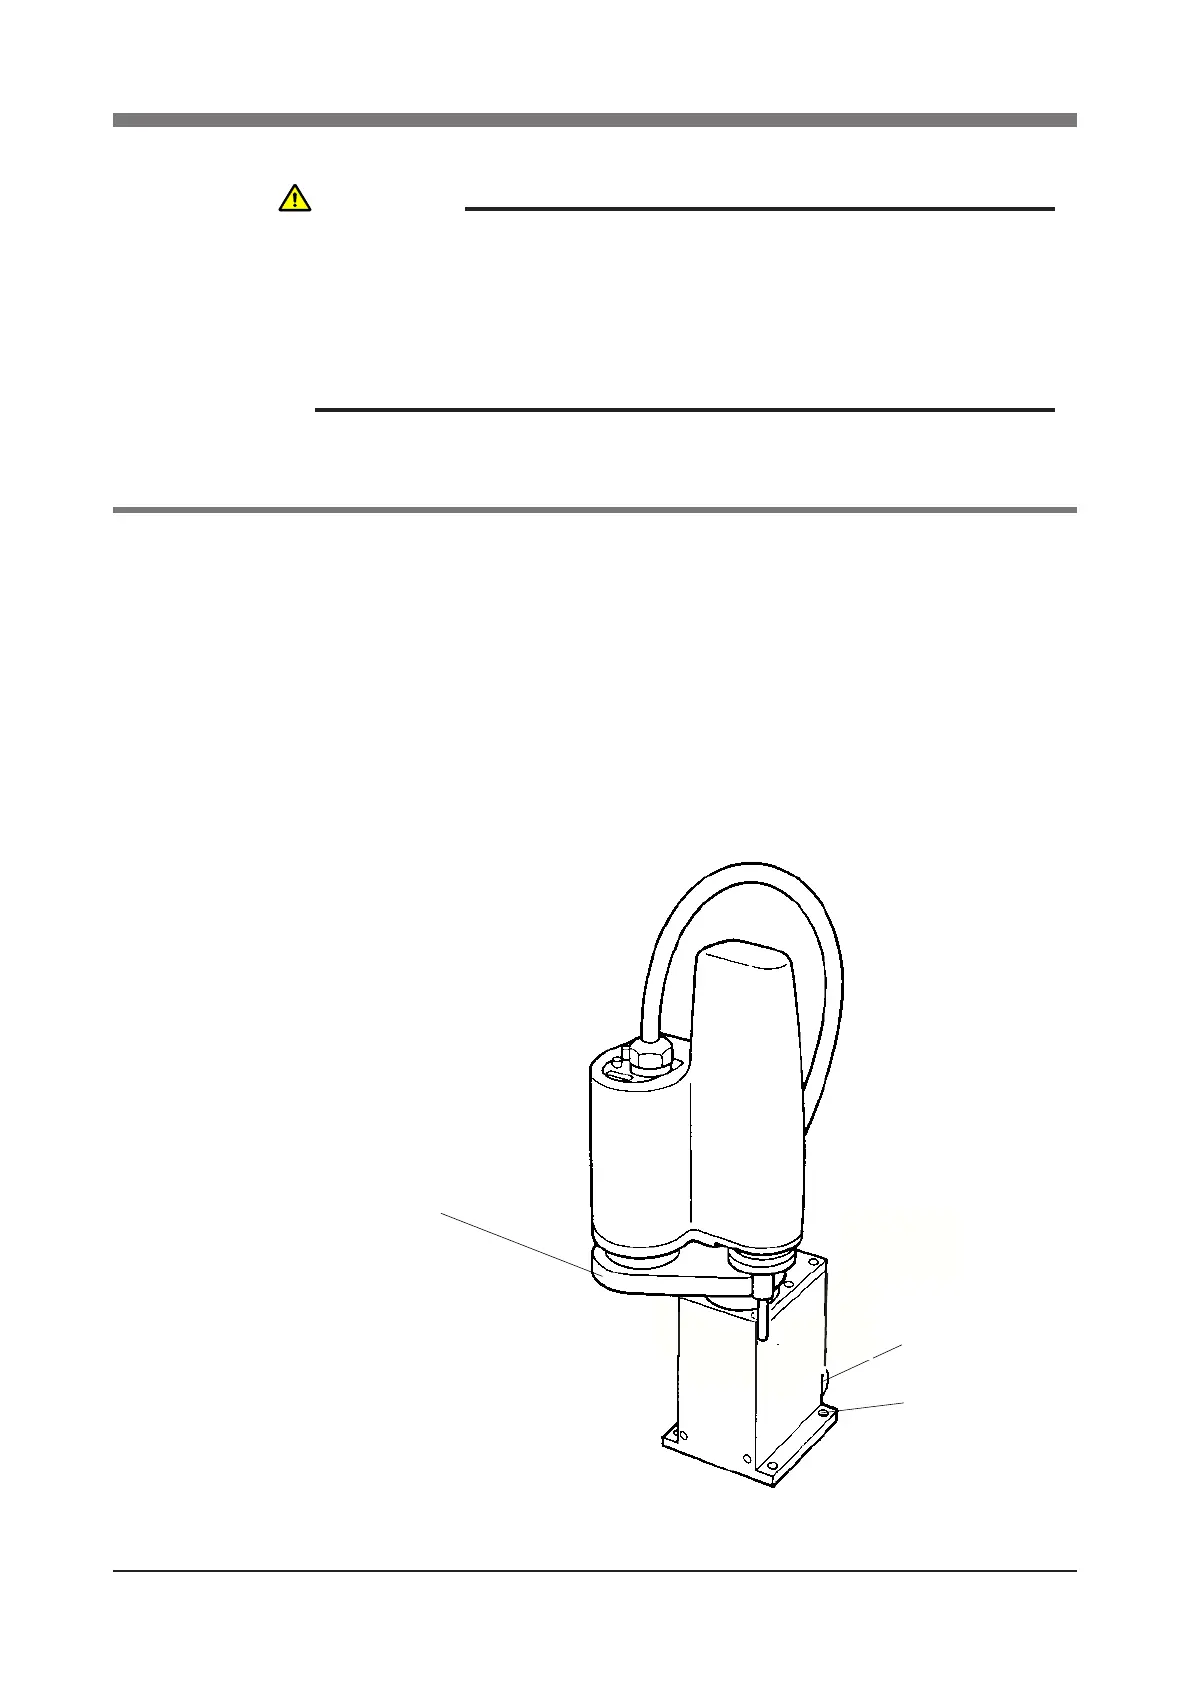
1) Fold the X and Y axis arms as shown in Fig. 3-4, and wind the robot cable
around the upper part of the pedestal, then fasten the robot cable with adhe-
sive tape so as not to cover the bolt installation holes.
2) Holding the support parts as shown in the gure with both hands, place the
robot on the installation base and secure it temporarily by tightening the
bolts.
(For tightening torque to secure the robot rmly, see the next section, "2-4
Installing the robot".)
Robot cable
Support part
Bolt installation
hole
Support part
Fig. 3-4
WARNING
SERIOUS INJURY MAY OCCUR IF THE ROBOT FALLS AND PINS
SOMEONE UNDER IT.
• DO NOT ALLOW ANY PART OF YOUR BODY TO ENTER THE AREA
BENEATH THE ROBOT DURING WORK.
• ALWAYS WEAR A HELMET, SAFETY SHOES AND GLOVES DURING
WORK.
 Loading...