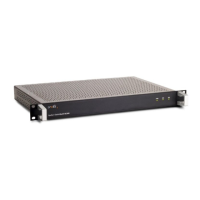
EPSILON CLOCK MODEL EC20S Spectracom
User’s Manual 18
6. PUTTING THE EC20S IN TO OPERATION
The EC20S can be installed in a rack or used as-is.
6.1 PRELIMINARY CONNECTIONS
Before starting the EPSILON CLOCK MODEL EC20S, perform the following steps:
• Leave free space of a few centimeters under the unit, in order to make easier natural air flow
from bottom to top of the EPSILON CLOCK MODEL EC20S.
• Connect a ground lead from the earth pin on the EC20S back panel to the frame of the rack. Use
a Terminal Ring tongue for ØM4 lug stud. Note that 2 nuts and 2 lock washer are already
included on the rack unit. Cable: protective earth conductor must have a minimum size of
0.75mm².
• Connect the network cable (refer to 8) into the Ethernet input (RJ45 input).
• Connect the multi-GNSS antenna into the ‘GPS antenna’ input to acquire the multi-GNSS
synchronization source (refer to 9.1 and refer to the document ”Outdoor GPS Antenna
Installation Considerations – REF TN07-101” that you can download from our web site).
• If necessary, connect a backup synchronization source using the ‘EXT’ and ‘NMEA’ inputs (refer
to 9.2 and 9.3).
6.2 POWERING UP
The EC20S can be powered by an AC supply, a DC supply, or both AC and DC supplies. For full
redundancy, connect DC power cables to the DC connector and AC power cable to the AC connector.
WARNING Before connecting the power supplies:
- Read carefully 3.1, 7.1 and 7.2,
- Check the polarity of the power signal before
connecting it (refer to the back panel labels for the
pin-out).
Connecting cables for signals and power supplies should be secured to locks provided for this purpose.

 Loading...