BRAKES
9.8
MASTER CYLINDER
REMOV
AL
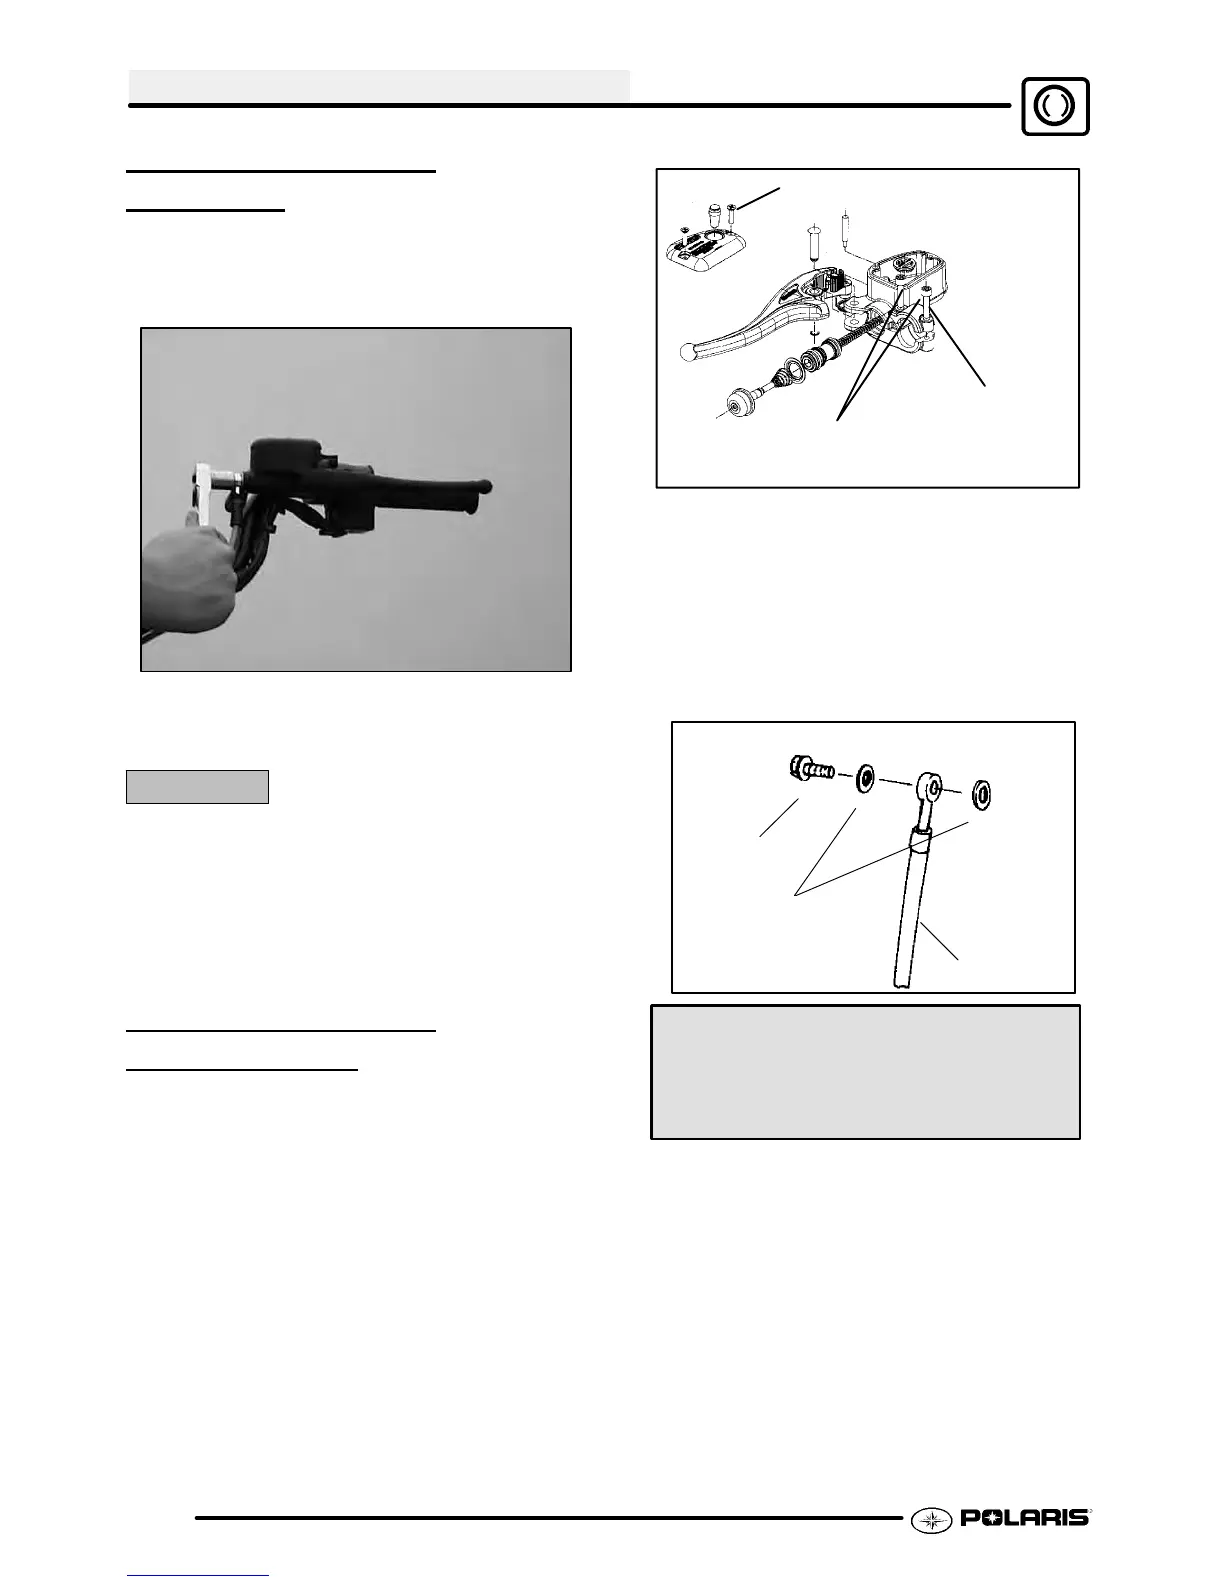
1. Clean master cylinder and reservoir assembly.
Make sure you have a clean work area to
disassemble brake components.
2. Placeashop towelunder brakelineconnectionat
master cylinder. Loosen banjo bolt; remove bolt
and sealing washers.
CAUTION:
Brake fluid will damage finished surfaces. Do not
allow brake fluid to come in contact with finished
surfaces.
3. Remove master cylinder from handlebars.
4. Hold brake upright and continue to remove
master cylinder. Cover brake line to avoid spills.
MASTER CYLINDER
INSTALLA
TION
Notice: When replacing the brake master cylinder
assembly or master cylinder parts, use the correct
parts. There are different brake master cylinders for
the different Polaris ATV models. Refer to your parts
manual or guide for the correct parts. The master
cylinder is not serviceable and is replaced as a
unit.
1. Install master cylinder on handlebars. Torque
clampboltsto25in.lbs.(3Nm). Torquetheinside
bolt first as indicatedin theillustration to theright.
Torque both bolts to
25 in.lbs. (3 Nm)
5in.lbs.(0.56Nm)
Torque Bolt First
NOTE: To speed up the brake bleeding procedure,
the master cylinder can be purged of air beforebrake
line is attached. Fill with DOT3 Brake Fluid (PN
2870990) and pump lever slowly two to three times
withfingerovertheoutletendtopurgemastercylinder
of air.
2. Placenew sealing washerson each side of banjo
line and torque banjo bolt to specification.
Brake Line
Banjo Bolt
Sealing Washers
Torque to 15 ft.lbs.
(21 Nm)
Handlebar Master Cyl. Clamp Bolt
Torque 25 in. lbs. (3 Nm)
Brake Line Banjo Bolt Torque
15 ft. lbs. (21 Nm)

 Loading...