6.9
BRAKES
9. Install diaphragm, cover and screws. Align any marks (if
present) into the proper holes in the master cylinder.
Wiggle and press down on the cap to be sure it fits evenly
and snug. Torque the screw to 7 in.lbs. (0.79 Nm).
10. Field test machine at low speed before putting into service.
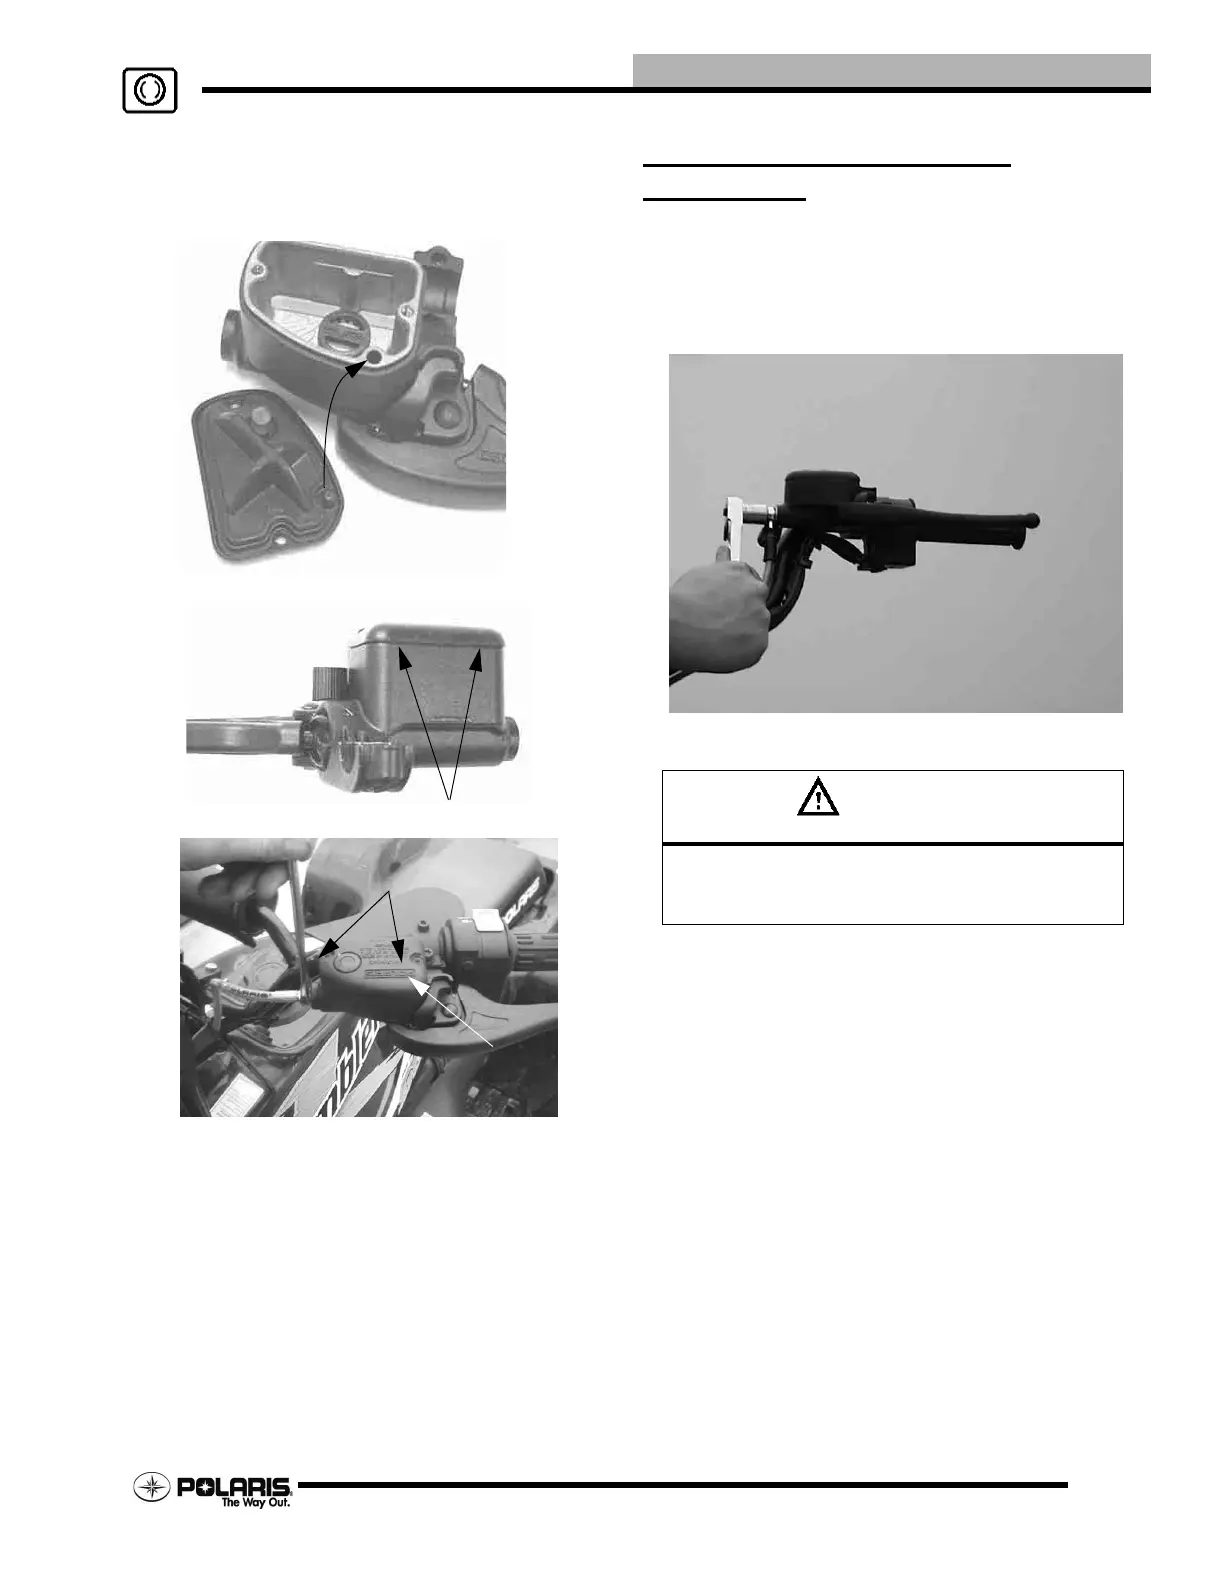
Check for proper braking action and lever reserve. With
lever firmly applied, lever reserve should be no less than 1/
2”, (1.3 cm) from handlebar.
11. Check brake system for fluid leaks and inspect all hoses
and lines for wear or abrasion. Replace hose if wear or
abrasion is found.
HAND BRAKE MASTER
CYLINDER
Removal
1. Clean master cylinder and reservoir assembly. Make sure
you have a clean work area to disassemble brake
components.
2. Remove the banjo bolt that connects the brake line to the
master cylinder. Discard the copper washers.
3. Remove master cylinder clamps from handlebars.
4. Hold brake upright and continue to remove master
cylinder. Cover brake line to avoid spilling of fluid.
Cap Must Be Even
7 in.lbs. (0.79 Nm)
Torque Outer
Screw First
CAUTION
Brake fluid will damage finished surfaces.
Do not allow brake fluid to come in
contact with finished surfaces.
 Loading...