7.3
FINAL DRIVE
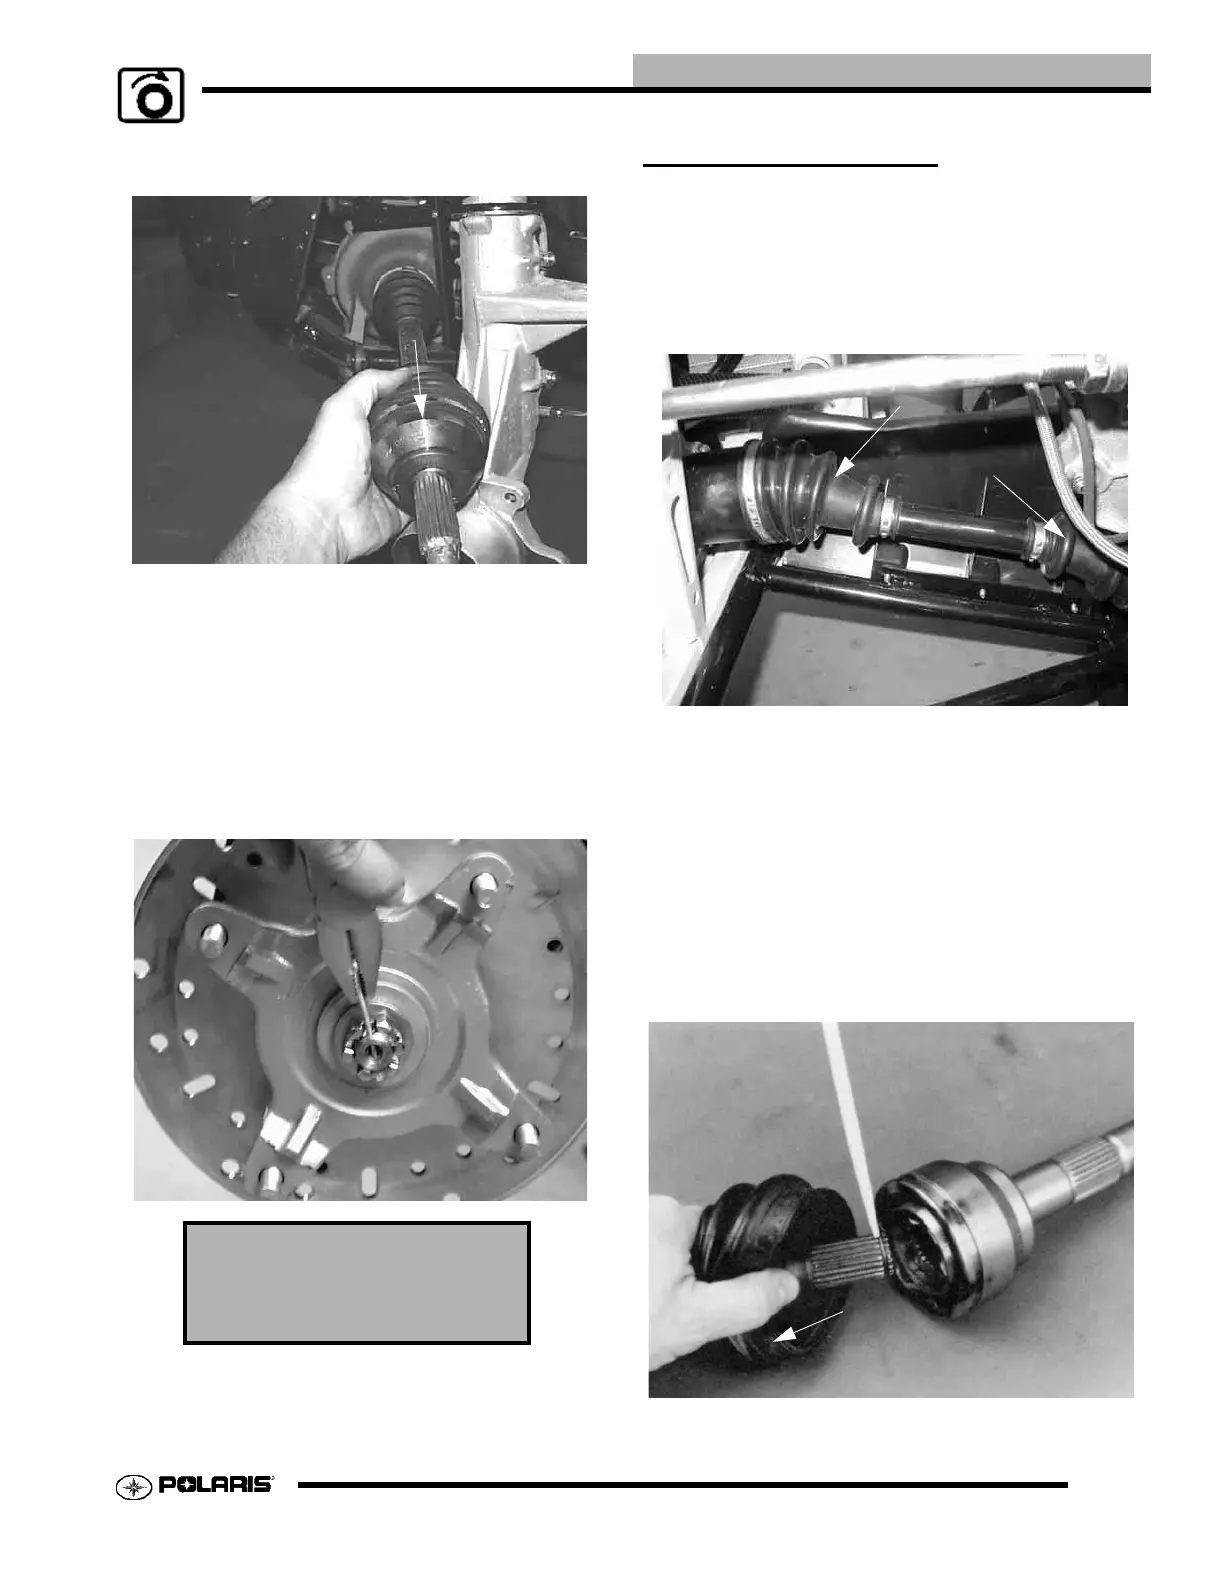
9. Pull sharply or use a pry bar to remove CV shaft from the
gearcase.
Installation
1. Apply an anti-seize compound to all splines. Align splines
of drive shaft with front gearcase and install by lightly
tapping on drive shaft with rubber faced hammer.
2. Install drive shaft into strut housing.
3. Install lower A-arm ball joint. Install cross bolt and torque
nut to 38 ft. lbs. (51 Nm) and install new cotter pin.
4. Install hub, washer and nut. Tighten hub nut to
specification and install new cotter pin.
CV BOOT SERVICE
Inspection
Check the front and rear driveshaft CV boots for signs of
cracking, tearing, punctures or leaking grease. If the
driveshaft boot loses all of the grease, CV joint failure will
occur.
Disassembly
1. Refer to the “CV SHAFT REMOVAL” section in this
chapter for procedures.
2. Remove clamps from rubber boot using the proper boot
clamp pliers.
3. Remove the large end of the boot from the CV joint, slide
the boot back and separate the wheel spindle and CV joint
assembly from the axle shaft by pulling the shaft sharply
outward, away from the CV joint. It may be necessary to
tap the CV joint assembly outward with a soft faced
hammer.
Front Hub Retaining Nut
Torque:
80 ft. lbs. (109 Nm)
Retaining Ring
Pull Shaft to Remove
from CV Joint
 Loading...