7.19
FINAL DRIVE
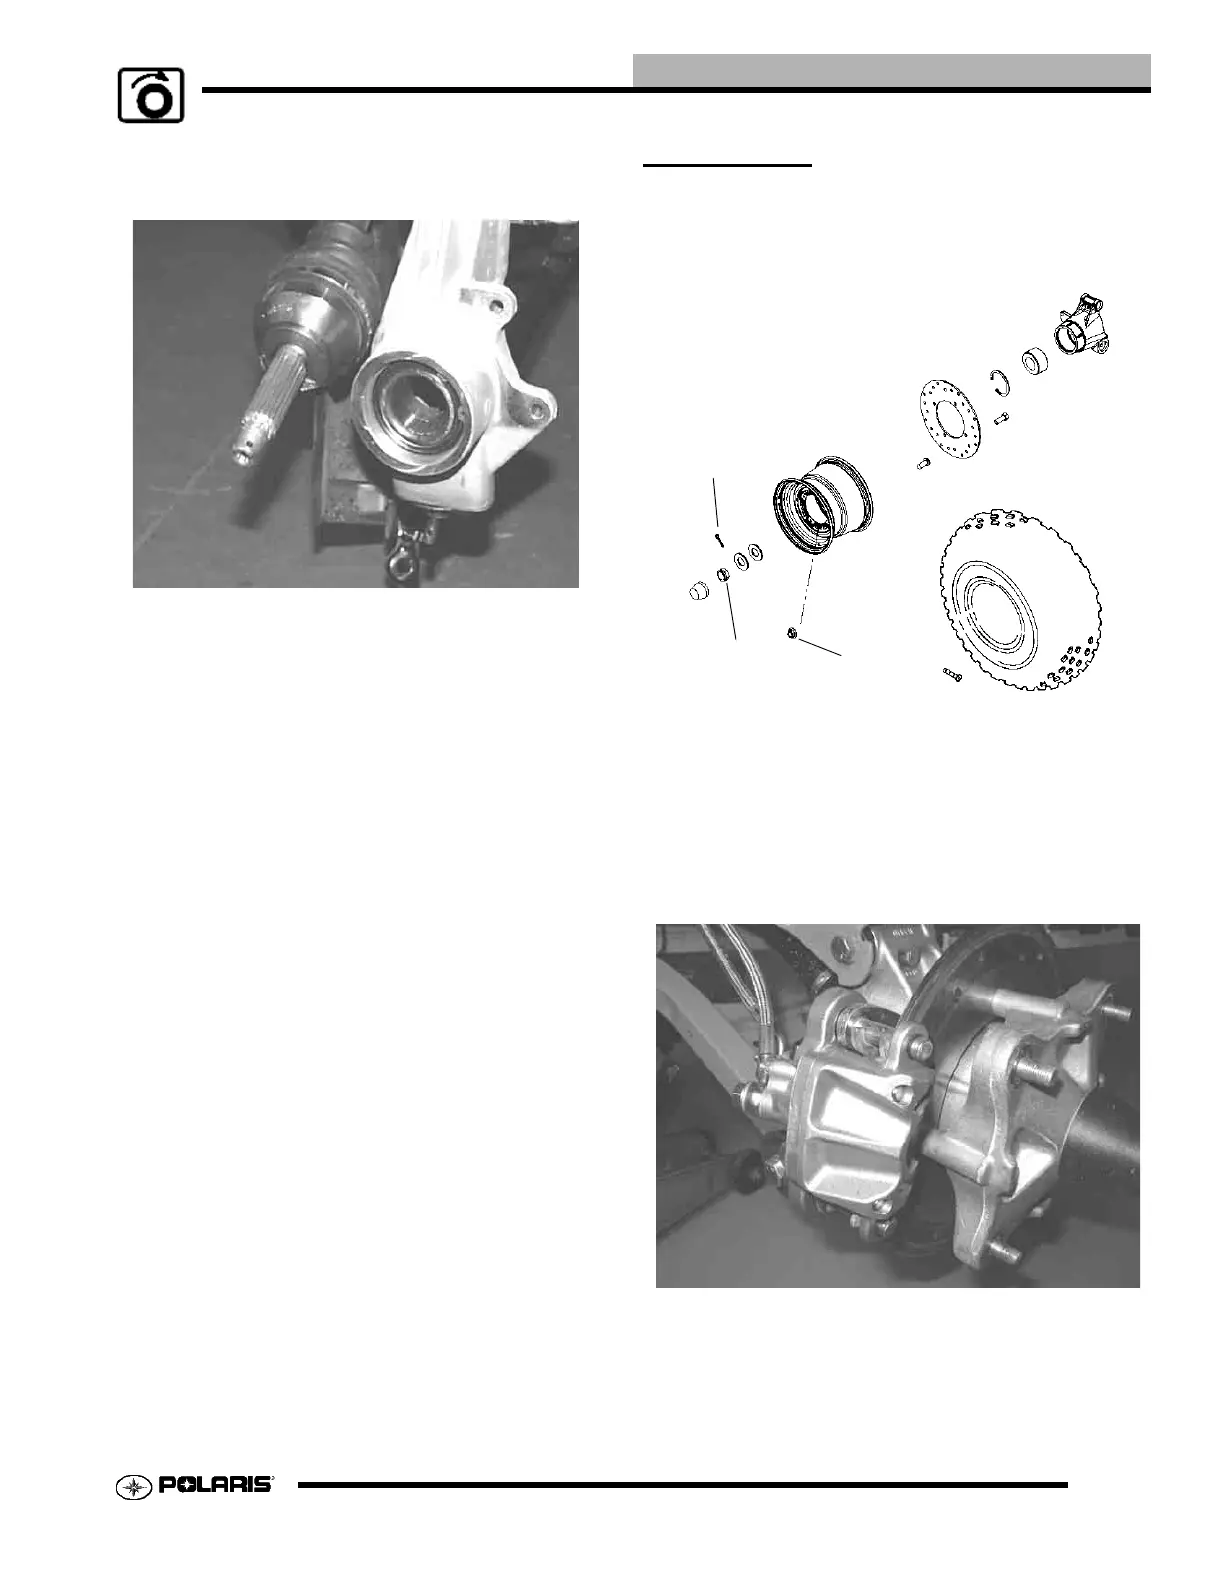
3. Pull strut assembly out while pivoting front drive shaft
downward until it enters strut assembly. (Hub and brake
removed for clarity - removal optional)
4. Install the lower A-arm. Torque nut and bolt to
specification.
5. Install the hub and retaining hardware. Torque the hub nut
to specification.
6. Install cotter pin.
7. Install the wheel and wheel nuts.
8. Safely lift and lower the front of the ATV.
9. Torque the wheel nuts to specification.
10. Add the proper lubricant to the front gearcase. Check
drain plug for proper torque. Refer to Chapter 2 for fluid
fill and change information.
REAR HUB
Removal
1. Place the ATV in Park and lock the parking brake.
Remove rear hub cap and loosen wheel nuts.
2. Remove cotter pin (A).
3. Loosen the hub retaining nut (B).
4. Loosen the wheel nuts (C).
5. Safely support the rear of the ATV.
6. Remove wheel nuts and wheel.
7. Remove the rear brake caliper and safely suspend the
caliper from the frame with a piece of wire. (Left side only)
A
B
C
 Loading...