INSTALLATION
Harmony Ball Return Manual – 400-254-022 18 Rev. Date 3/16
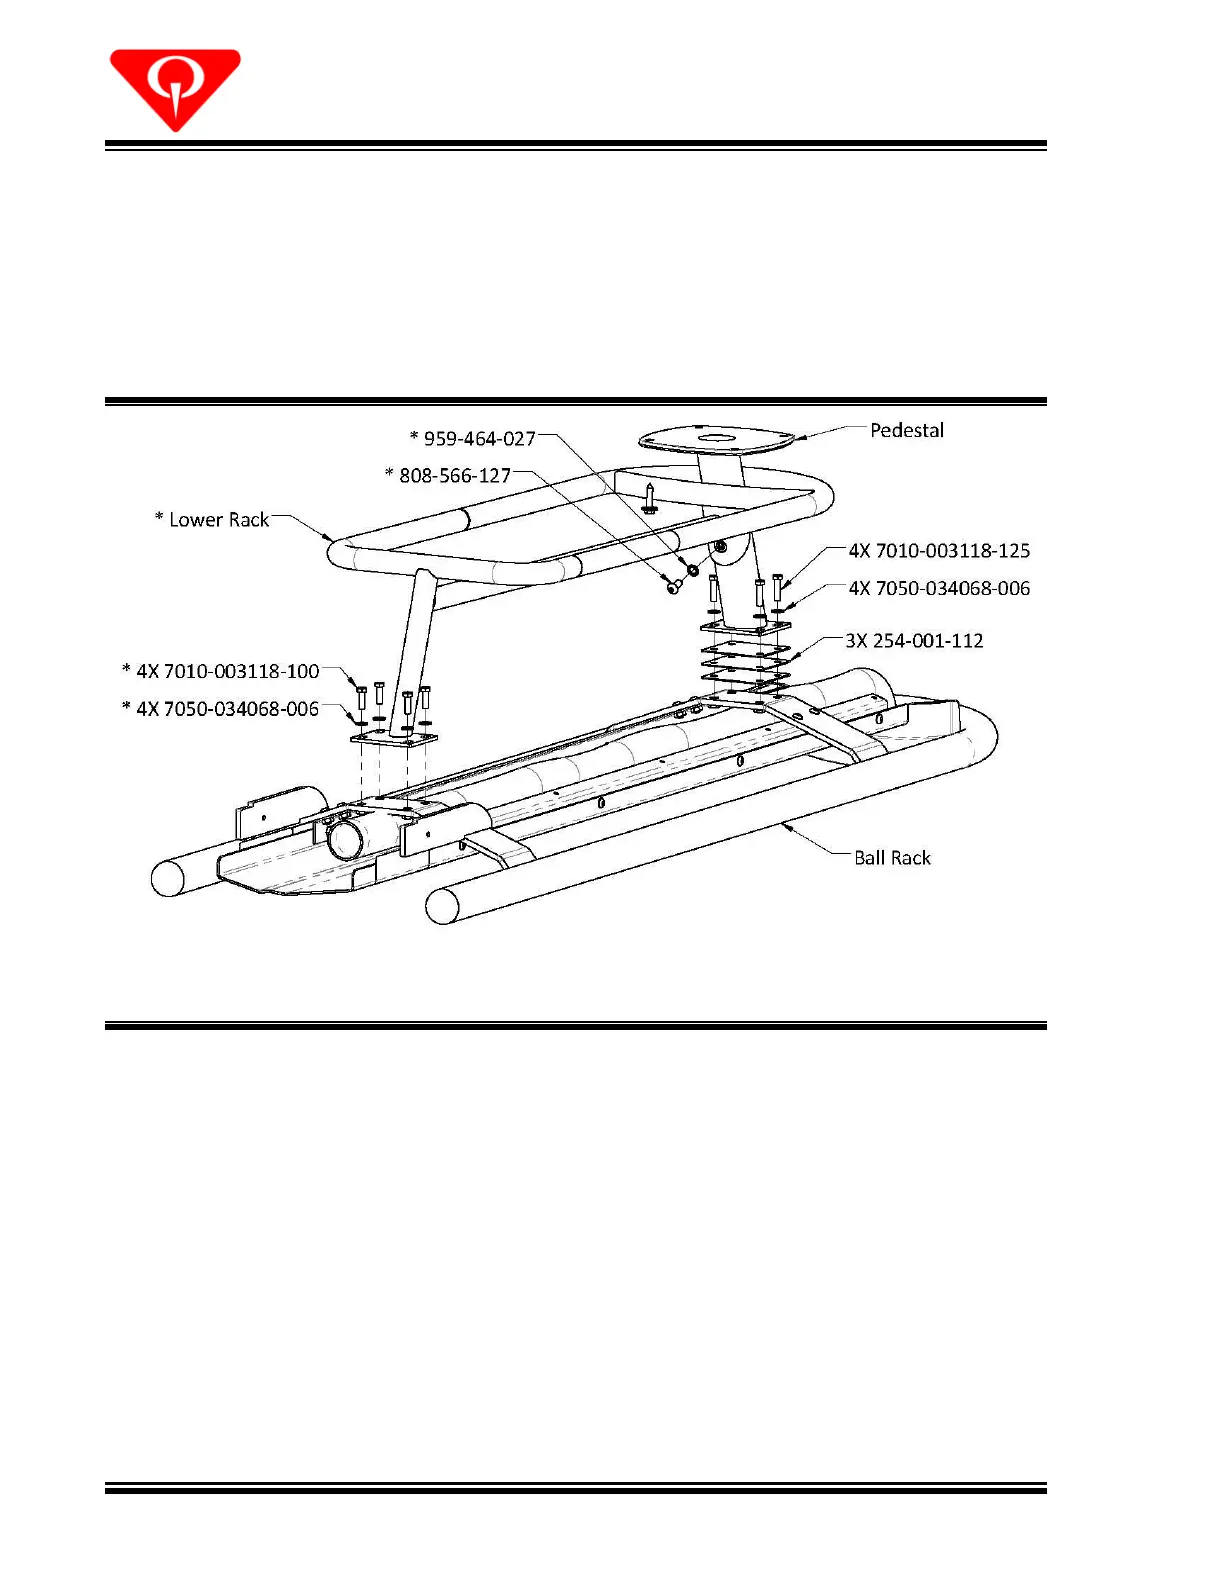
6.8 INSTALLING THE BALL RACK AND OPTIONAL LOWER RACK
NOTE: The ball rack and pedestal leg are shipped in separate boxes.
1. Place the rack upside-down on the approach. Use caution to avoid scratching the finish.
2. Loosely assemble the lower rack to the upper rack and then feed the pedestal through the
lower rack loop and loosely fix the lower rack cuff to the pedestal.
Figure 15, Lower Ball Rack Mounting
* - optional
3. Install the pedestal centered on the slots as shown in Figure 15. Use 3x1/8” thick shims
between the pedestal and the rack. Shim(s) can be removed as needed later to achieve
proper rack slope.
4. Once assembled, tighten all hardware.
5. It is recommended that two people upright the rack and carefully place it into position on
the approach and the bezel support bracket. The notch in the rack bar connectors should
rest on the edge of the corner notch of the bezel support bracket. Push toward the lift until
the notch of the connector bar comes in contact with the face of the bezel support bracket
as shown in Figure 16.
6. Loosen the screws holding the tie brackets and install two (2) additional screws through the
tie brackets and into the rack connector bars. Leave all four (4) screws slightly snug for
adjustment.
 Loading...