12 | Kitchen management
Original instructions for use 77 / 96
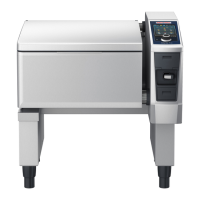
12.3.1 Connecting the network cable
Your unit is optionally equipped with a network connection. To connect your unit with the network and to ensure
that your unit is protected from water jets from all directions, use a network cable with the following properties:
n
Network cable category 6
n
Maximum plug length of 45mm
n
Plug diameter of 18.5mm
n
Cable diameter of 5.5–7.5mm
CAUTION
The function parts around the network connection can reach temperatures of over 60°C
You may burn yourself when connecting a network cable to a unit that is currently in use or that was recently in
use.
1. Allow the unit to cool down before connecting the network cable.
1. Unscrew the protective cover.
2. Feed the individual parts of the protective cover onto the network cable.
3. Connect the network cable to the network connection.
4. Screw on the protective cover.
12.3.2 Establish network connection
a Make sure you have all network connection data on hand.
1. Press this button:
2. Press this button: Network settings
3. Press this button:
LAN
4. Press this button:
IP network
5. Enter the IP address.
6. Press this button:
IP gateway
7. Enter the IP gateway address.
8. Press this button:
IP subnetmask
9. Enter the IP subnetmask.
10. To assign the network configuration to clients via a server, activate DHCP. Press this button:
ON
> IP address, gateway and DNS will now be configured automatically.
11. Press this button:
DNS 1 (primary)
12. Enter the DNS server address.
 Loading...