31 October 2001 DRUM
3-23
Replacement
Adjustment
Installation
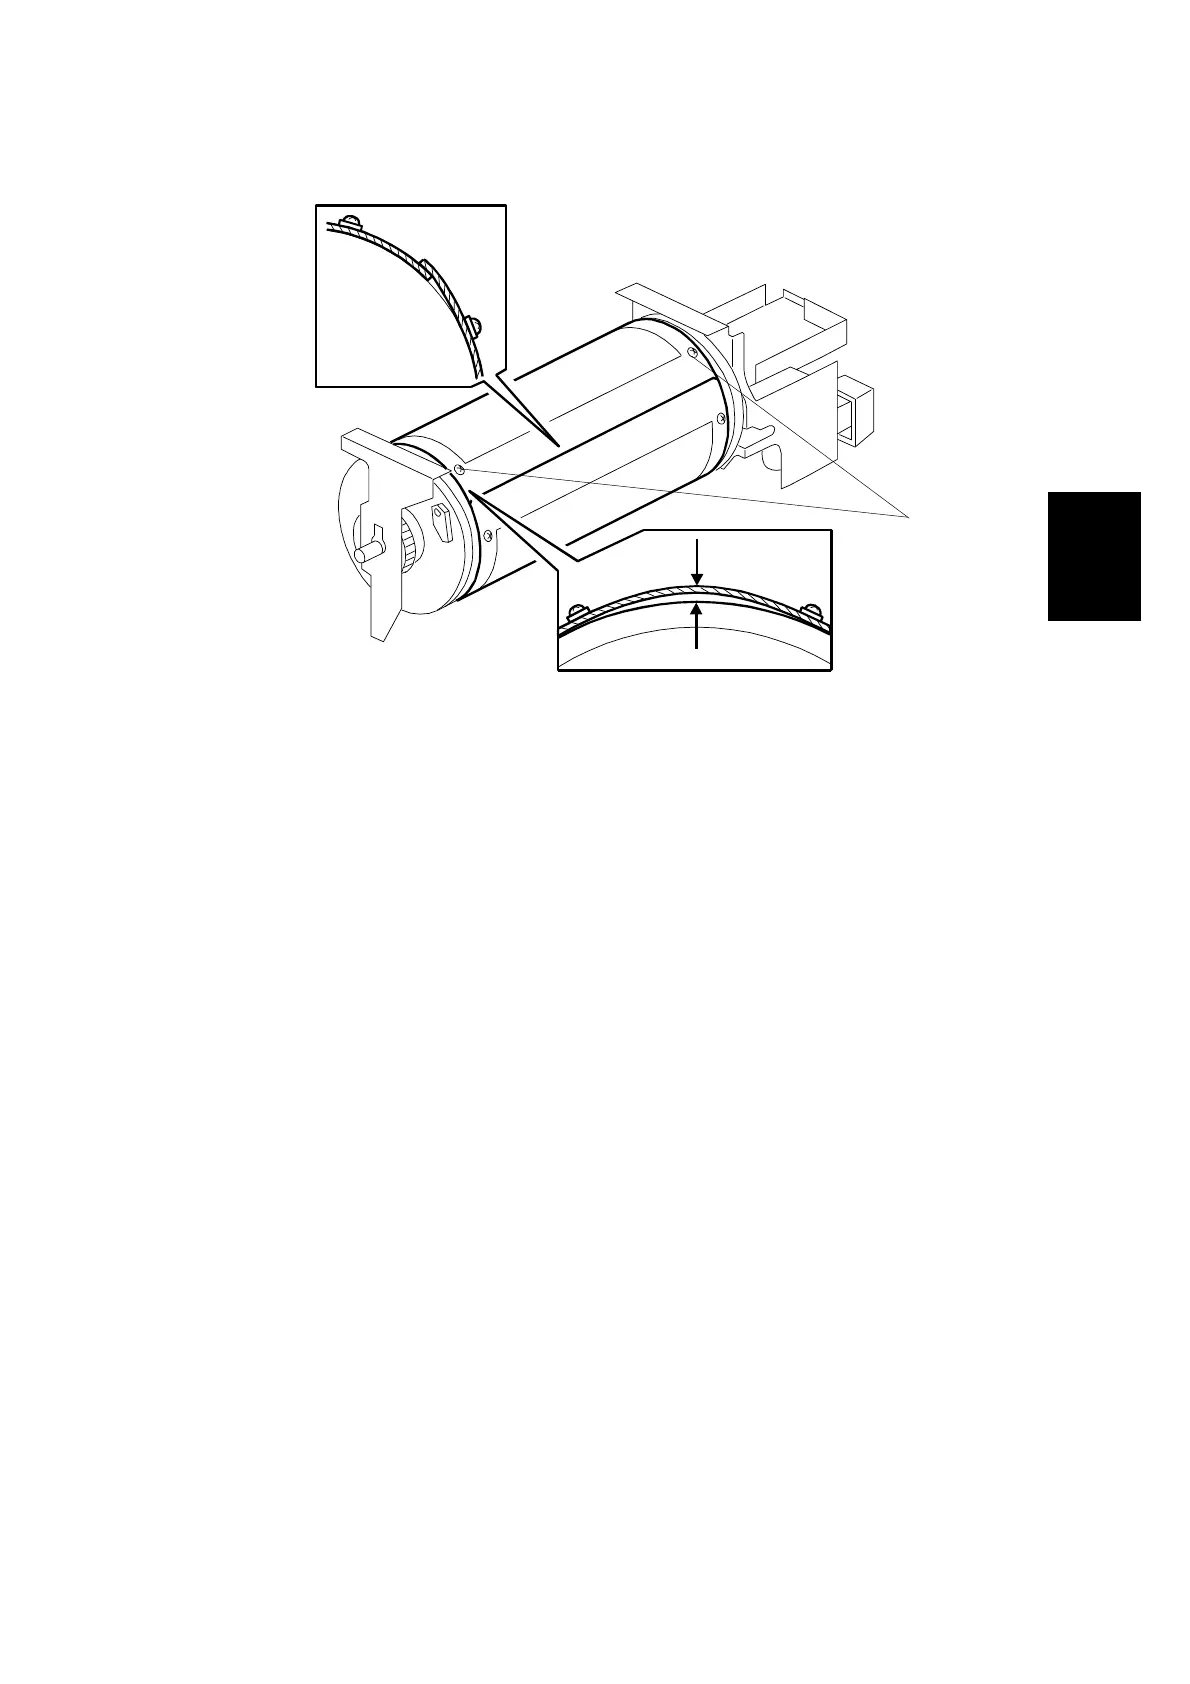
• Make sure that the correct end of the metal screen is overlapping. (The right side
overlaps, as viewed from the non-operation side, as shown above.)
• The 4 screws holding the drum master clamper are longer than the 12 screws
holding the metal screen, although they are similar in appearance. Be careful not
to mix them up or use the wrong screws.
• When installing the metal screen, secure the trailing edge first with the 2 screws.
Then, tighten the other screws while removing the slack from the screen. Make
sure that the gap between the drum flanges and the screen is 0.3 mm or less, as
shown above. (The two holes [A] on the trailing side are round holes and the
other holes are long holes, to allow for the removal of the slack.)
• Do not scratch the cloth screen or metal screen.
C238R059.WMF
[A]
 Loading...


