Specifying Scan Settings for Scanning
When you specify a scan destination, the machine's scan settings change automatically according to the
information registered for that destination in the Address Book. If necessary, you can change the scan
settings for the current job using the control panel.
• The machine maintains the preset scan settings for the current destination until the machine returns
to standby mode.
• Changing the preset scan settings for the current destination does not change the information
registered in the Address Book.
• If you specify the last used destination, the preset scan settings become effective again, even if you
have changed the settings for the previous job.
Specifying the Scanning Size According to the Size of the Original
This section describes how to specify the scanning size according to the size of the current original.
When using the touch panel model
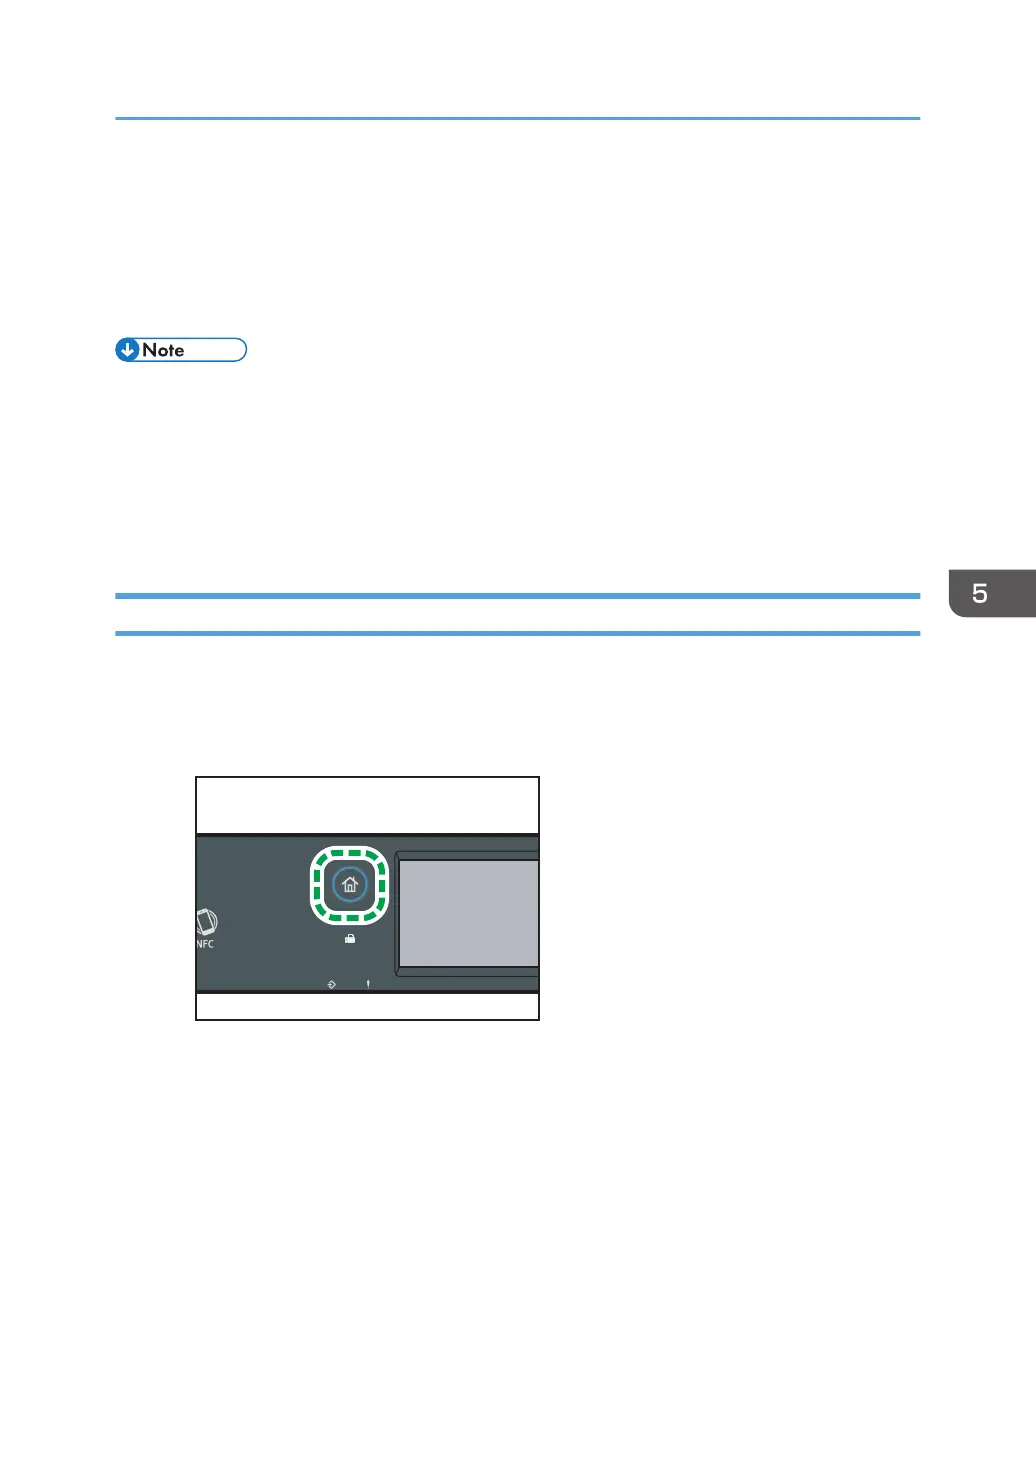
1. Press the [Home] key.
2. Press the [Scanner] icon on the [Home] screen.
3. Press [Scan Setting].
4. Press [Scan Size...].
5. Select the size of the original, and then press [OK].
If you selected anything other than [Custom Size], you do not need to perform the remaining
steps of the procedure.
6. Select [mm] or [inch].
7. Press [Set Width...].
8. Enter the width, and then press [OK].
Specifying Scan Settings for Scanning
187
 Loading...