EasyManua.ls Logo

Risco RisControl User Manual

Risco RisControl
116 pages
To Next Page IconTo Next Page
To Previous Page IconTo Previous Page
Page #37 background imageLoading...
Page #37 background image
37
indicated at the top left corner of the Lock Screen and by the color of
the arc at the middle of the Lock Screen, as follows:
Green assigned partition is disarmed
Orange assigned partition is in Stay Mode
Red assigned partition is armed
User’s functionalities in the Lock Screen User can perform any of the following
functionalities in the Lock Screen:
Click the Quick Arm or Quick Stay button this will immediately arm
(full arm or stay arm) the partition that the RisControl is assigned to, without
having to enter a PIN Code. If the partition is set with an “Exit delay”, then the
progress of the Exit Delay timer will be indicated on the lock screen.
Click the Quick Stay button - this will immediately arm the partition that
the RisControl is assigned to, without having to enter a PIN Code.
Slide to unlock - the user can slide the Lock Screen from left to
right to open the Keypad and then enter a PIN Code to unlock the RisControl.
Emergency The user can click the Emergency button , at the top right
corner of the Lock Screen, to initiate an emergency related call, as described in
EMERGENCY, page 110.
Lock Screen with Undefined Quick Buttons
When the partition that RisControl is assigned to is not set to Quick Arm and/or
Quick Stay, the Lock Screen will be displayed as shown below.

Table of Contents

Other manuals for Risco RisControl

Question and Answer IconNeed help?

Do you have a question about the Risco RisControl and is the answer not in the manual?

Risco RisControl Specifications

General IconGeneral
BrandRisco
ModelRisControl
CategoryControl Panel
LanguageEnglish

Summary

RisControl Introduction and Installation

RisControl Product Overview

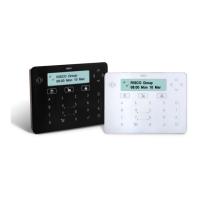
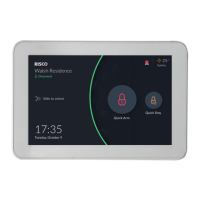
High-level description of the RisControl Smart Touchscreen Keypad and its capabilities.

Physical Mounting Guide

Step-by-step instructions for physically mounting the RisControl unit.

RisControl Initial Setup

Basic Configuration (Language, Bus, Wi-Fi)

Setting language, bus address, and Wi-Fi connection.

Gateway, Cloud, and Site Configuration

Configuring gateway role, cloud login, and site assignment.

Final Setup (Password, Sync)

Entering panel password and synchronizing with the security system.

Operating the RisControl

Interface Navigation and Session Management

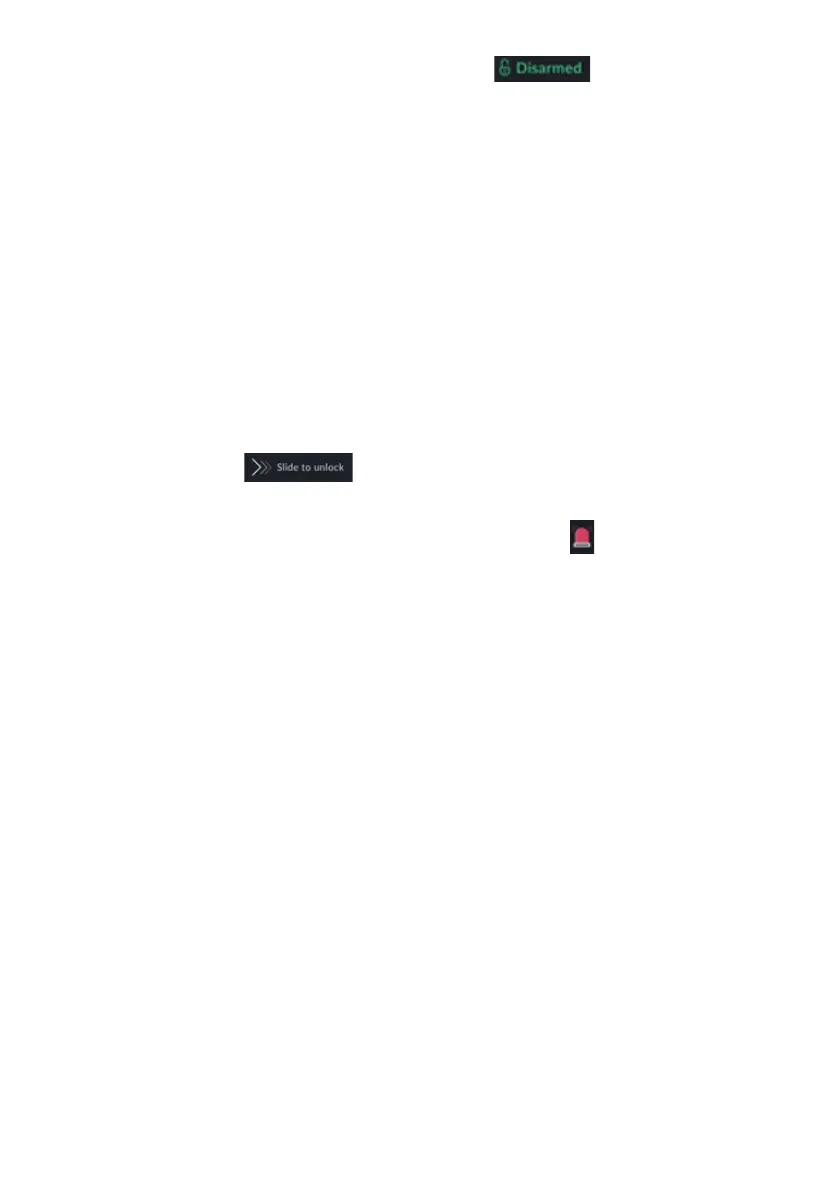
Unlocking the device, session management, and menu navigation.

System Status and Notifications

Managing system troubles, communication issues, and notifications.

Screen Saver and Lock Screen Modes

Screen Saver Functionality

How the RisControl enters and operates in Screen Saver mode.

Lock Screen Features and Interaction

Understanding different lock screen formats and user interactions.

Related product manuals