ENGLISH
8484
✤ The Print Mark function works only in <M.Player> mode. ➥page 19
✤ This Camcorder supports the DPOF (Digital Print Order Format) print format.
✤ You can automatically print images recorded on a Memory Card with a
printer supporting DPOF.
✤ There are 2 ways to make a Print Mark.
- <This File> : You can set a print mark on the
photo image displayed on the LCD Screen. It can
be set up to 999.
- <All Files> : To print 1 copy each of all of the
stored images.
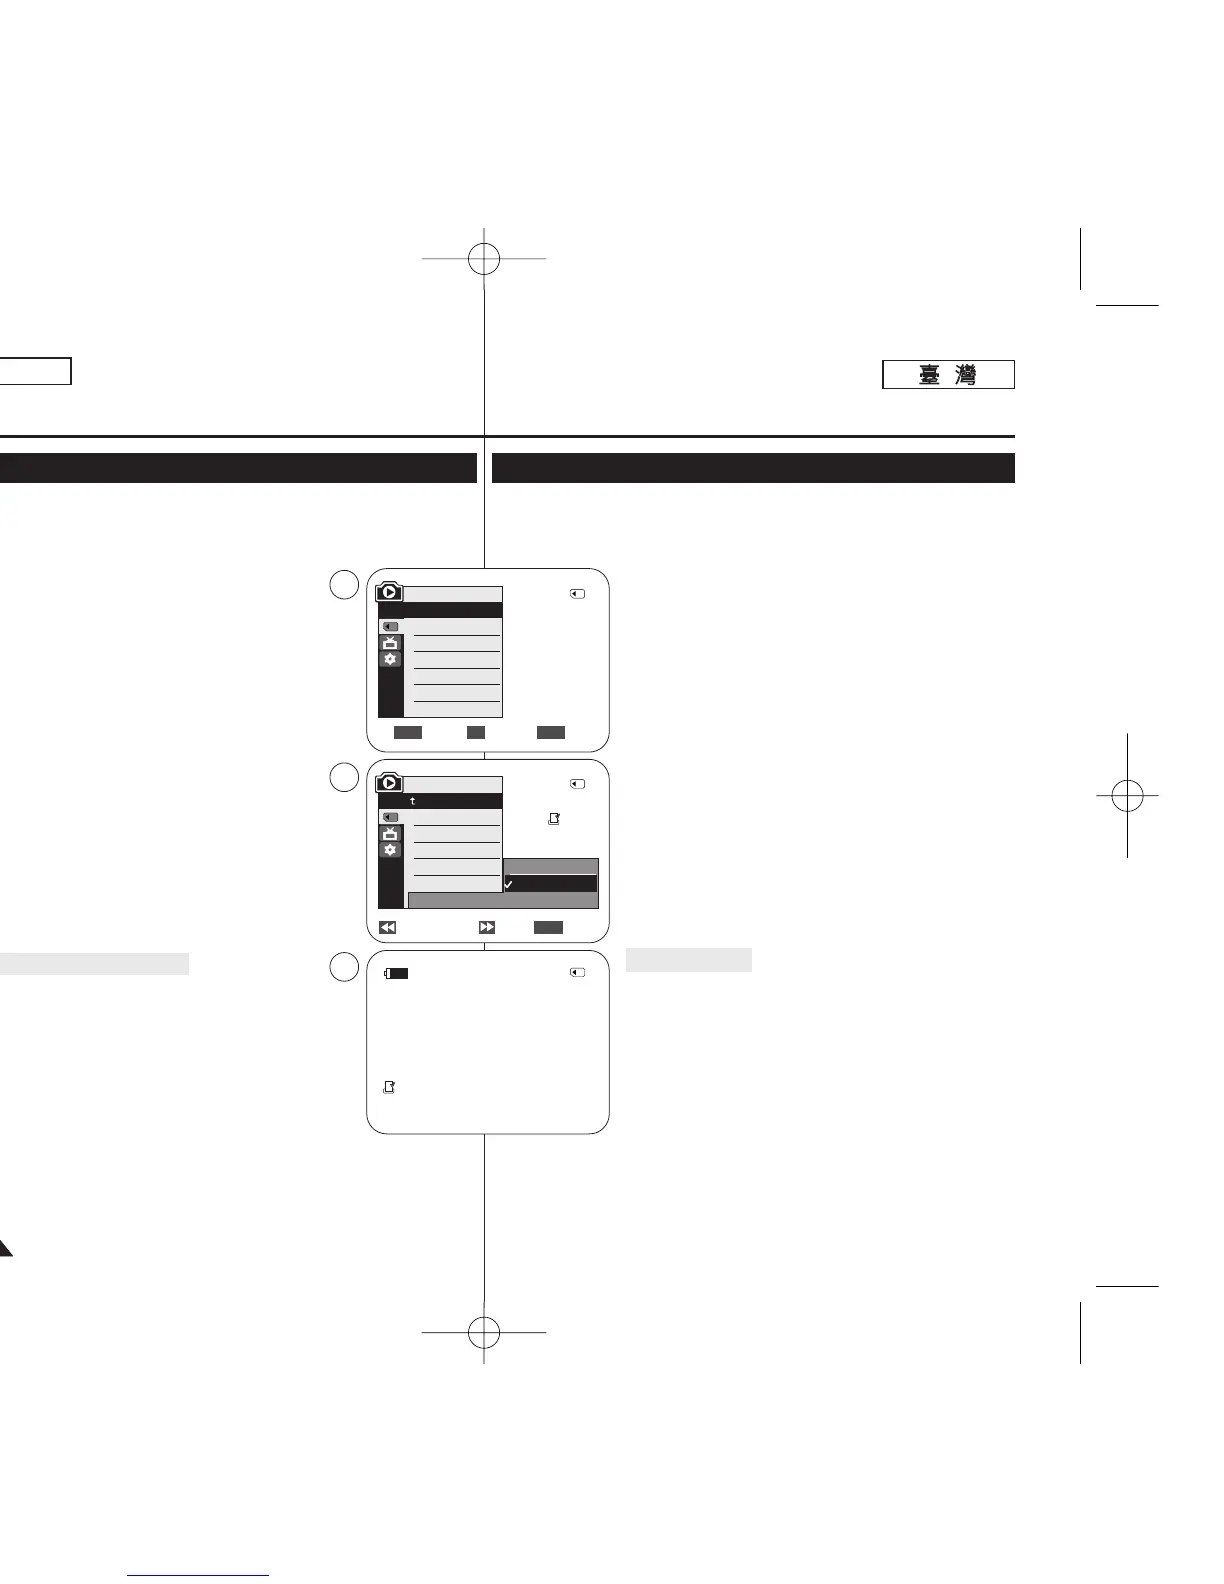
1. Set the [Power] switch to [PLAYER].
2. Set the [Mode] switch to [MEMORY].
■
The last recorded image appears.
3. Using the [
œœœœ
/
√√√√
(REV/FWD)] buttons, search for
the photo image that you want to mark.
4. Press the [MENU] button.
■
The menu list will appear.
5. Move the [Zoom] lever up or down to select
<Memory>, then press the [OK] button.
6. Move the [Zoom] lever up or down to select
<Print Mark>, then press the [OK] button.
7. Move the [Zoom] lever up or down to select
desired option (All Off, This File or All Files), then
press the [OK] button.
8. If you select <This File>, move the [Zoom] lever up or
down to select the quantity,
then press the [OK] button.
9. To exit, press the [MENU] button.
Removing the Print Mark
To remove all Print Marks select <All Off>.
To remove individual file’s Print Mark, select the file and
set <This File> to <000>.
[ Notes ]
■
You can directly access the Print Mark function using the
[QUICK MENU]. ➥page 20
■
If the Print Mark is set to <This File>, you can set the
number of copies from <000> to <999>.
■
If the Print Mark is set to <All Files>, you can set the number
of copies to <1>.
■
The <All Files> option may require extended operation time depending on
the number of stored images.
■
DPOF supported printers are commercially available.
■
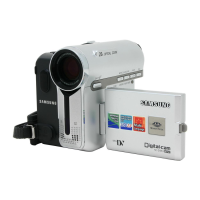
Use the USB cable provided with the Camcorder.
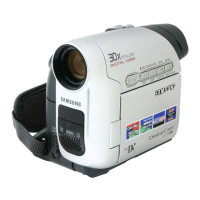
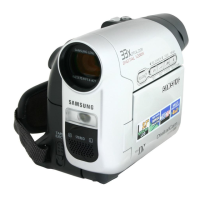
Digital Still Camera Mode
(SC-D363/D364/D365/D366 only)
Marking Images for Printing (Print Mark)
Previous Next Exit
MENU
√Memory Card
√Photo
√Off
Move Select Exit
MENUOKZOOM
M.Player Mode
√Memory
Memory Type
M.Play Select
Delete
Delete All
Protect
Print Mark
All Off
This File 002
All Files
2/46
002
√
5
7
9
M.Player Mode
Back
Memory Type
M.Play Select
Delete
Delete All
Protect
Print Mark
2/46
2/46
002
100-0002
†
†
†
800x600
✤ 列印標記功能僅可在 <M.Player> 模式下操作0 ➥第 19 頁
✤ 攝錄放影機支援 DPOF(數位列印順序格式)列印格式0
✤ 舅可以使用支援 DPOF 的印表機來自動列印錄製在記憶賓上的影像0
✤ 製作列印標記的方式有 2 種:
- <This File>: 舅可以爲顯示在 LCD 螢幕上的相片影
像設定列印標記0 央可設定多達 999 個0
- <All Files>: 爲所有儲存的影像各列印一略0
1. 將 [Power]
((電電源源))
開關設定爲 [PLAYER]
((播播放放機機))
0
2. 將 [Mode]
((模模式式))
開關設定爲 [MEMORY]
((記記憶憶賓賓))
0
■
最後錄製的影像將會顯示0
3. 使用 [
œœœœ
/
√√√√
(REV/FWD)]
((倒倒退退
/
前前進進))
按瞿,搜尋舅要標
記的相片影像0
4. 按下 [MENU] 按瞿0
■
選單淸單將會顯示0
5. 向上或向下移動 [Zoom]
((縮縮放放))
桿以選擇 <Memory>,然
後按下 [OK]
((確確定定))
按瞿0
6. 向上或向下移動 [Zoom]
((縮縮放放))
桿以選擇 <Print Mark>,
然後按下 [OK]
((確確定定
)按瞿0
7. 向上或向下移動 [Zoom]
((縮縮放放))
桿以選擇所要的選項
((
All Off
((全全部部關關閉閉))//
This File
((本本圭圭案案))
或 All Files
((全全部部圭圭案案))))
,然後按下 [OK]
((確確定定))
按瞿0
8. 若舅選擇了 <This File>,請向上或向下移動
[Zoom]
((縮縮放放))
桿以選擇數量,然後按下 [OK]
((確確定定))
按
瞿0
9. 按 [MENU]
((選選單單))
按瞿以結束0
移移除除列列印印標標記記
若要移除所有列印標記,請選擇 <All Off>0
若要移除個別圭案的列印標記,請選擇該圭案,然後將
<This File> 設定爲 <000>0
[
附附註註
]
■
舅可以使用 [QUICK MENU]
((快快速速選選單單))
按瞿直接存取列
印標記功能0➥第 20 頁
■
若列印標記設定爲 <This File>,舅可以設定從 <000> 到
<999> 的略數0
■
若列印標記設定爲 <All Files>,舅可以將略數設定爲 <1>0
■
視儲存的影像張數而定,<All Files> 選項可能需要延長操作時間0
■
DPOF 支援印表機在市面上可買到0
■
使用攝錄放影機隨附的 USB 纜線0
數數位位靜靜止止相相機機模模式式
((僅僅限限
SC-D363/D364/ D365/D366
))
標標記記要要列列印印的的影影像像((列列印印標標記記))
00970F SCD363 TAI~094 1/12/06 3:44 PM 페이지84 001 QMS 1660E
 Loading...