Configuring the Interface Settings Using the All-In-One Tool
114
6.
Press the button.
The settings items of the selected interface appear.
Change the settings according to the communication conditions of the connected network and
computer.
Configuring the Interface Settings Using the All-In-One Tool
Installing the All-In-One Tool
When you use the All-In-One Tool, you can easily set and manage the printer.
Download the All-In-One Tool and All-In-One Tool Manual from the SATO All-In-One Tool download
site http://www.satoworldwide.com/software/all-in-one-tool.aspx, and install the software to a
computer. For the compatible OS, refer to the "System Requirements" section of the All-In-One Tool
Manual.
LAN Interface Settings
Confirm and configure the LAN interface settings such as the IP address by using the All-In-One Tool.
Confirm and configure the IP address of the printer, which is added to the All-In-One Tool, from the
[Interface Configuration] in the [Configuration] panel.
When you add the printer to the All-In-One Tool, you can manage and monitor the printer.
1. Connect the LAN cable to the printer, and power on the printer.
Make sure that the LED of the printer's LAN connector is lit.
2. Activate [SATO] > [SATO All-In-One Application] on the computer.
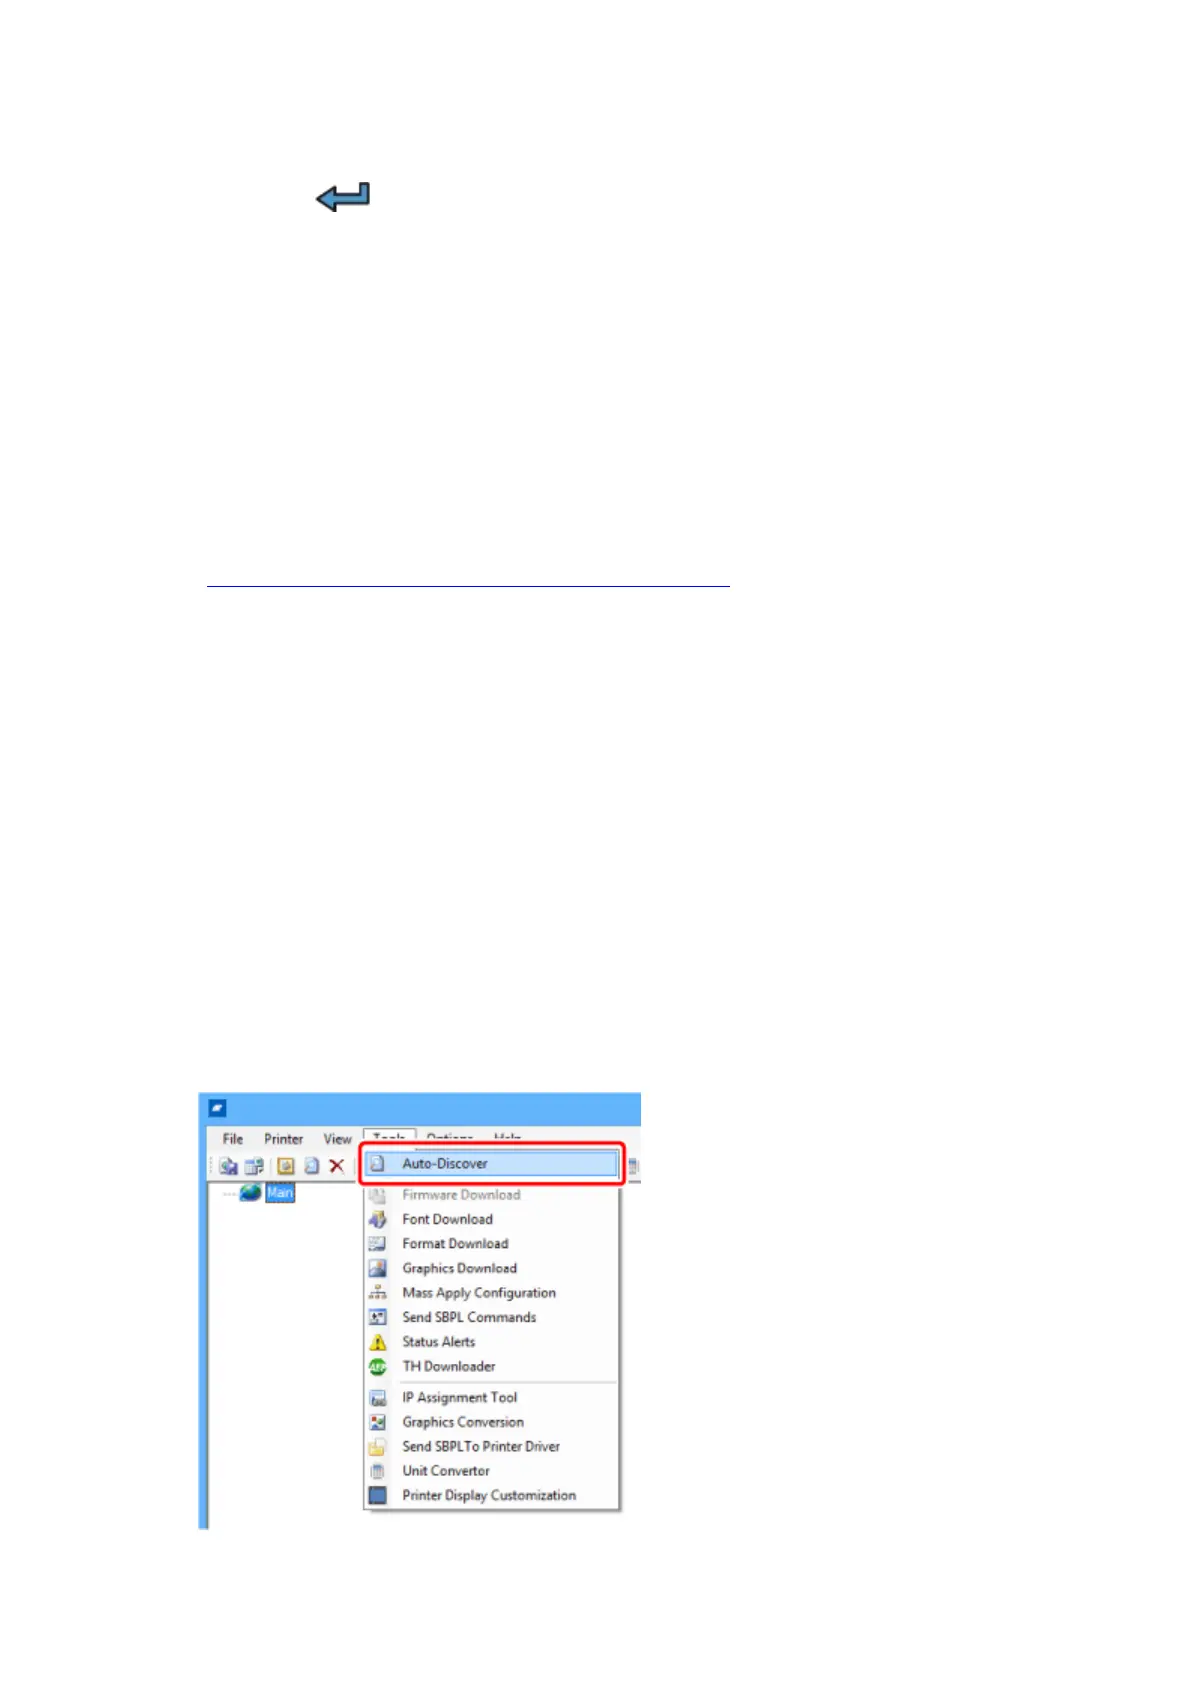
3. Select [Auto-Discover] from the [Tools] menu on the main screen.
 Loading...