0
MA-322 board
0
MA-322 board
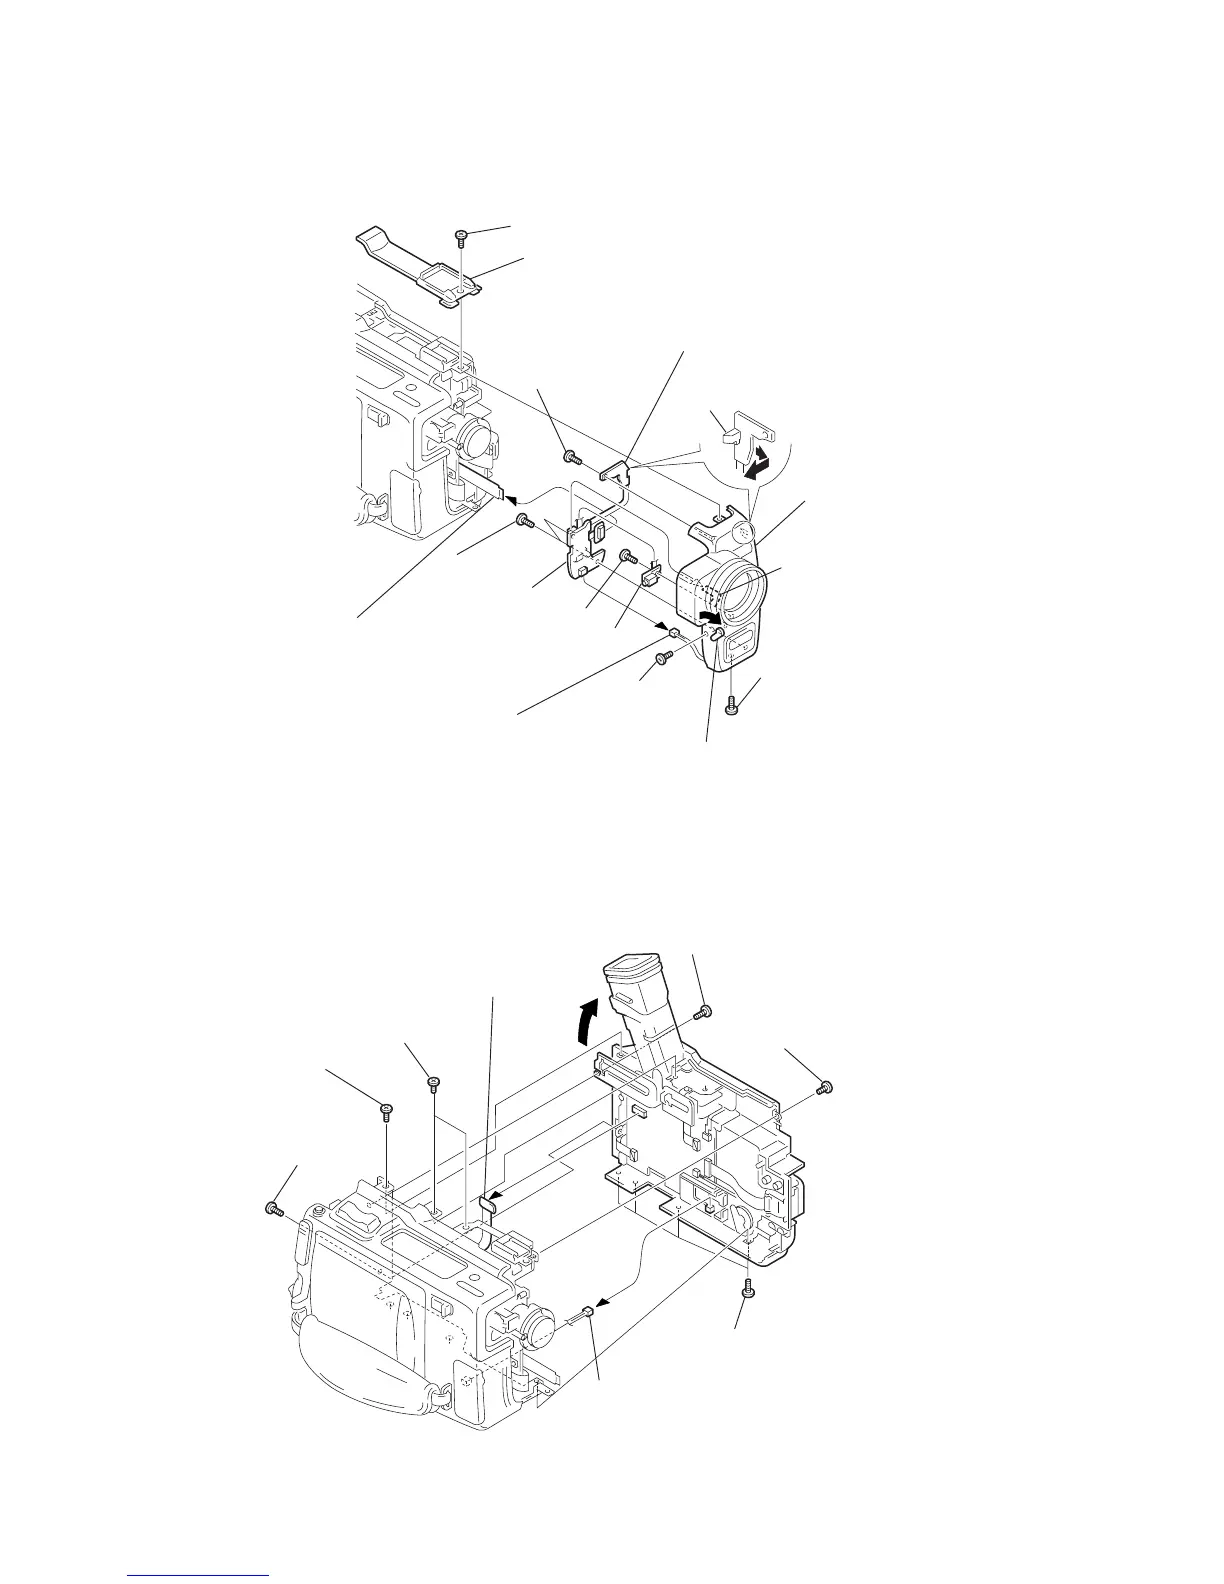
9
Screw (B2
×
5)
1
Screw
(M2
×
4)
7
Connector
(from CN7003 of MA-322 board)
8
Open the jack cover.
1
Screw (M2
×
4)
Claw
5
!⁄
Cabinet (Upper)
2-2. CABINET (L), CABINET (R) ASSEMBLIES
2
Screw (M2
×
3)
4
Screw (M2
×
4)
5
Screw (M2
×
4)
4
Screw (M2
×
4)
1
Screw (M2
×
3)
6
Screw (M2
×
4)
8
Harness (BT-55)
(from CN9831 of LI-64 board)
*
Be careful that the harness is fragile and can be easily broken.
In addition, when this harness is removed, the memory backup
power is turned off, and setting of the user's memory
becomes necessary.
7
FP-650 flexible board
(from CN7805 of KY-39 board)
3
 Loading...