COMPONENT INFORMATION
2-5
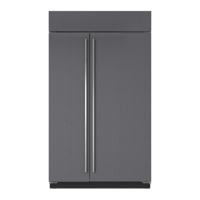
Figure 2-12. Installing/Removing Door Shelf Assy.
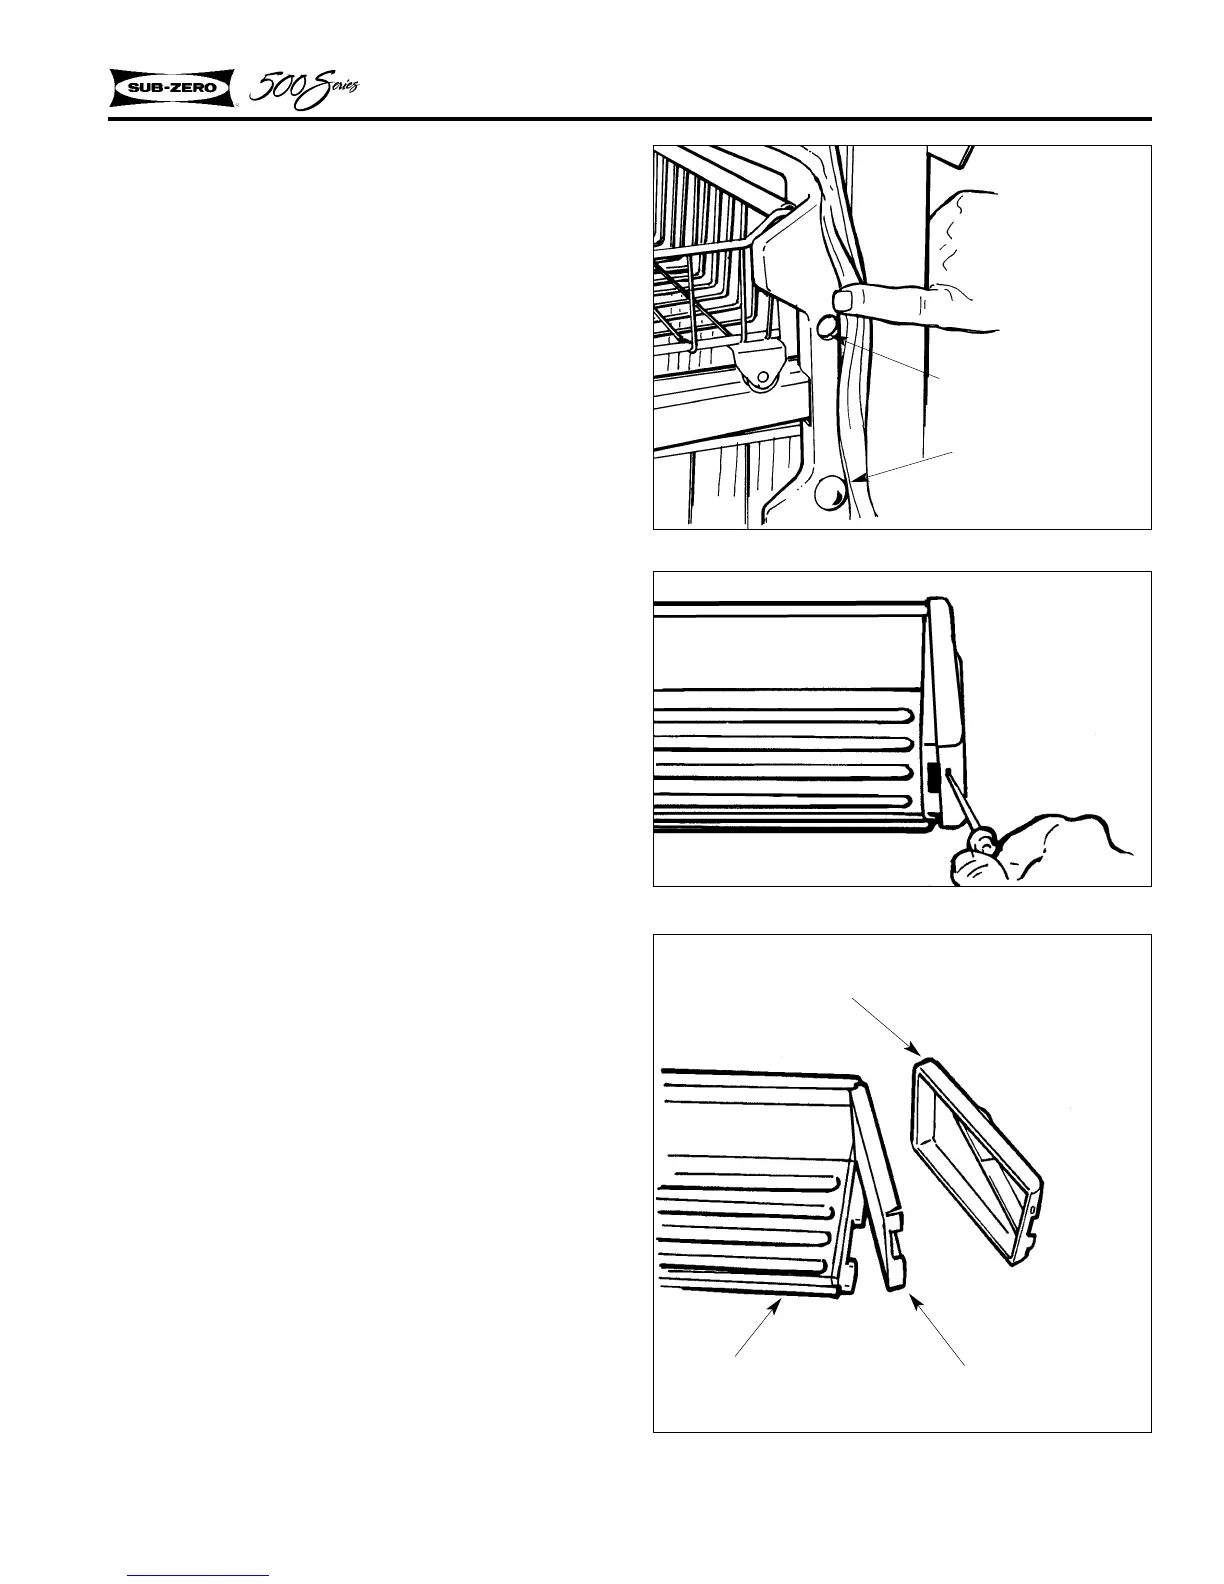
Figure 2-13. Door Shelf Disassembly
Outside End Cap, LH or RH
Door Shelf
Inside End Cap, LH or RH
1/2” bolts (two on each side). Make the nec-
essary adjustment, then retighten all bolts.
Reinstall plastic plugs.
NOTE: If there is too much side-to-side move-
ment, the cabinet slides may be spaced out. To
fine tune the drawer tracking, the following shims
are available:
• Front Shim, part no. 0232300
• Rear Shim, part no. 0232310
Door Shelf Assembly - All Models
The door shelf assy. slides into the molded tracks
of the door liner. To disassemble the door shelf:
1. Place a flat-bladed screwdriver into the out-
side end cap and pry the end cap away from
the shelf assembly (Figure 2-12).
2. This will release the end caps from the door
shelf, allowing the door shelf support to slide
off the open end (Figure 2-13).
Dairy Compartment - All Models
The dairy compartment assy. slides into the mold-
ed tracks of the door liner in the same manner as
the door shelves. To disassemble the dairy com-
partment:
1. Insert a flat blade screwdriver into the outside
end cap and pry away from the dairy compart-
ment (Figure 2-12).
2. Release the two lock tabs and remove the
inside end caps.
3. The dairy doors with the magnetic catch strip
pivots between the center divider and the
inside end caps. To remove the center divider,
release the lower tab from the back side of the
compartment and drop it down to release the
upper tab.
4. The door gasket pushes into the channel
around the dairy compartment.
NOTE: The bottom strip of the gasket contains the
magnet.
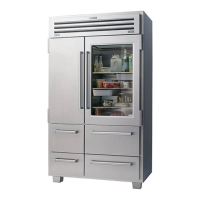
Figure 2-11 Door Pitch Adjustment
Models 511, 550
Plastic Plug
Bolt Location
 Loading...