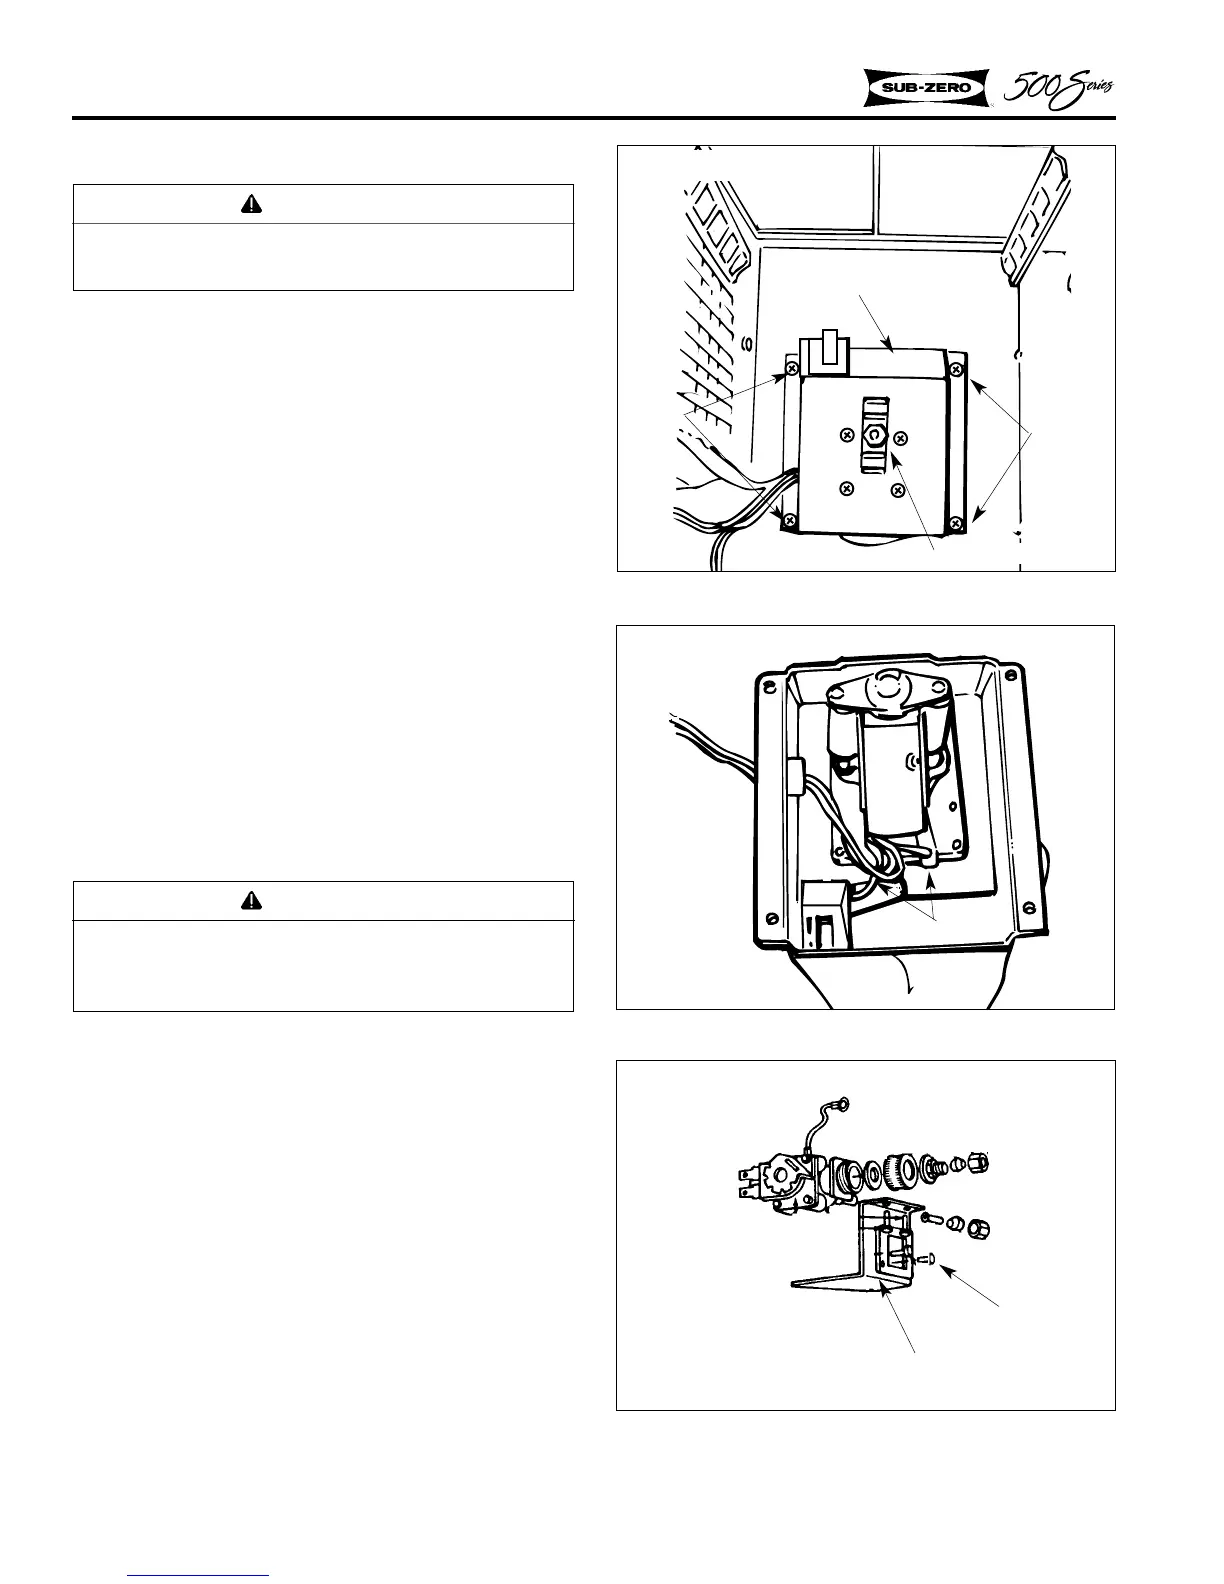
Figure 2-48. Auger Bracket
Model 590
Auger Motor Bracket
COMPONENT INFORMATION
2-18
Ice Maker Auger Motor Assy. - Model 590
1. To access the ice auger motor, lift up and
remove the freezer utility rack (Figure 2-44),
then remove the top light diffuser. Remove
the ice bucket.
2. Remove the front evaporator cover (Figure 2-
45). It is secured with two screws on top and
two screws on the bottom.
3. Remove the four screws and motor bracket
(Figure 2-48).
4. Disconnect the motor leads and switch wiring
harness (Figure 2-49).
5. To reassemble, reverse steps 1 - 4.
Water Valve Solenoid - Models 501F, 511,
532, 542, 550,561
The water valve is mounted to a bracket behind
the kickplate at the left hand side (Figure 2-50).
1. To access and remove the water valve, first
remove the kickplate.
2. Loosen the mounting screw which secures the
valve retainer plate.
3. Push valve up and back.
4. Disconnect electrical leads and inlet and outlet
water lines.
Figure 2-49. Auger Motor Assy.
Figure 2-50. Water Valve Solenoid
Model 590
Motor Leads
Drive Yoke Assy.
Screw
Screw
WARNING
Always disconnect electrical power to equip-
ment before attempting repairs.
WARNING
Always disconnect water to the unit and turn
electrical power off at the master power switch
before attempting repair.
Screw
Retainer Plate
Models 501F, 511, 532, 542, 550, 561
 Loading...