POWER UNIT 6-41
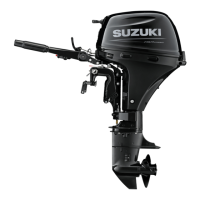
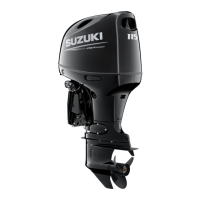
6. Remove all conrod cap nuts 1 and conrod caps 2.
NOTE:
For proper assembly, mark cylinder number on all pistons,
conrods, and conrod caps, using quick drying paint.
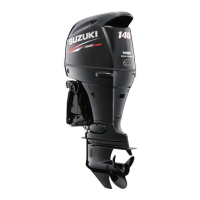
NOTE:
To prevent damage to crank pin and cylinder walls, install a
piece of hose over threads of rod bolts.
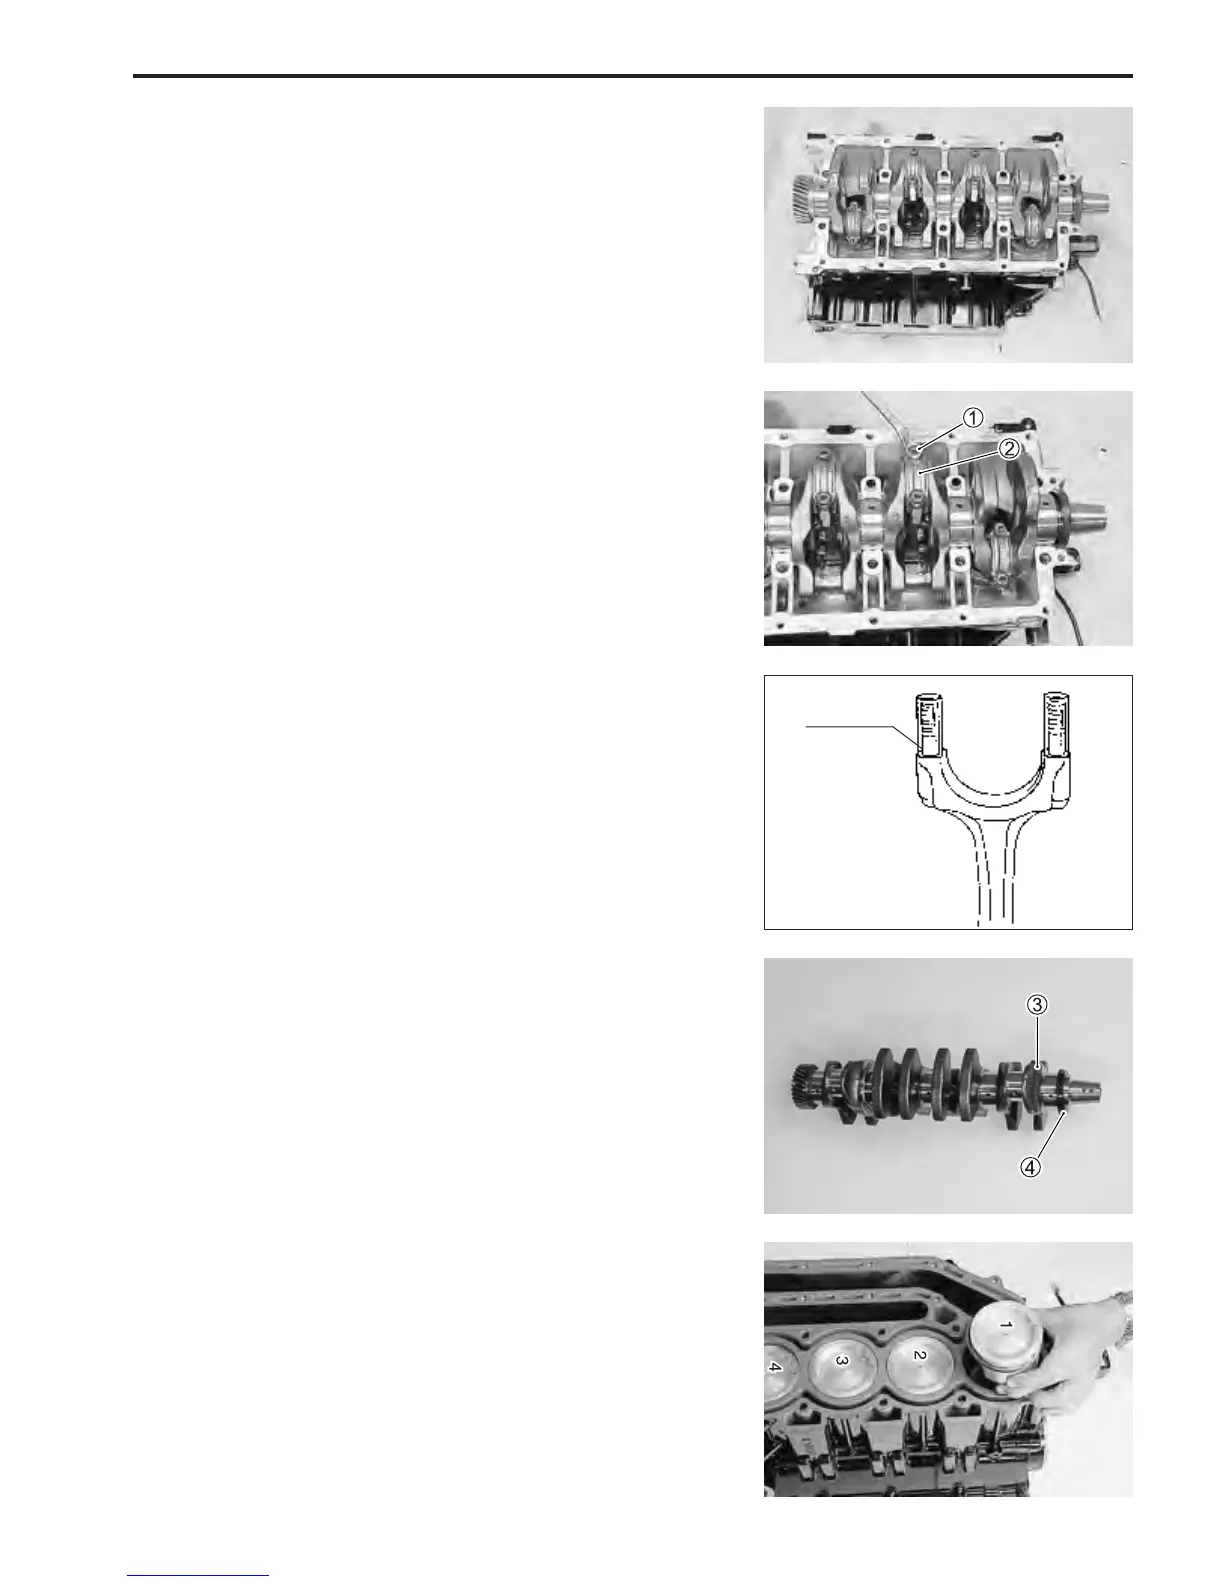
7. Remove crankshaft 3.
8. Remove oil seal 4 from crankshaft.
9. Mark cylinder number on pistons using quick dry paint.
10. Push piston (with conrod) out through the top of cylinder
bore.
NOTE:
• To prevent damage to piston rings, decarbon top of cylinder
bore wall before removing piston.
• Reassemble each conrod cap to its original position after re-
moving piston from bore.
Guide hose
 Loading...