Operation
INSTALLING
OR
EMPTYING
THE
COLLECTION
BAG
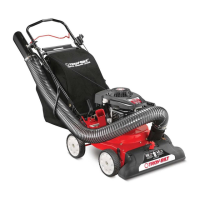
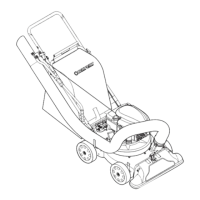
The large, 3-1/2 bushel capacity
collection bag automatically col-
lects chipped and vacuumed debris
for easy disposal.
• Use the bag at all times, unless
specified otherwise in the operat-
ing instructions.
• Empty the bag as soon as it is
full (check by feeling sides
of
bag). Overfilling the bag will
cause the chipping or vacuuming
performance to decrease or stop
completely, and could lead to clog-
ging
of
the discharge deflector.
• Empty the bag completely be-
fore storing the machine to prevent
premature deterioration
of
the bag
caused by wet or rotting debris,
and the possibility
of
a fire occur-
ring as a result
of
heat generated
by decomposing debris.
DANGER
To
Prevent
Personal
Injury
or
Property
Damage:
•
Before
installing
or
empty-
ing
collection
bag,
shut
off
engine, disconnect spark
plug wire,
and
make
sure
that all
moving
parts
have
come
to
a
complete
stop.
•
Do
not
operate machine
with
Vacuum
Snout
unless
collection
bag
is
installed.
•
Check
collection
bag
fre-
quently
for
deterioration
and
wear
and
replace
worn
bags.
BAG
MAINTENANCE
TIP:
Keep the bag clean by occasionally
washing it (by hand) with mild soap
and water. A clean bag improves
air flow and results in better vacu-
uming performance. Do not wash
the bag in an automatic washer. Do
not use a cleaner which contains
bleach. Allow the bag
to
dry thor-
oughly before storing.
To
Install
the
Bag
1.
Shut
off
engine, disconnect
spark plug wire from spark plug,
and
make sure that all moving
parts have stopped completely.
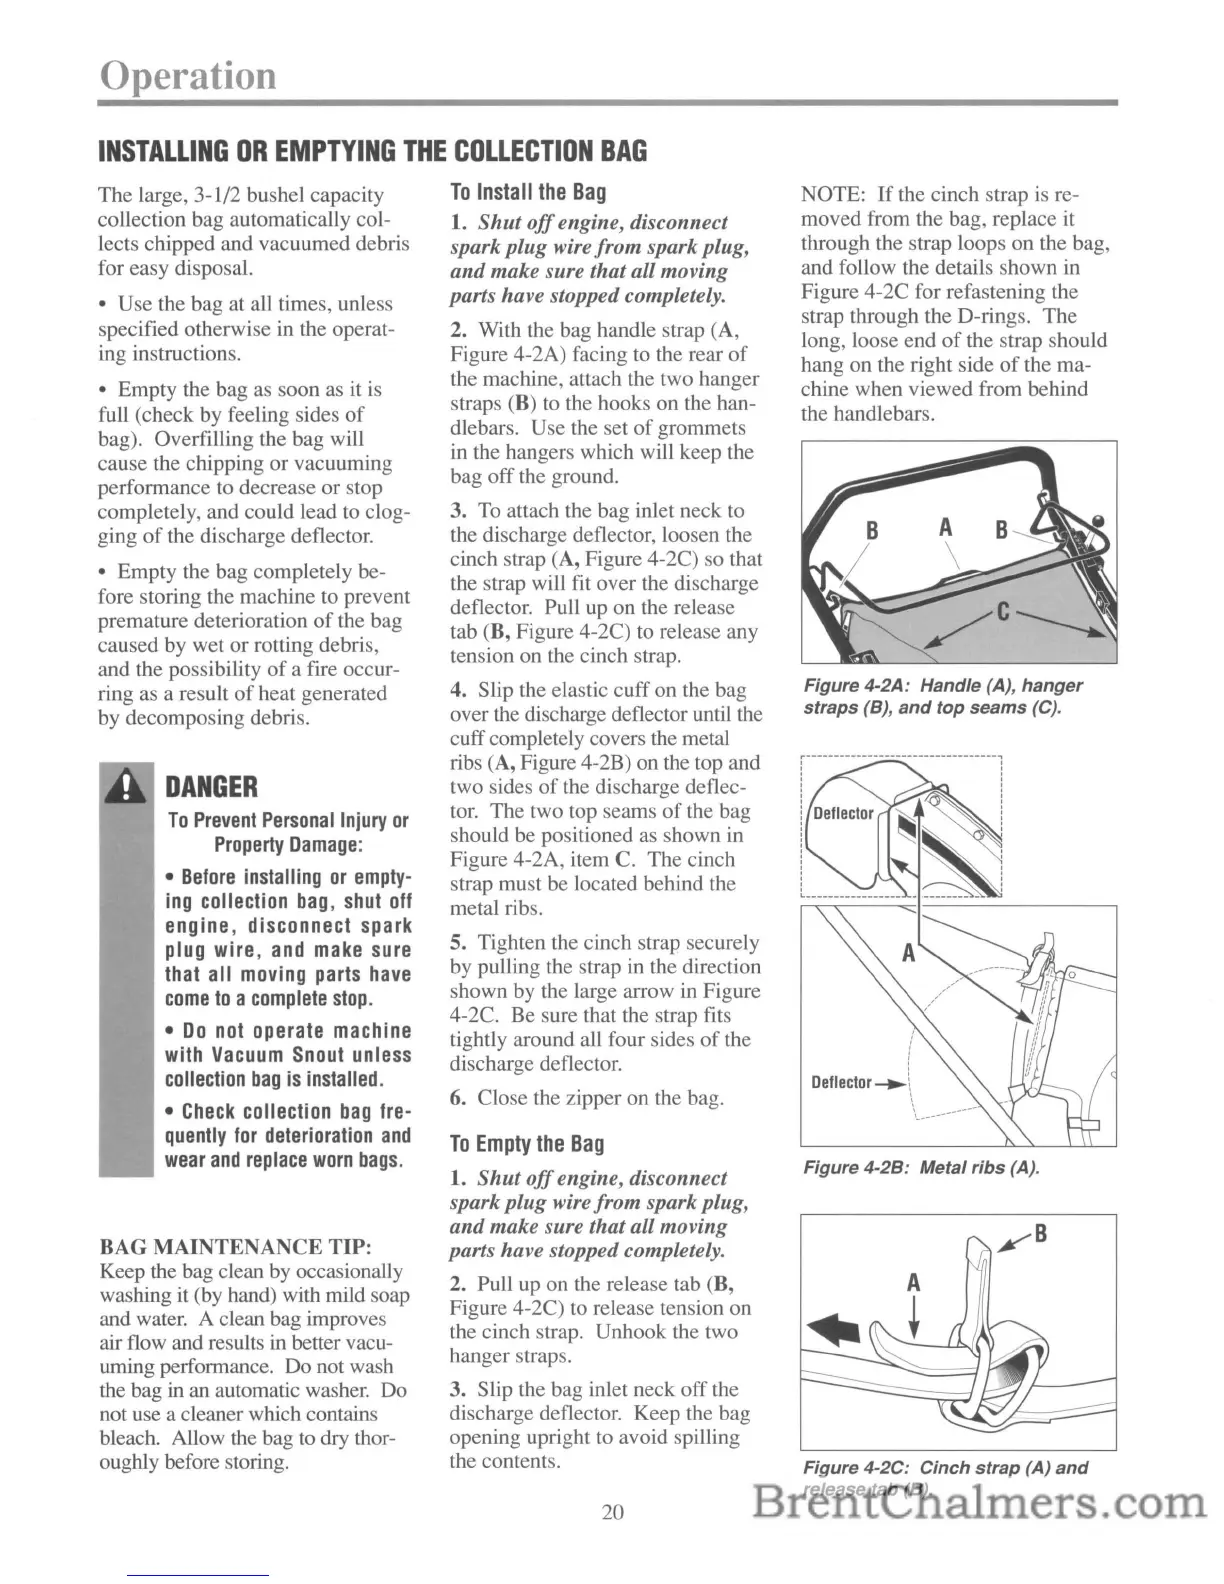
2. With the bag handle strap (A,
Figure 4-2A) facing to the rear
of
the machine, attach the two hanger
straps (B) to the hooks on the han-
dlebars. Use the set
of
grommets
in the hangers which will keep the
bag off the ground.
3.
To
attach the bag inlet neck to
the discharge deflector, loosen the
cinch strap
(A, Figure 4-2C) so that
the strap will fit over the discharge
deflector. Pull
up
on the release
tab (B, Figure 4-2C)
to
release any
tension on the cinch strap.
4. Slip the elastic cuff on the bag
over the discharge deflector until the
cuffcompletely covers the metal
ribs (A, Figure 4-2B) on the top and
two sides
of
the discharge deflec-
tor. The two top seams
of
the bag
should be positioned
as
shown in
Figure 4-2A, item
C. The cinch
strap must be located behind the
metal ribs.
5. Tighten the cinch strap securely
by pulling the strap in the direction
shown by the large arrow
in
Figure
4-2C. Be sure that the strap fits
tightly around all four sides
of
the
discharge deflector.
6. Close the zipper on the bag.
To
Empty
the
Bag
1.
Shut
off
engine, disconnect
spark plug wire
from
spark plug,
and
make sure that all moving
parts have stopped completely.
2. Pull up on the release tab (B,
Figure 4-2C)
to
release tension on
the cinch strap. Unhook the two
hanger straps.
3. Slip the bag inlet neck off the
discharge deflector. Keep the bag
opening upright to avoid spilling
the contents.
20
NOTE:
If
the cinch strap is re-
moved from the bag, replace it
through the strap loops on the bag,
and follow the details shown in
Figure 4-2C for refastening the
strap through the D-rings. The
long, loose end
of
the strap should
hang on the right side
of
the ma-
chine when viewed from behind
the handlebars.
Figure 4-2A: Handle (A),
hanger
straps
(8),
and
top
seams (C).
,
Deflector
.....
\
\_~~------
Figure
4-28:
Metal
ribs
(A).
Figure 4-2C: Cinch
strap
(A)
and
release tab (8).
 Loading...