42
Piston and connecting rod
Connecting rod, inspection
(13A-07)
1
Check the connecting rods for deformation, see
Workshop Manual “Technical Data”.
2
Check the connecting rod bushing for wear or other
damage and replace it as necessary.
3
Check the piston bolt alignment in the connector rod
bushing and check the piston bolt for wear, see
Workshop Manual “Technical Data”.
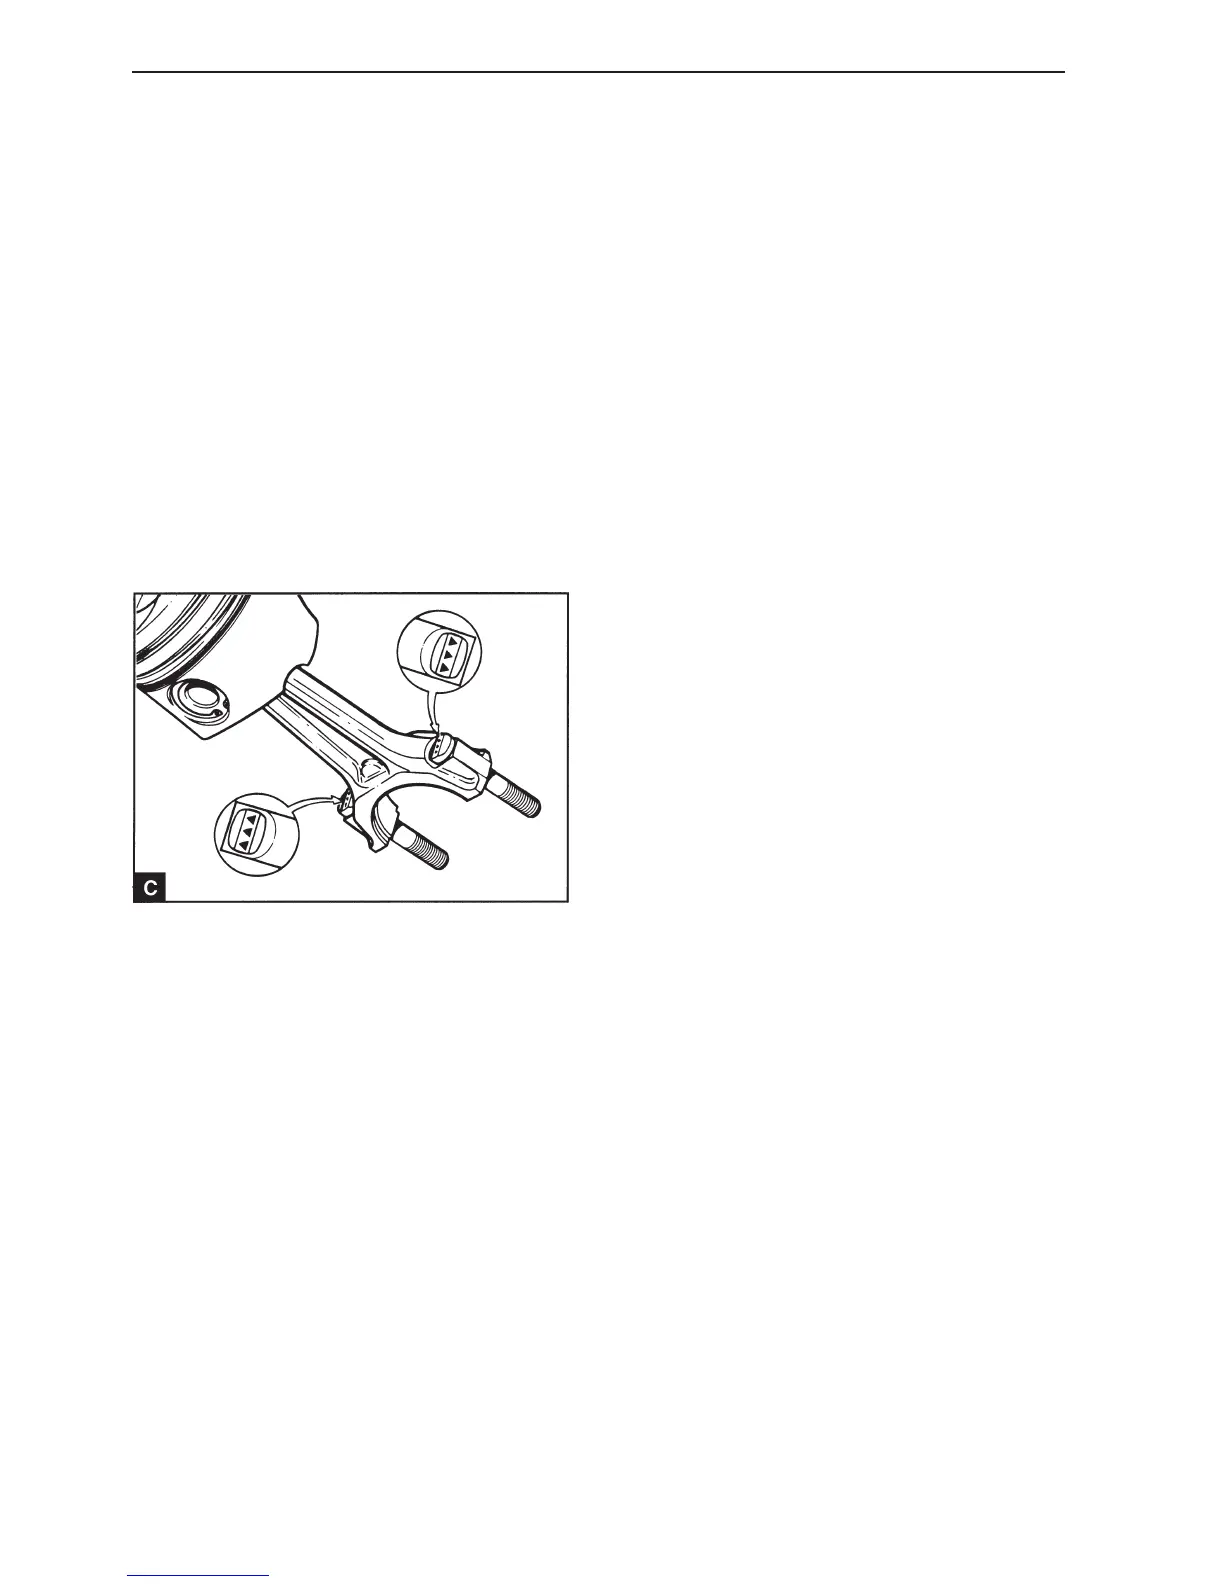
4
Check the condition of the connecting rod screws. If
the thread is sealed or if there are signs of stretch-
ing, the screw must be removed from the connect-
ing rod and replaced. The new screw must be in-
stalled with the locating arrows (or recognition
marks) on the screw head turned to the outside of
the connecting rod big end (C). Ensure that the
screw head has good contact with the connecting
rod.
Connecting rod bushing,
replacement
(13A-08)
1
Press out the old bushing with an appropriate drift.
2
Clean the bearing recess in the connecting rod and
remove any sharp edges.
3
Press in the new bushing. Ensure that the lubrica-
tion in the bushing is on the same side and is point-
ed towards the hole in the top of the connecting rod.
4
Ream the bushing in order to obtain the correct
clearance between the piston bolt and the bushing,
see Workshop Manual “Technical Data”.