63
Timing cover and drive
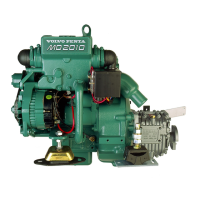
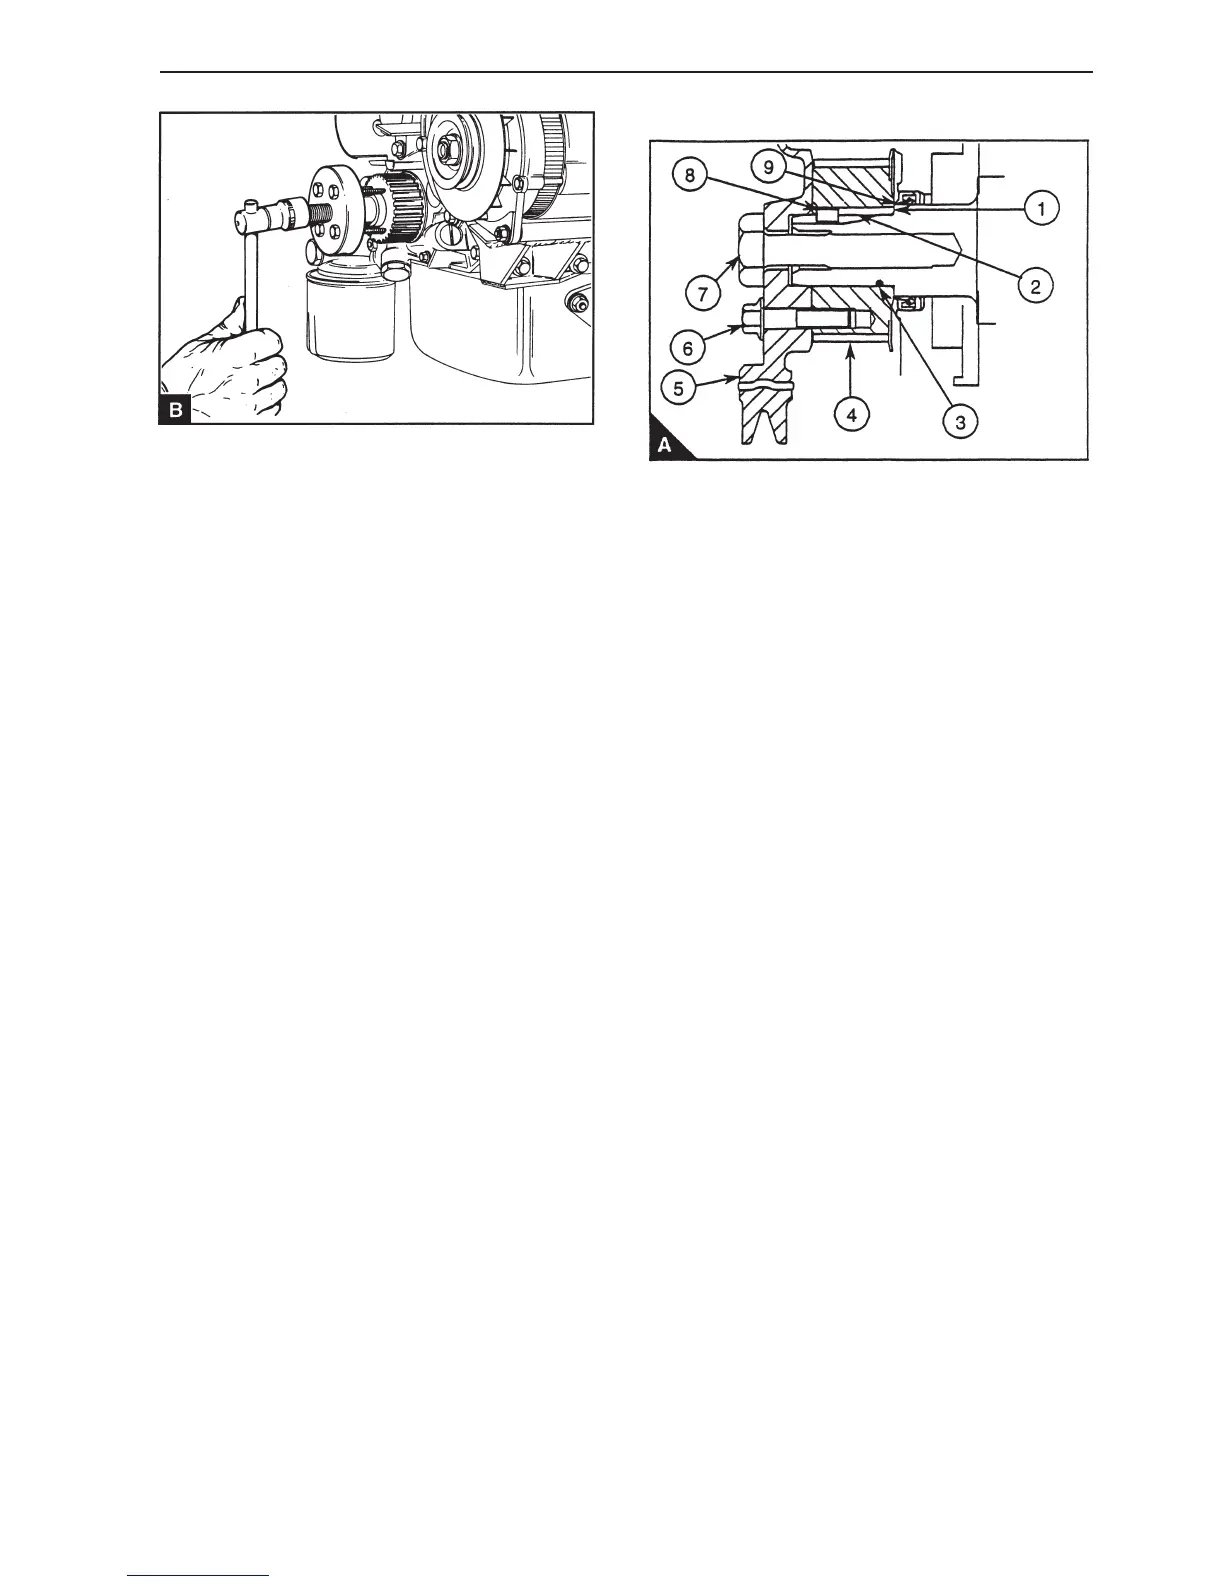
Insert the thin end spacer piece in the crankshaft
(A1). Install the main tool 885027 (B) on the pulley
using the mounting screws and tighten the center
screws against the spacer piece to remove the pul-
ley.
8
Check the pulley for wear, cracks and other dam-
age. Replace it if necessary.
9
If the pulley is to be reused, the old Loctite 648
must be removed from the crankshaft, pulley and
key using Loctite 8151 according to the manufactur-
ers instructions.
NOTE! It is acceptable for some of the old Loctite
648 to remain on the components, if the pulley can
be mounted correctly New Loctite can bond to old
Loctite if it is clean, dry and free of any cleaning
agent.
10
If old Loctite remains on the components and the
pulley cannot be correctly installed extra working
with the Loctite tool is needed.
11
Ensure that the hole in the pulley, the keygroove
and the front end of the crankshaft are dry and free
of grease, cleaning agent and external inhibitors.
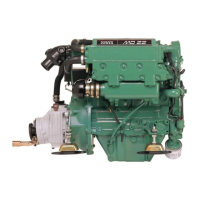
12
Apply a bead of Loctite 648 (A3) in a complete cir-
cle internally in the hole in the pulley (A4), 6.5 mm
from the rear end panel.
13
Install the pulley on the crankshaft, but do not align
the keygroove.
14
Spray Loctite 648 into the keygroove (A2) in the pul-
ley. Ensure that the pulley is pressed against the
projection (A1) on the crankshaft during this opera-
tion. This prevents the oil seal (A9) being contami-
nated by the Loctite.
NOTE! If too much Loctite is sprayed into the key-
groove it can contaminate the oil seal (A9) behind
the pulley. If this occurs the oil seal must be re-
placed.
15
Turn the pulley through 360° to spread the Loctite
over the surface of the hole in the pulley and on the
front end of the crankshaft.
16
Align the keygroove in the crankshaft and the pulley
and carefully spray Loctite 648 into keygroove until
one can see Loctite fully and evenly at the front end
of the keygroove. Ensure that the pulley is pressed
against the projection on the crankshaft during this
operation.
 Loading...