Change Paper Settings During Loading
The selection made on this screen determines whether or not the Paper Tray Attributes
feature displays on the Setup menu. Select Disabled or Enabled.
1. Log in as the administrator.
2. Access the Tools tab on the UI.
3. Select System Settings > Common Service Settings.
4. Select Paper Tray Settings.
5. Select Paper Tray Attributes During Loading.
6. Select one of two choices:
• Disabled: When selected, the paper tray attributes option does NOT display on
the Tools tab.
• Enabled: When selected, the paper tray attributes option DOES display on the
Tools tab.
7. Select Save.
The Paper Tray Settings screen displays.
8. Select Close.
The main Tools tab screen displays.
9. Exit the administrator mode.
Paper Tray Priority
1. From the Custom Settings window, select Paper Tray Priority.
2. Select the item to be set or changed.
• Make the appropriate selections or changes to that item.
• Select Save to return to the Paper Tray Priority screen.
3. Repeat step 2 for each Paper Tray Priority feature.
4. Select Close to return to the Common Settings screen.
Paper Type Priority
1. Select Paper Type Priority.
2. Select a paper type from the list of items.
3. Select Change Settings.
4. Select the Priority Number from a list of Auto, First through Eighth.
Tray 5 (Bypass) - Paper Size Defaults
This feature allows you to assign specific paper sizes to Tray 5. This will facilitate easier
copying when using Tray 5 (Bypass).
You can assign a maximum of twenty paper sizes to the Tray 5 (Bypass) size selections,
which are listed 1-20.
10-15Xerox
®
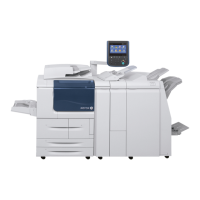
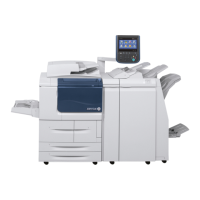
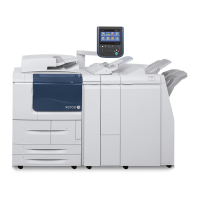
D95/D110/D125/D136 Copier/Printer
System Administration Guide
System Settings
 Loading...