- 48 -
000478AG
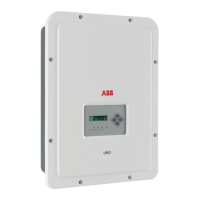
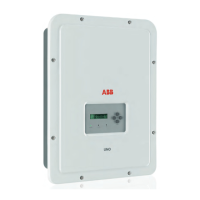
During installation do not place the
inverter with the front cover
05
fa-
cing the ground.
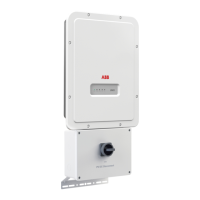
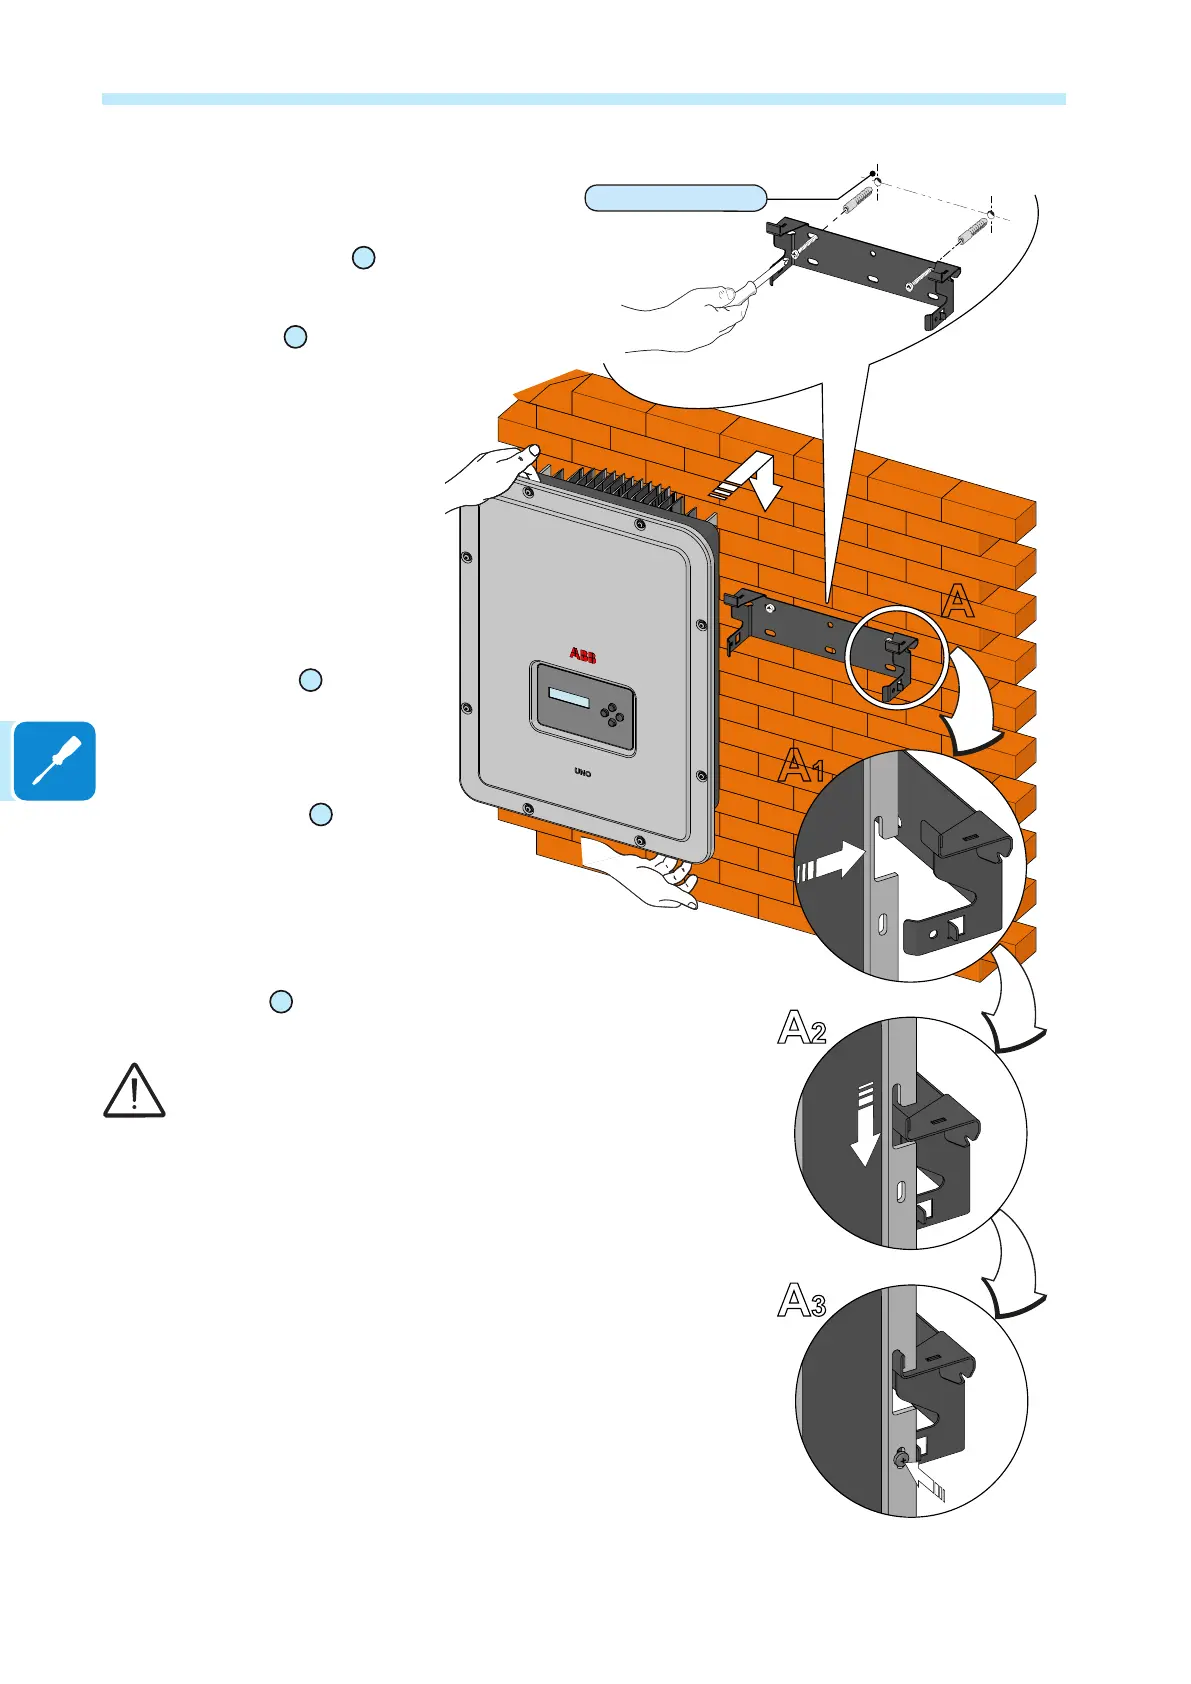
• Position the bracket
01
so that it is
perfectly level on the wall and use it
as a boring template.
• Make the 2 holes necessary using a
drill with a 10 mm. diameter bit. The
depth of the holes must be approxim-
ately 70 mm.
• Secure the bracket to the wall with
the two 10 mm wall plugs supplied.
• Attach the inverter by inserting the
two tabs on the bracket
01
into the 2
slots on the inverter (gures A1 and
A2).
• Secure the inverter to the bracket by
screwing the lock screws
02
on both
sides of the inverter (gure A3).
• The main connections of the inverter
are carried out externally without the
need to remove the front cover. If ne-
cessary, unscrew the 8 screws and
open the front cover
05
.
Do not open the inverter
in the case of rain, snow
or a high level of humidity
(>95%)
• Once the connections have been
made inside the inverter, close the
cover by tightening the 8 screws on
the front, respecting the sequence
and tightening torque (see specic
paragraph on "Closing the front
cover").
Wall mounting
2 x Ø 10 mm
A
A1
A2
A3
Скачано с сайта интернет магазина https://axiomplus.com.ua/
 Loading...